You unbox the iPhone, and everything feels exciting for about ninety seconds. Then the App Store asks you to sign in, and the excitement stops. You do not have an Apple ID yet, and creating one from Bangladesh turns out to be much harder than it should be. The payment screen rejects the cards you actually own, the verification code never arrives the way Apple expects, and half the tutorials online describe buttons that no longer exist. If you have been stuck in that loop, this guide is for you.
Why Is It So Hard From Bangladesh?
Three obstacles hit you one after another, and they feel random until you see that they are really the same wall from three sides. First, the payment wall: with the store region set to Bangladesh, Apple eventually wants a payment method, and the local cards most people carry are not accepted for that step. Second, the phone wall: Apple wants to verify the new account with a code sent to a phone number, and a Bangladeshi number entered at the creation step does not reliably receive that code in this flow. Third, the region wall: even after an account exists, a Bangladesh-region account cannot simply download apps the way you expect, because the store and its payment options are tied to the region on the account.
The older workarounds no longer work: Apple changed the flow, and old tutorials no longer match your phone. The method below is the newer one, done entirely on the iPhone, and it is free, but it involves two choices that deserve an honest warning first.
Two Honest Warnings Before You Start
First, the phone number used during creation is not a Bangladeshi one. Because a Bangladeshi number does not receive the verification code at that step, the video uses a United States number for creation and chooses to verify later instead of waiting for a code that will not come. That is a weak foundation: if Apple ever asks to re-verify that number, you may not be able to. That is why, a few minutes later, you add your own Bangladeshi number to the account. Never use a stranger’s number, never pay anyone for a number, and never treat the creation-step number as your recovery number.
Second, the store region and billing address. The guide changes the App Store country or region to the United Kingdom, selects None as the payment method, and fills in a billing address found through a web search for that region. Apple expects region and billing details to be genuine, and using an address that is not yours risks the account being restricted later. Never enter a real card or someone else’s details; if you later have a legitimate payment method for your own region, update the details. What you need: an iPhone signed out of any previous Apple ID, steady Wi-Fi, fifteen unhurried minutes, and your real date of birth. Keep a safe note of the new email address and password the moment you create them.
Watch the Whole Process on a Real iPhone
The video below shows every screen in this guide, tapped in real time. The screenshots in the steps are taken from the same recording.
Step 1: Start From Settings, Not the App Store
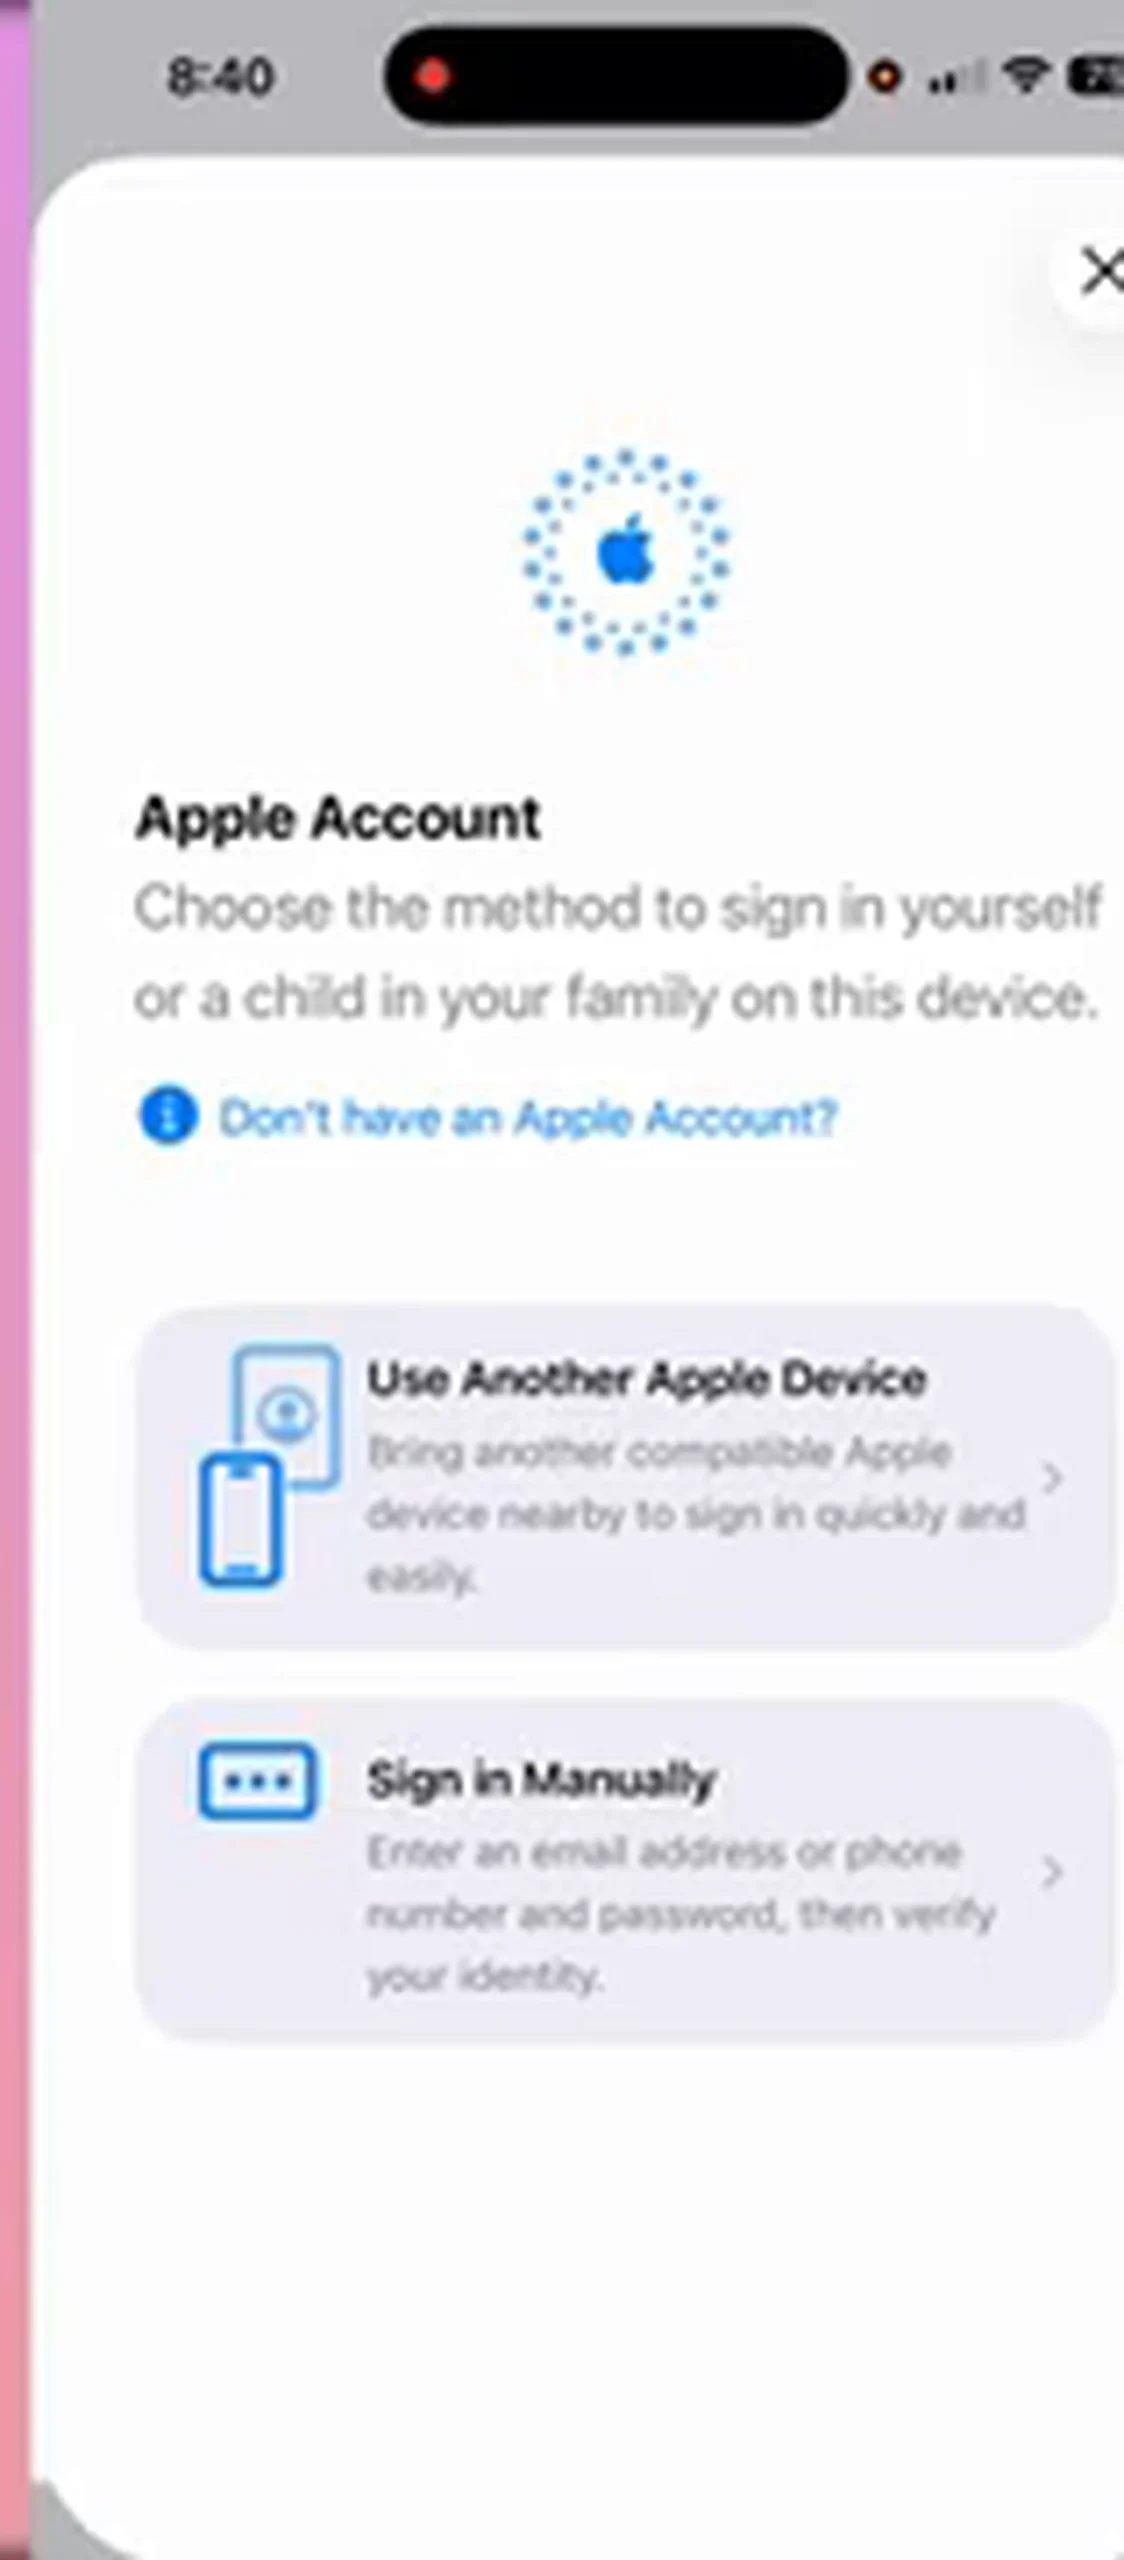
Open Settings and tap Apple Account at the very top. You will see Use Another Apple Device and Sign in Manually. Neither is what you want, because you are not signing in to an existing account. Look for the small link that says Don’t have an Apple Account? and tap that instead. It is easy to miss. Next, tap the adult option, since this is your own account.
Step 2: Enter Your Name and Date of Birth
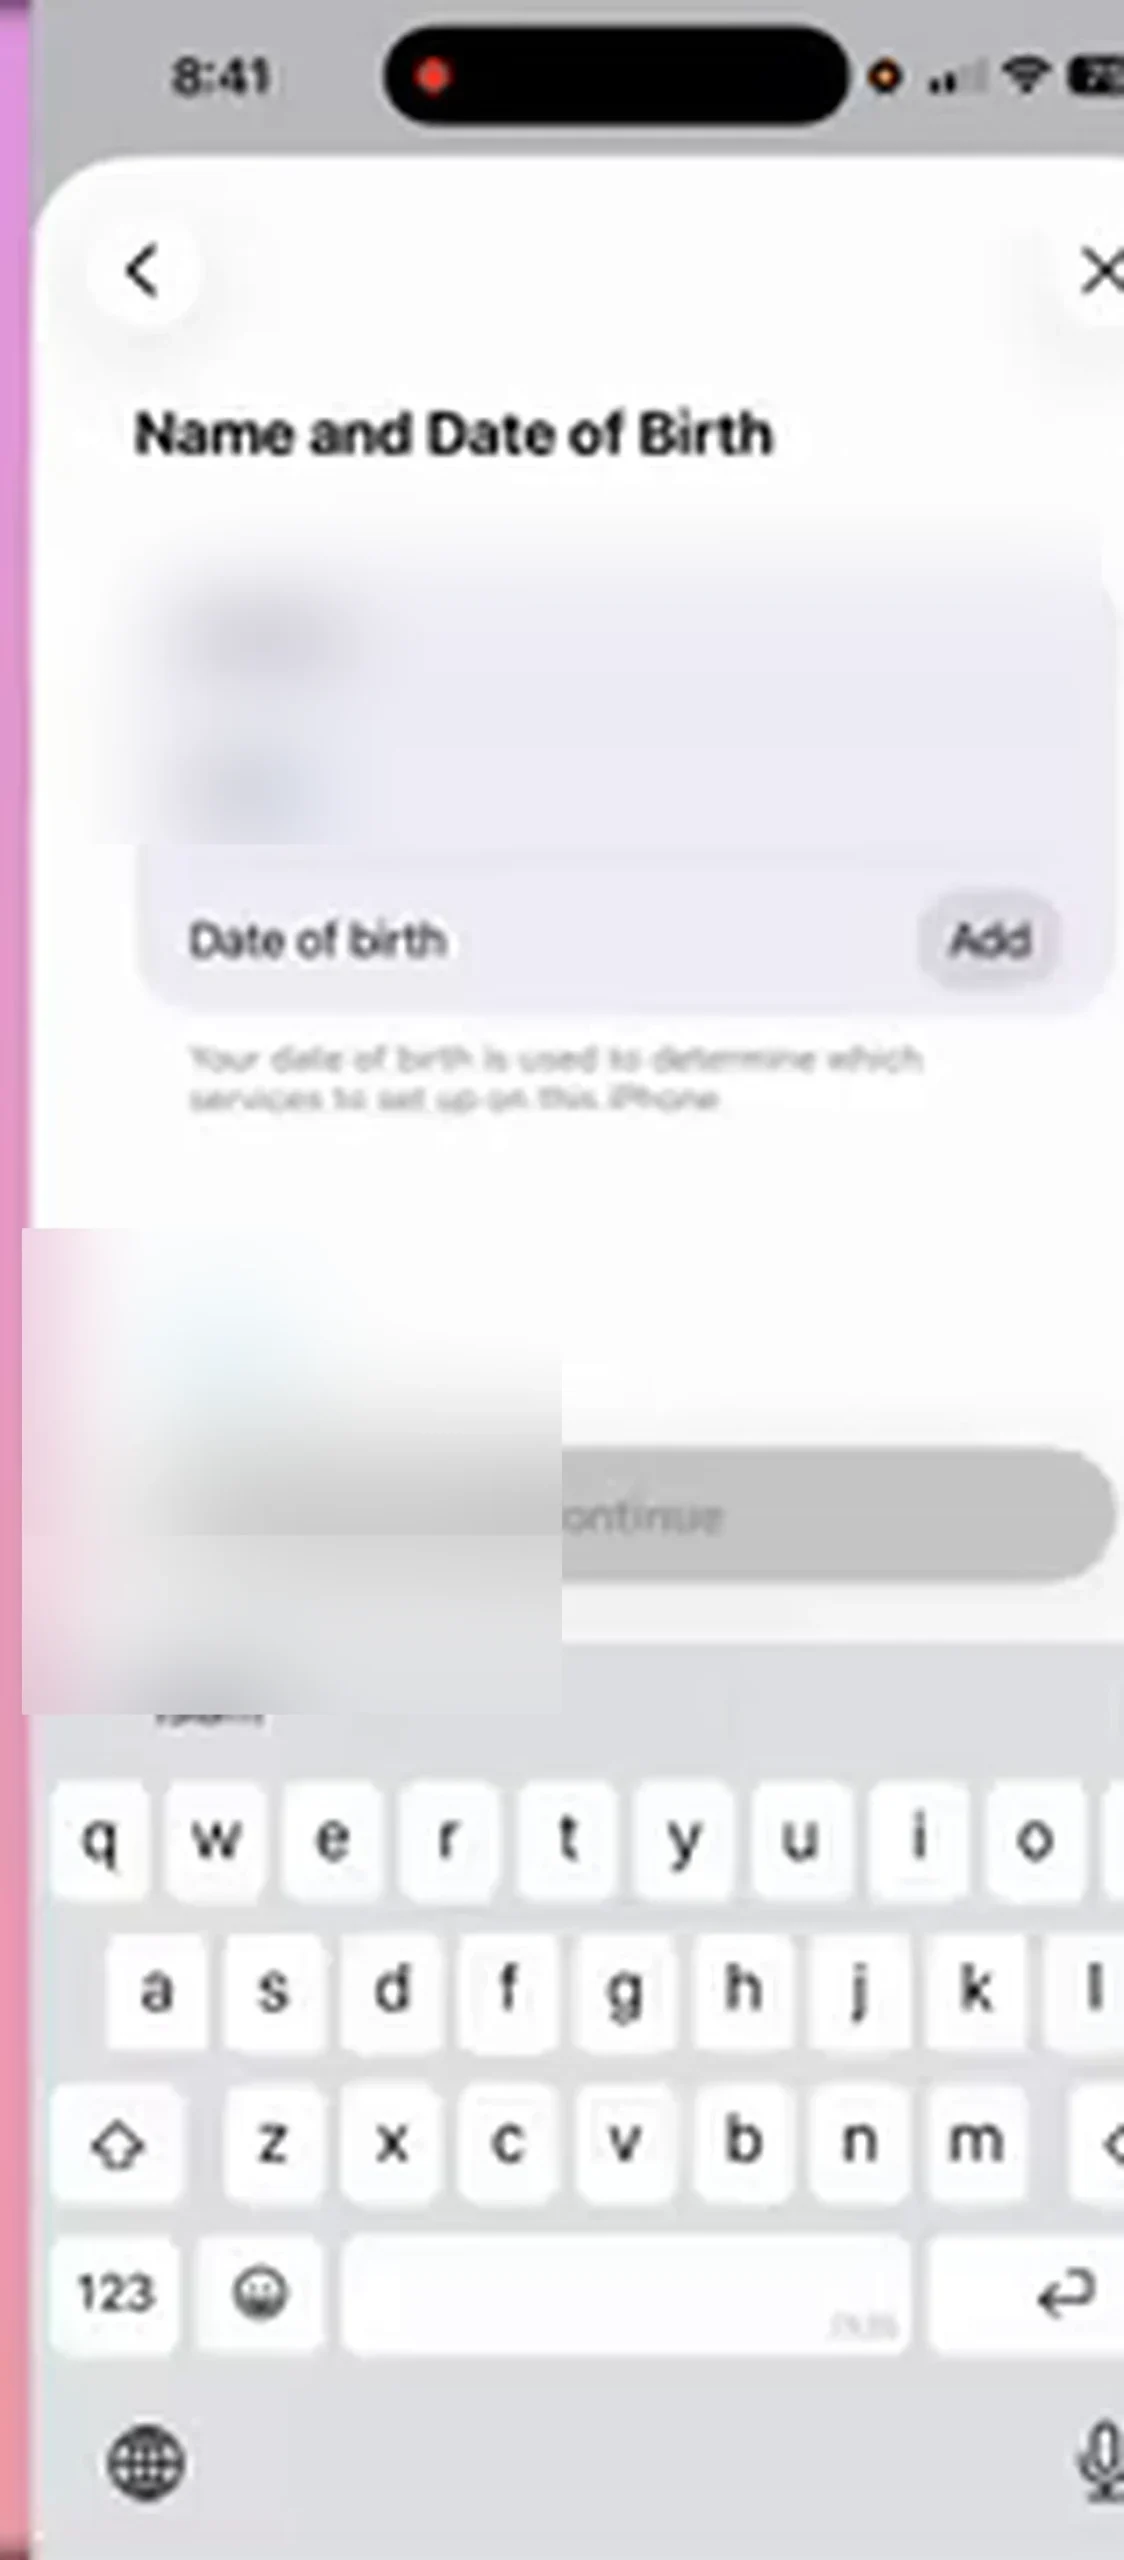
Type your first name, last name, and date of birth, then tap Continue. Use your real name and real date of birth: Apple uses the date of birth to decide which services can be set up, and a made-up birthday can cause trouble later when you need to prove who you are. The name fields in the screenshot are blurred for privacy; check your spelling before continuing.
Step 3: Get a Free iCloud Email Address
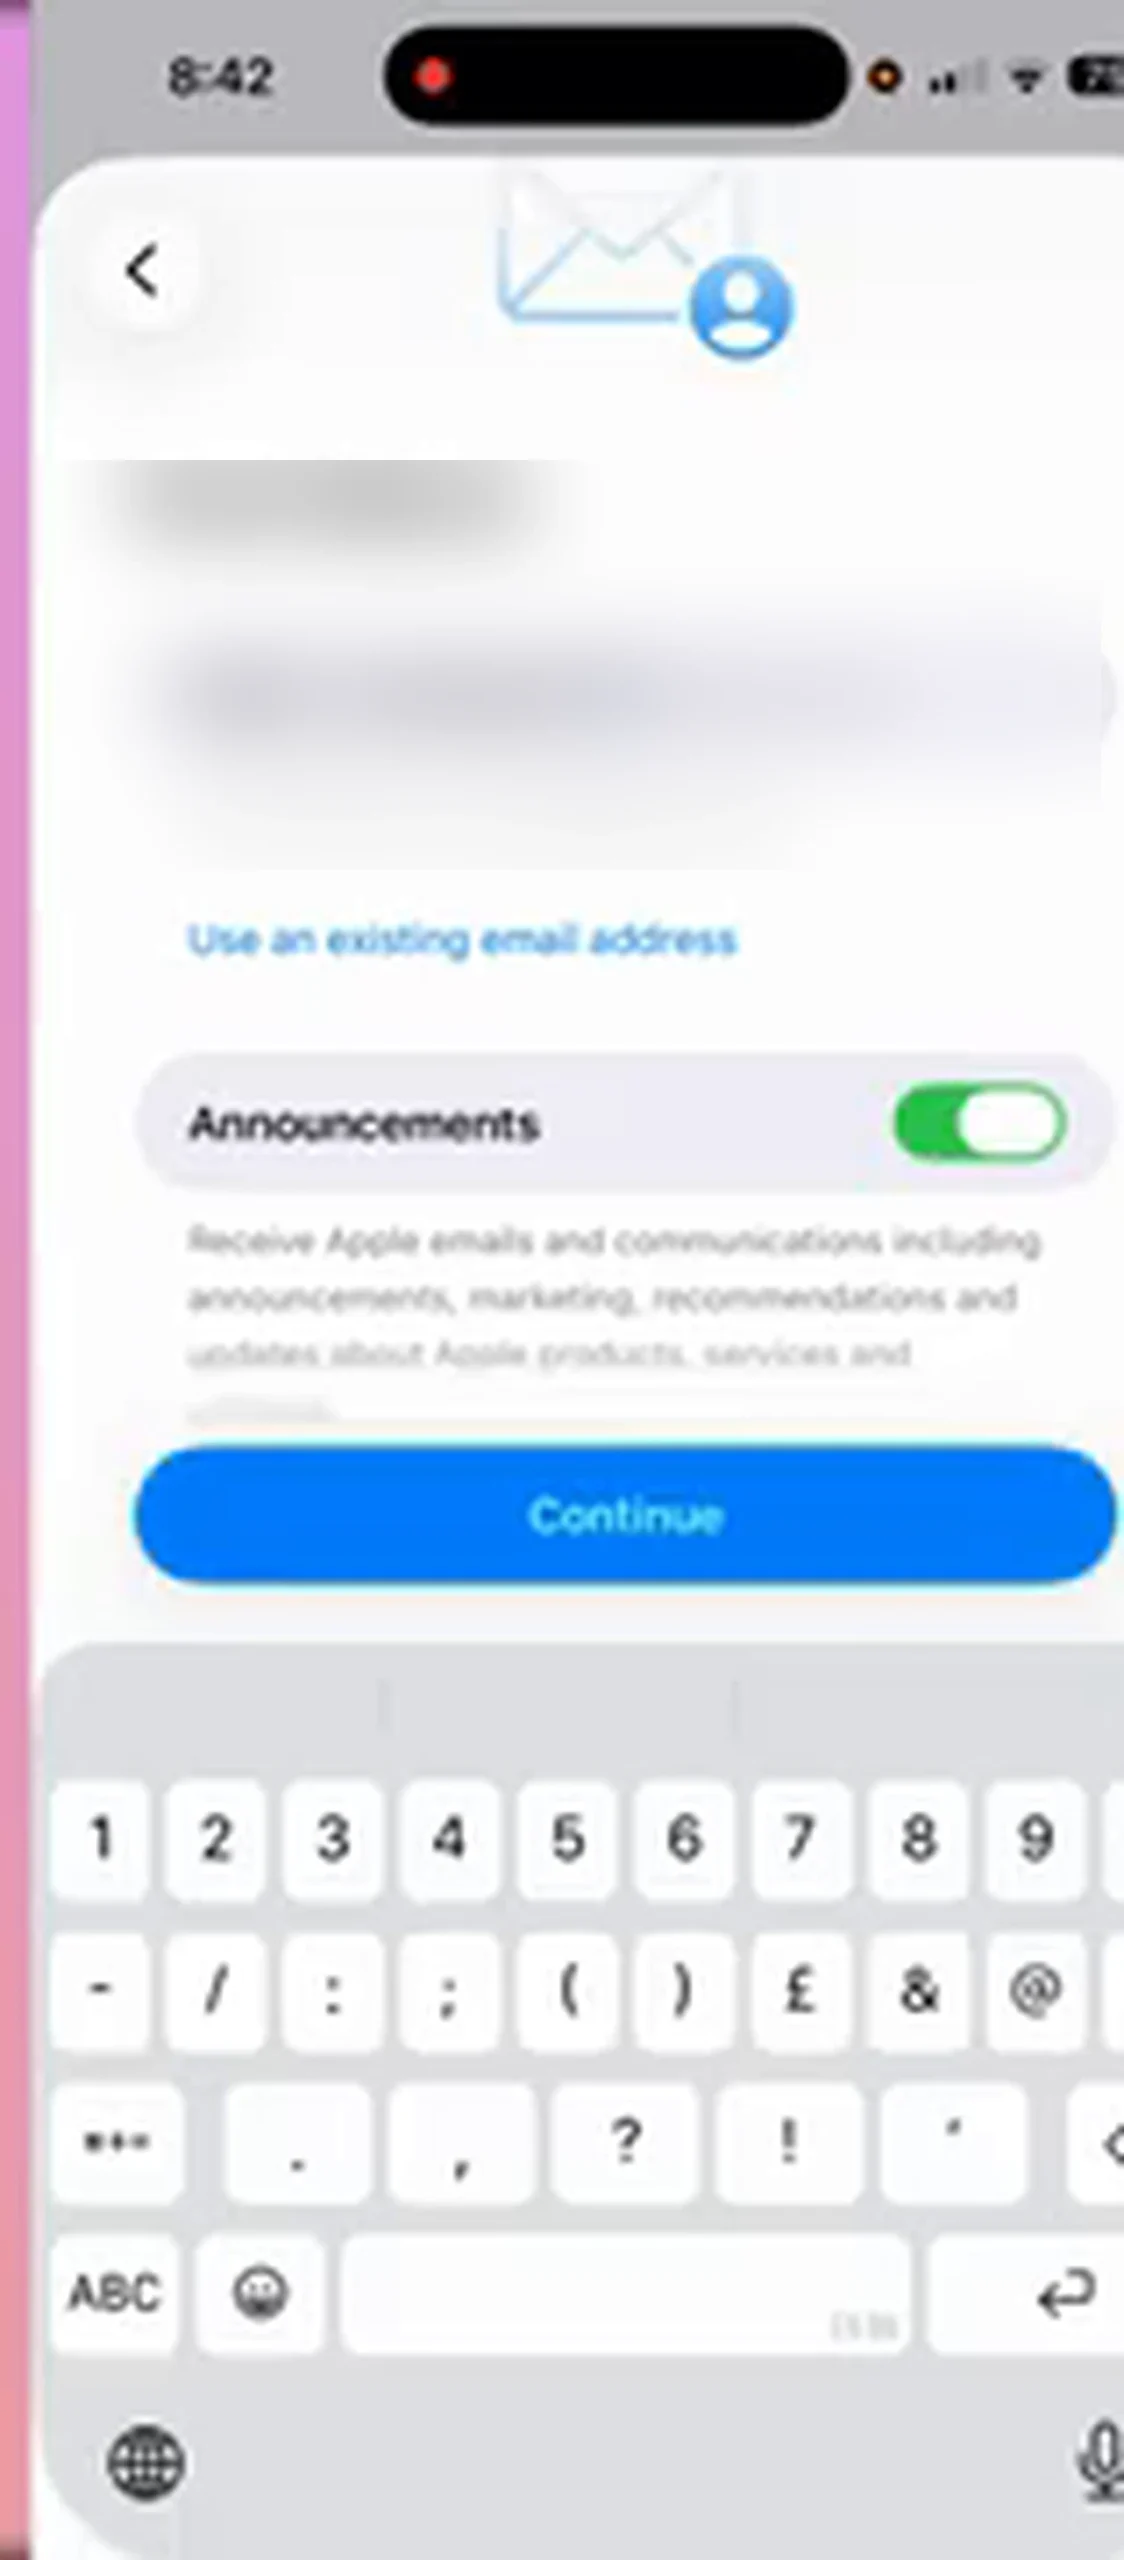
Apple now asks for an email address. Instead of typing an existing address, tap Don’t have an email address?, then Get an iCloud Email Address. You only type the first part, the name before the @ sign, because @icloud.com is already filled in. That new iCloud address becomes your Apple ID itself, which means one less outside account tied to your sign-in. The one rule is uniqueness: the name must not already exist, and popular names were taken years ago. If yours is unavailable, pick a combination that is personal to you but not obvious, rather than hammering the same idea with a different number tacked on. Once it is accepted, tap Create Email Address.
Next comes the password. Apple refuses any password that contains the name from your new email address, which is exactly what happens in the video; the fix is simply to go back and choose a different one. Pick something long, with mixed case, numbers, and a symbol, unrelated to your email name, real name, or birthday.
Step 4: The Phone Number Step, and Verify Later
This is where most people from Bangladesh get stuck, so slow down. Apple shows the Phone Number screen and may show the number already in the phone by default. Do not accept that default. Tap Use a different number, because the number needed at this step is not a Bangladeshi one. As the video explains, a Bangladeshi number here will not work, because no verification code will arrive for it. Instead, change the country to the United States and enter the number you have ready for this step. The video does not show that search, and this guide will not spell out a source. It is the video’s workaround, with the risks explained above.
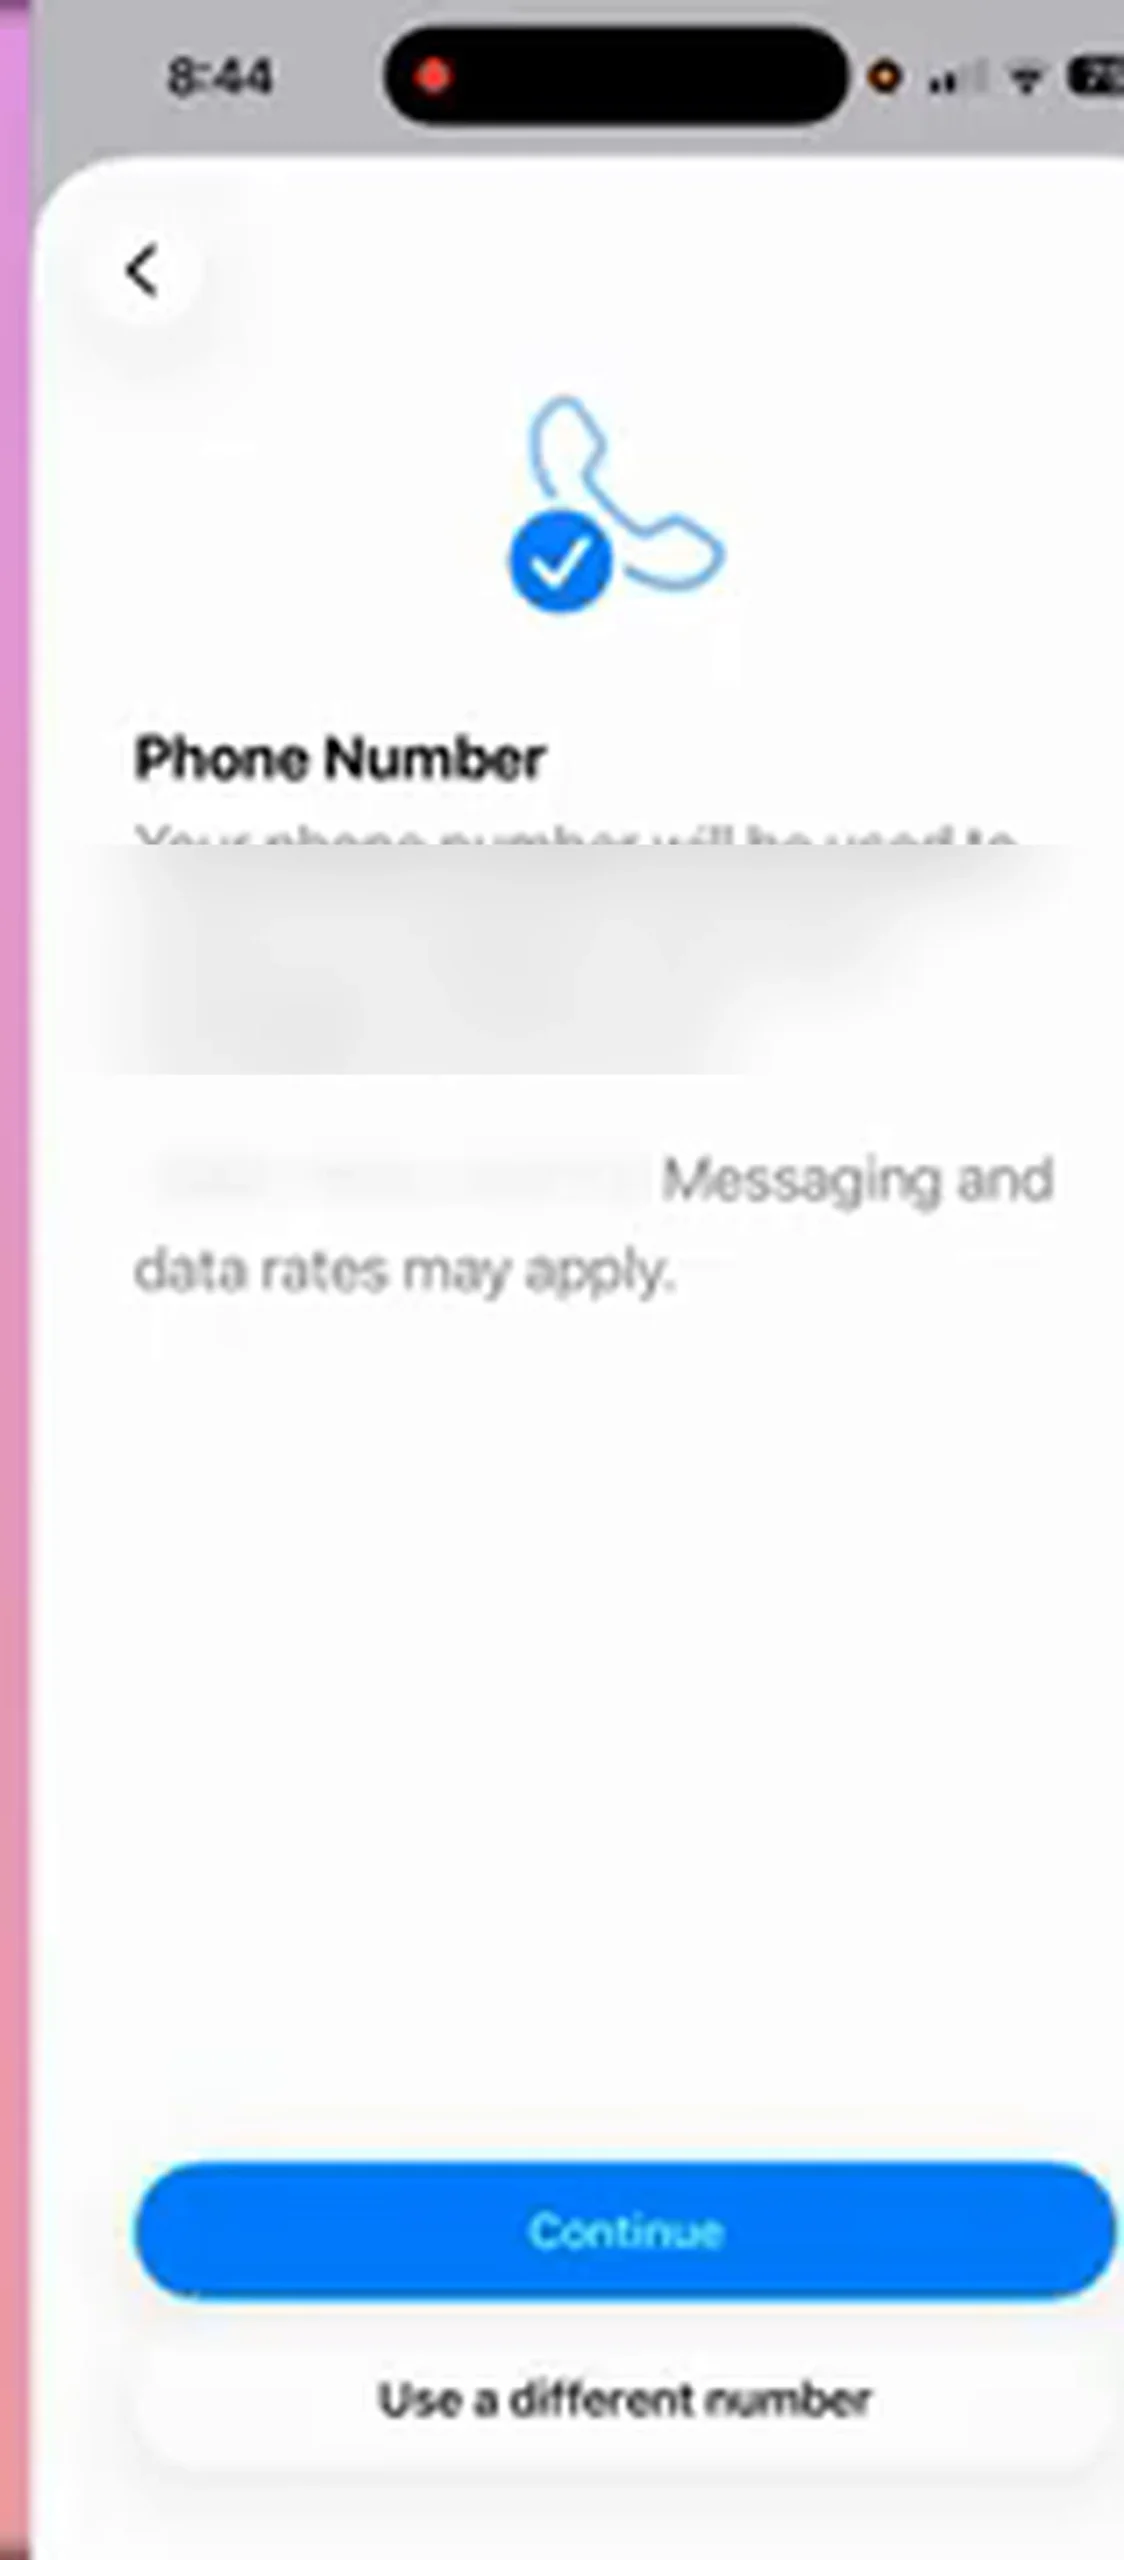
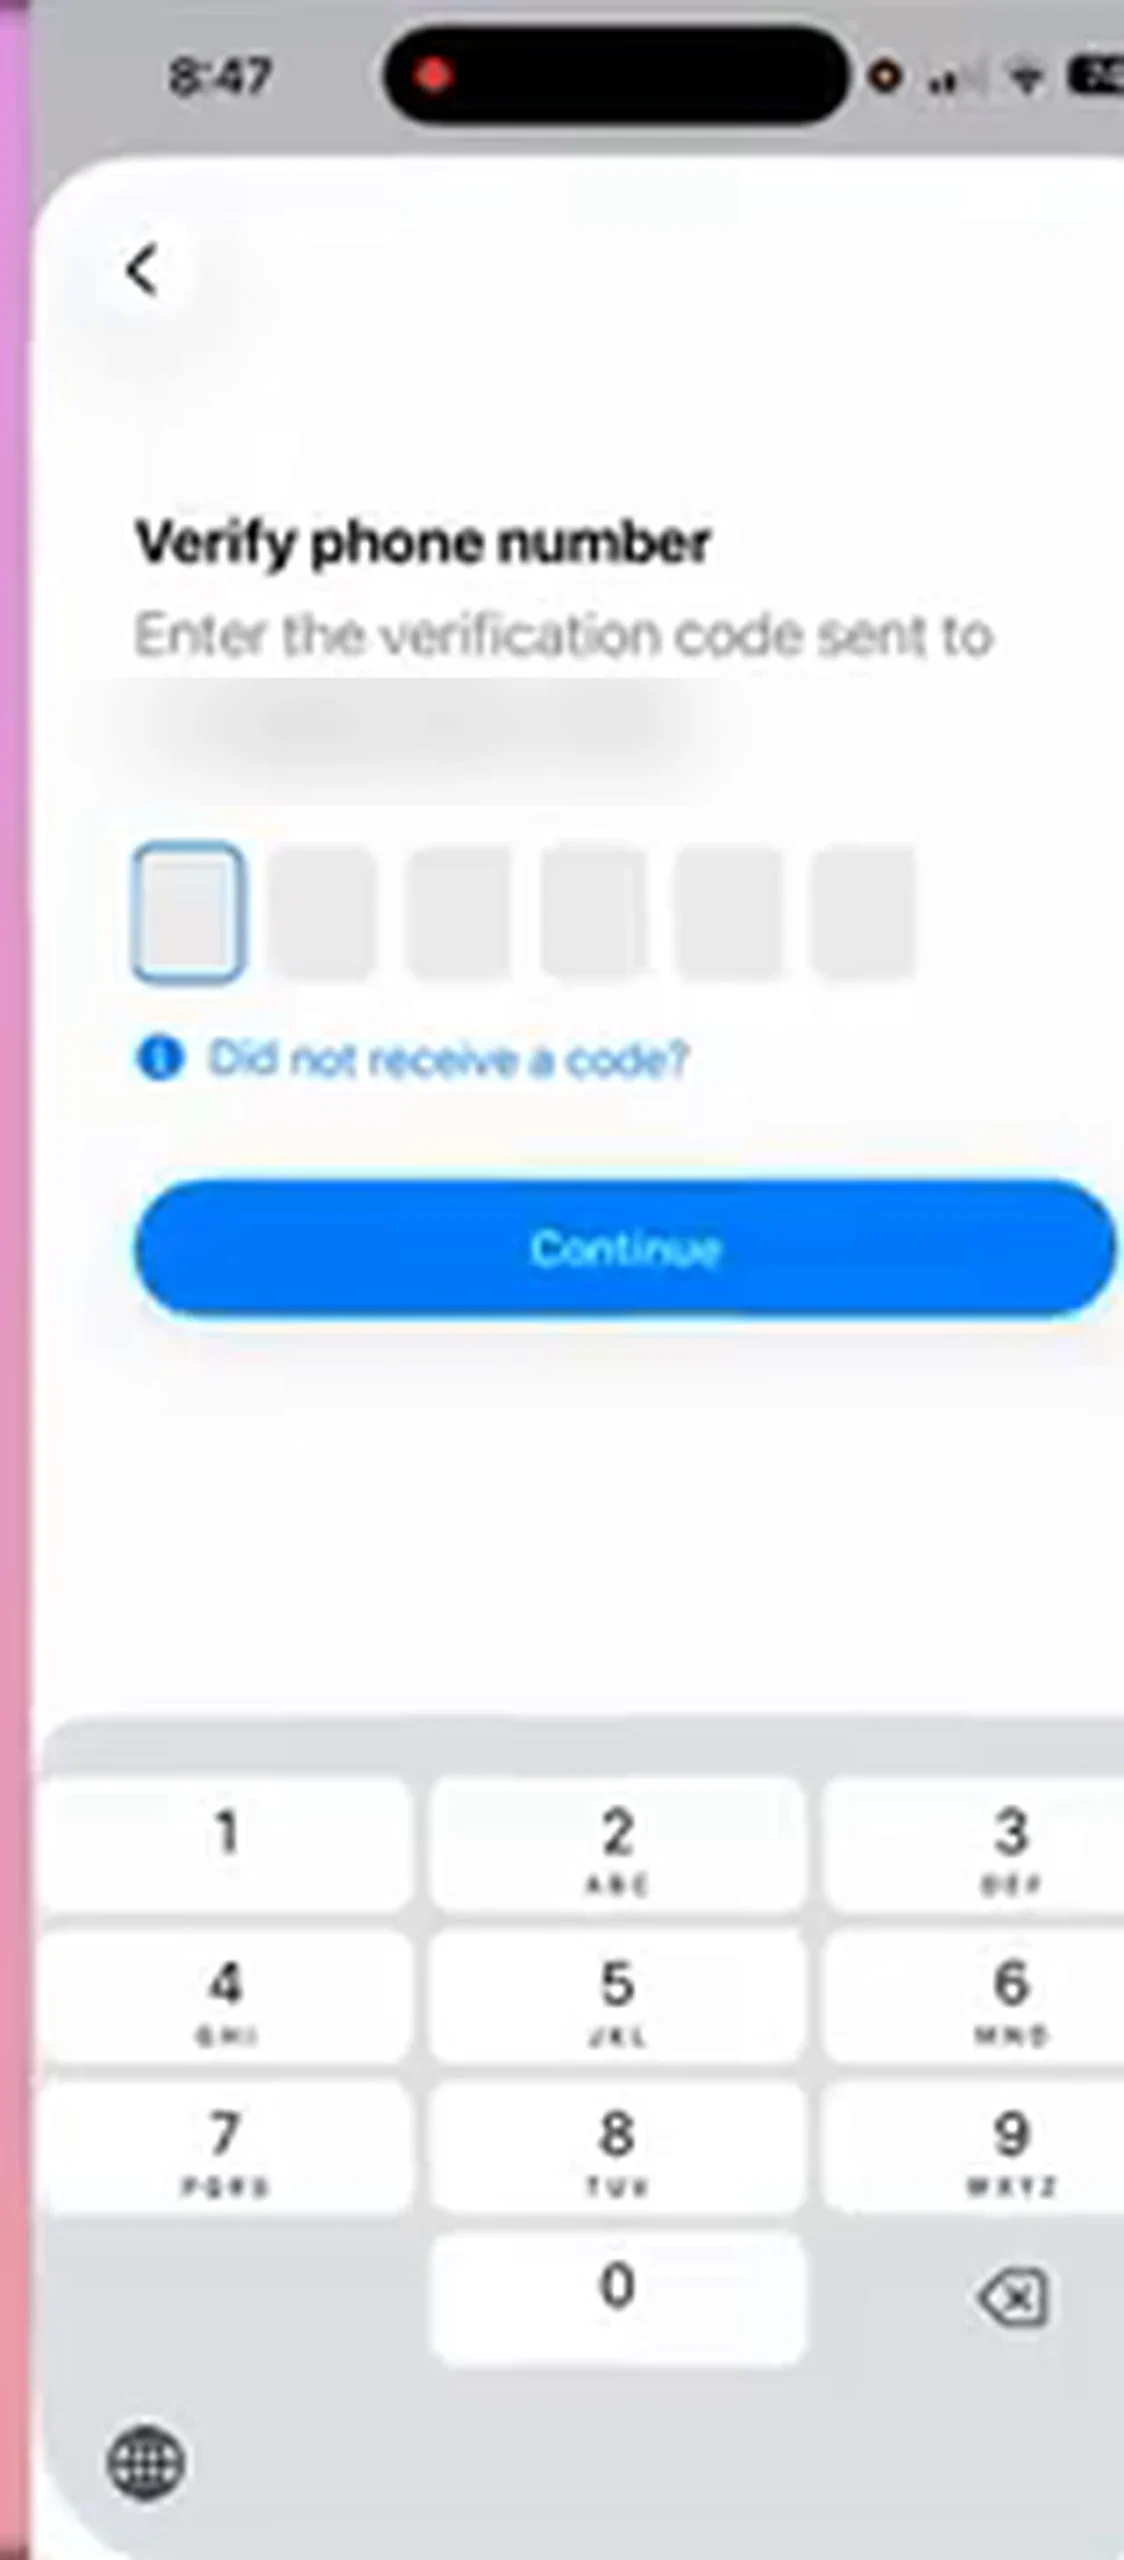
When you tap Continue, Apple shows a verification screen asking for a code. You are not going to receive that code, and waiting for it wastes time. Tap Did not receive a code?, choose Verify Later, and tap Continue again. That choice is the whole trick of this step: it lets creation move forward without a code, instead of trapping you on a screen that will never complete. Then read the terms, tap Agree, and let the phone work. If Apple pushes back on the password, as it did in the video, go back, change it to one that does not contain your email name, and come through the same screens again. It is a thirty-second detour, not a failure.
Apple then signs the new account in. Tap Continue, and when asked for the iPhone passcode, enter the passcode that unlocks the device. Apple notes that some existing data may be removed when the new account takes over; read that screen, especially on a phone that was used before. Once the passcode is entered, setup completes. The hardest part is done.
Step 5: Add Your Own Bangladesh Number Right Away
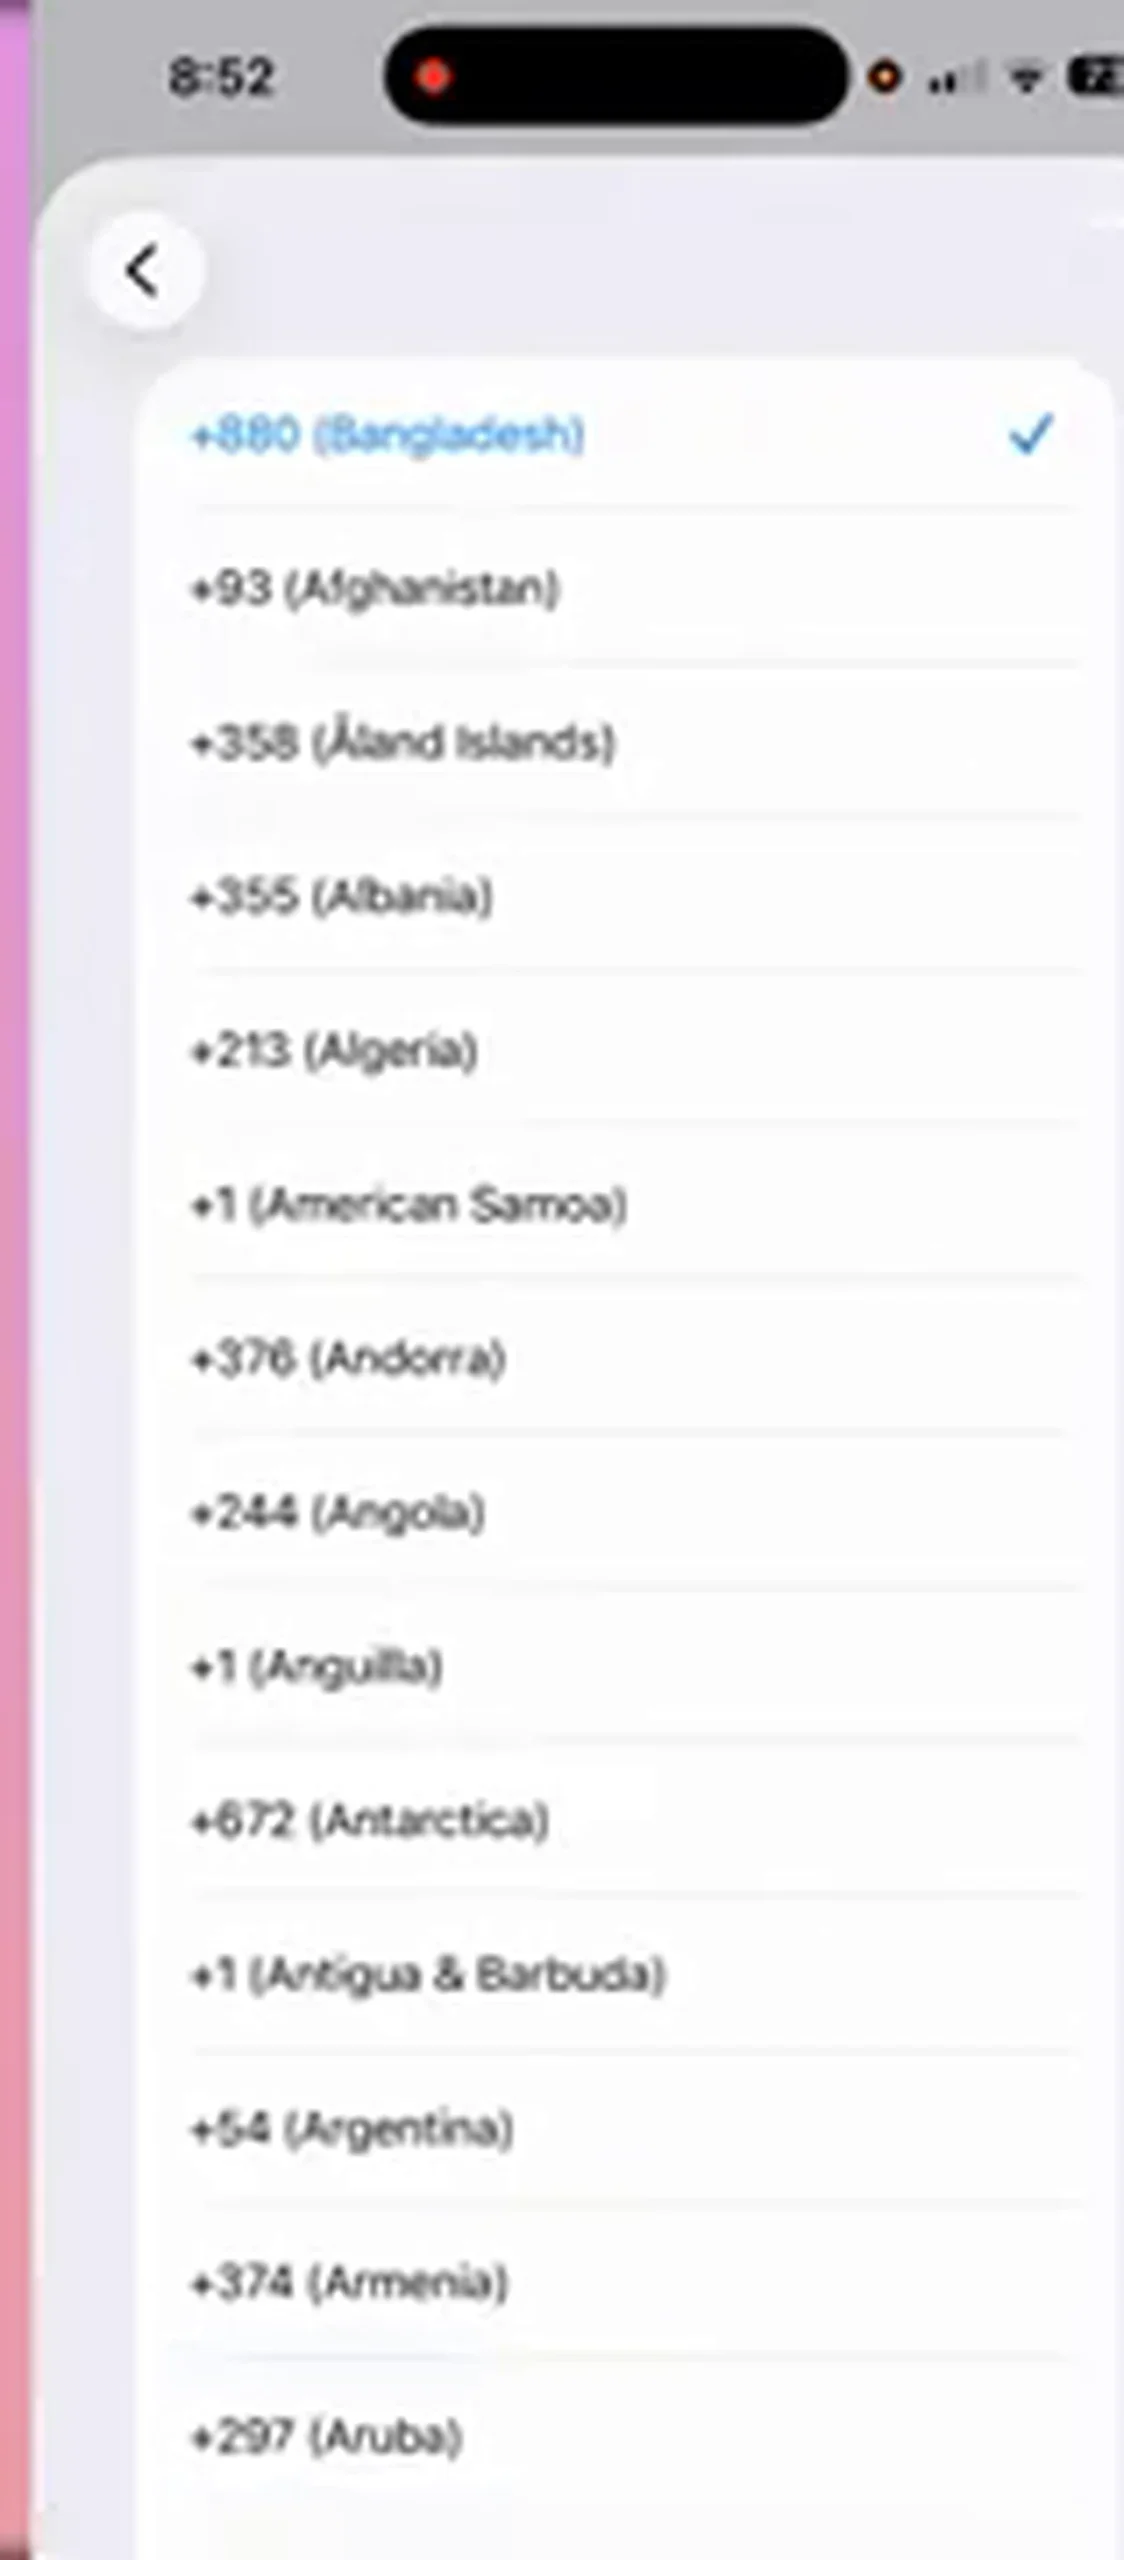
Do not skip this step or leave it for later. In Settings, open your Apple Account, tap Sign-In & Security, then Add Email or Phone Number, and choose Phone Number. Bangladesh should already be selected; if another country shows instead, change it to Bangladesh first. Then type your own Bangladeshi number and tap Continue. This closes the gap between the number used at creation and the number you can actually answer.
Step 6: Change the Store Region So You Can Download Apps
Your account exists now, but with the region still set to Bangladesh, downloading apps will not work the way it should. Go back to your Apple Account page, scroll down, tap Media & Purchases, then View Account, then Country/Region. Choose a different region: the video chooses the United Kingdom, and the United States or the United Arab Emirates are also mentioned as options. Tap Continue, tap Agree on the terms, and the payment screen appears.
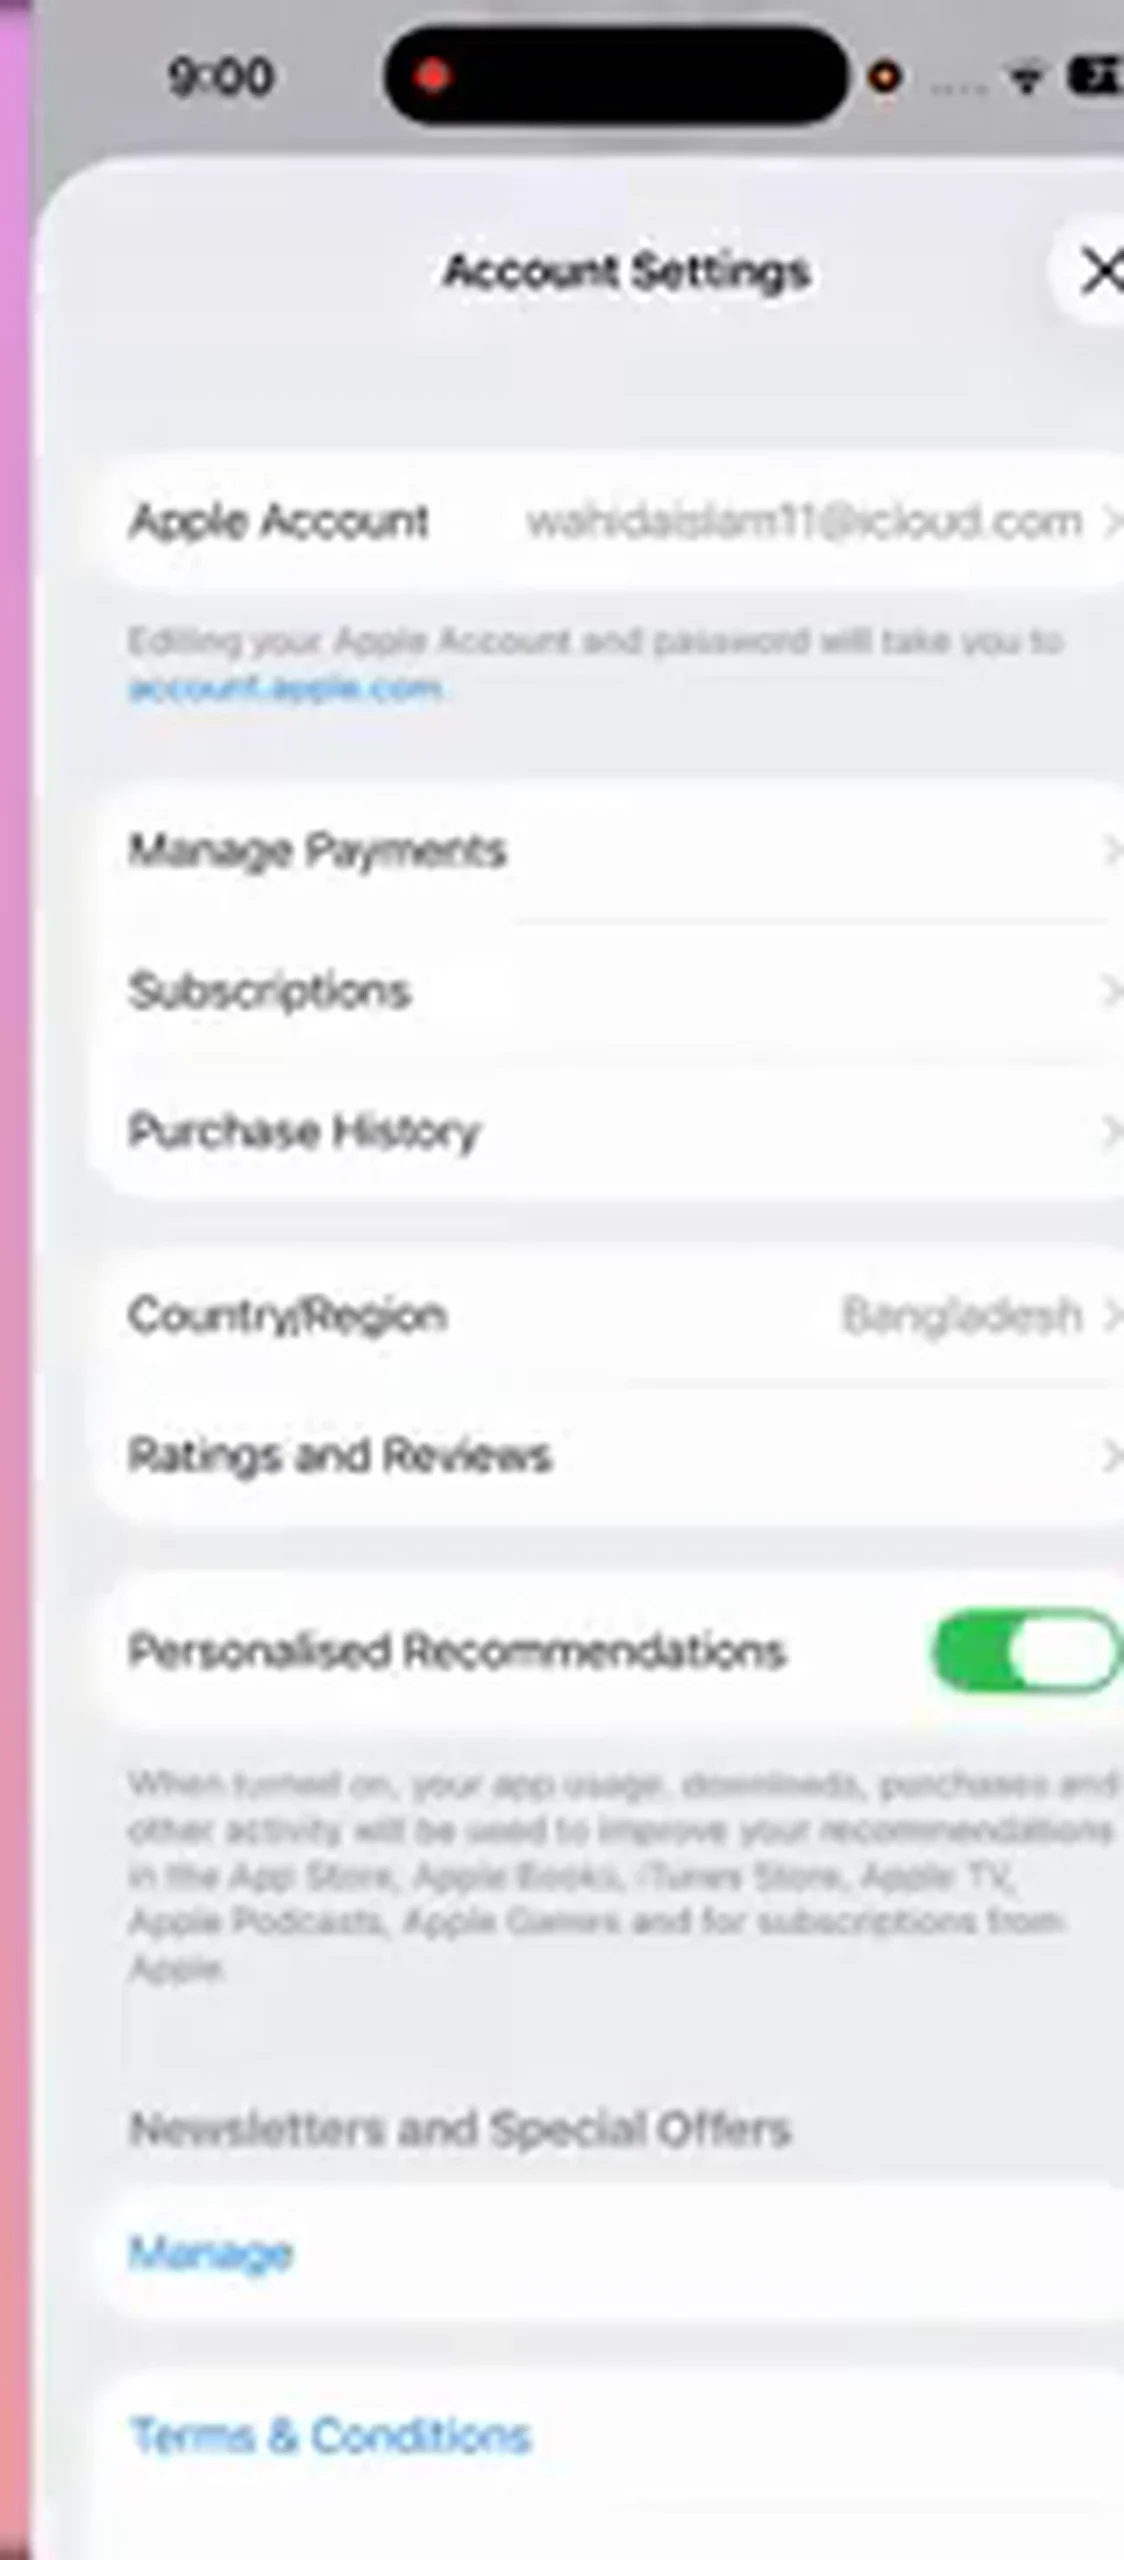
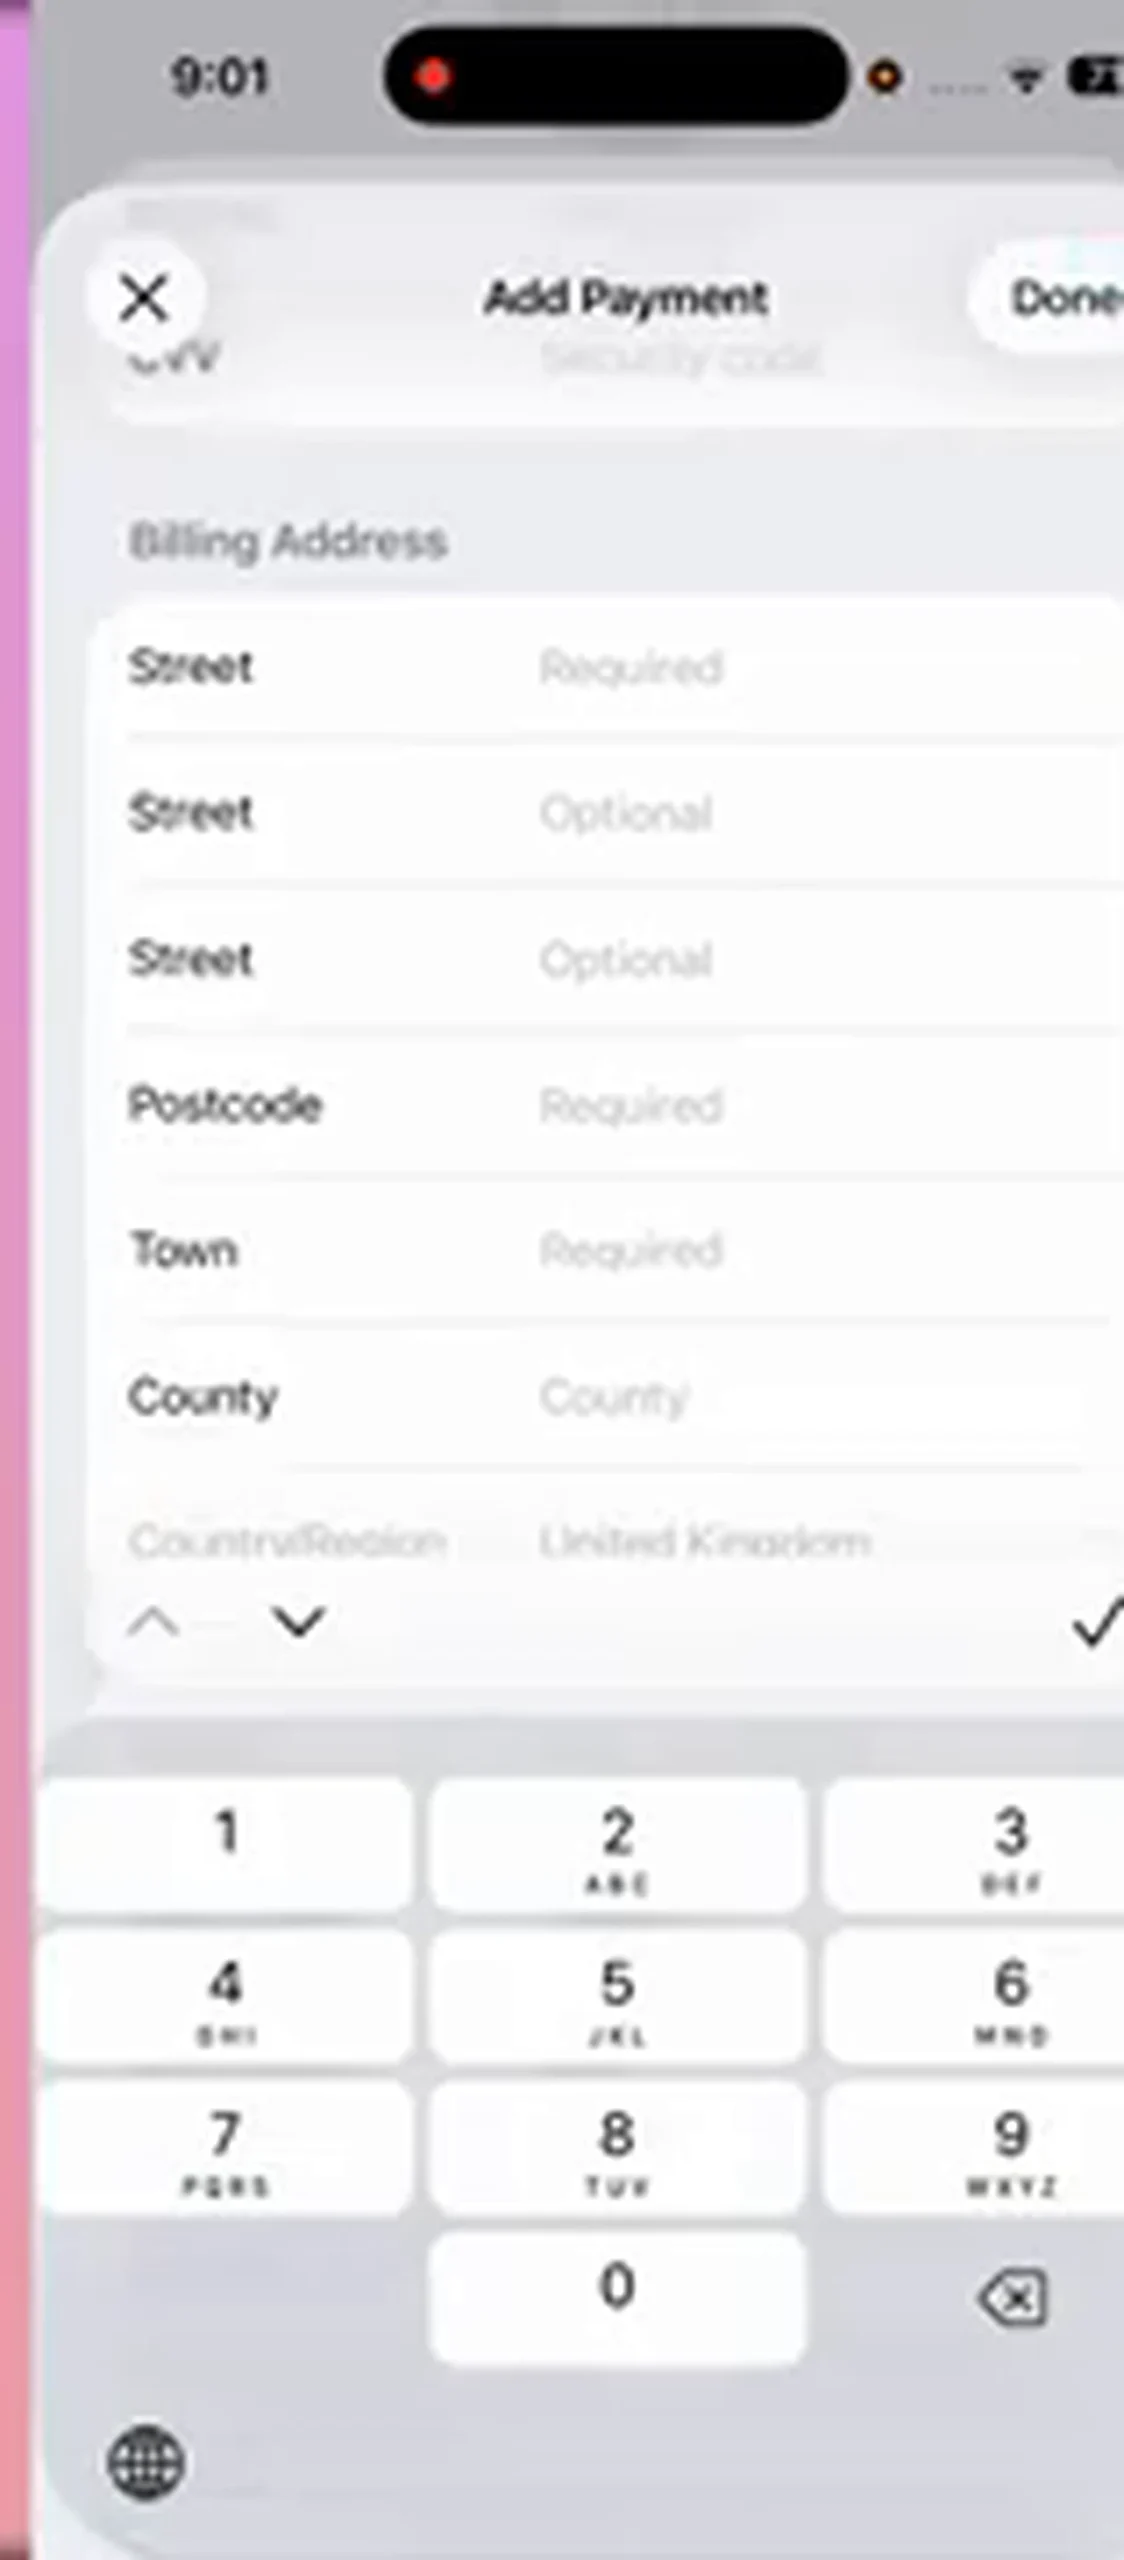
You do not need a card: select None as the payment method and leave the card fields empty. You do need a billing address for the region you chose, which the video finds through a web search and copies into the form. Type the country code first in the phone number field, before the number itself, as the video stresses, because omitting the code is the small mistake that makes this screen fail. Fill in the street, postcode, and town fields, check everything once, and tap Done. Then open the App Store, download a free app, and confirm with your passcode or Face ID. That first successful download is the test that matters.
Troubleshooting: The Questions Everyone Asks Next
Most messages after following this process are about the same handful of moments. Here they are, in the order you are likely to hit them.
Why does Apple say my email name is already taken?
The name before @icloud.com must be unique, and the obvious ones went long ago. Pick something personal but not obvious, rather than reusing the same rejected name with one digit changed ten times.
Why was my password rejected?
Usually because the password contains the name from your new email address. Apple refuses that outright. Choose a password with no overlap with the email name, long, with mixed case, numbers, and a symbol.
The verification code never arrived. What now?
That is expected here, not a mistake. Tap Did not receive a code?, choose Verify Later, and continue. Afterwards, add your own Bangladeshi number, as in Step 5.
Can I use my Bangladeshi number at the creation step?
No, not in this flow. A Bangladeshi number at that step does not receive the code, and the flow stalls. That is why creation uses a different country and number, with your own number added immediately afterwards.
The None option is missing on the payment screen. Why?
Usually because the region change has not fully gone through, or an unpaid balance or subscription is tied to the account. Complete the Country/Region change, tap Agree on the new terms, then reopen the payment screen.
Apple asks me to verify the account again later. Is it locked?
Not necessarily, but take it seriously. An account created with a number you do not control can be asked to prove itself again, which is why your own number from Step 5, two-factor authentication, and a recovery method matter so much.
Do I need to pay anything for this?
No. Creating the account, the iCloud address, choosing None, and downloading free apps are all free. Anyone charging you to create an Apple ID is selling something Apple gives away.
Keep the Account Safe Once It Exists
A new Apple ID soon becomes the key to everything: photos, contacts, messages, purchases, and finding the phone if it is lost. Turn on two-factor authentication, set a recovery method, and make sure the email and number on the account are ones you can still reach a year from now. Never share the password, and keep a record of the iCloud address and password location. People rarely lose Apple IDs to hackers; they lose them to a forgotten password, a dead number, and a dead recovery email, all at once.
That is the whole method: start in Settings, create with an iCloud address, get past the phone step with Verify Later, add your own number straight away, change the region, choose None, and test it with a free download. Pay attention at the two places where everyone rushes, the password rule and the country code first in the phone field, and the iPhone that would not download anything yesterday will install apps today. If you get stuck, leave a comment with the exact screen and message you see; that detail is what makes an answer possible.