Picture an old laptop with 4 GB of RAM, a fan that spins up the moment you open a browser, and a class lecture starting in ten minutes. You press record, the mouse starts dragging, the audio drifts, and the video stutters every time you switch windows. The lecture is gone, and the recording is barely watchable. This guide solves that problem — not by buying a new machine, but by matching the recorder to the machine you already own.
The video behind this guide compares three options on a real Windows setup: OBS Studio, the recording built into Windows, and a small paid recorder called ApowerREC.
The Shootout at a Glance
Here is the whole comparison in one place. Find the row that matches your machine, then read on for the settings that make it work.
| Recorder | Cost | Footprint on a weak machine | Strongest point | Weakest point |
|---|---|---|---|---|
| OBS Studio | Free | Heavy — about 3.5 GB of RAM in the video’s Task Manager check | Scenes, sources, streaming, full control | Too heavy for 2 GB or 4 GB of RAM |
| Windows built-in recording | Free, already installed | Light | Nothing to install; fine for a quick clip | Fewer controls, no annotation tools |
| ApowerREC | Paid software | Light — about 560 MB of RAM while recording, 70–80 MB installed | Small and simple, with annotation built in | Paid; its toolbar does not show when another recorder films it |
If OBS already runs smoothly on your machine, keep using it. It is free, and nothing here beats it for streaming or multi-source work.
The Three Contenders
OBS Studio is the tool most tutorial makers start with, and for good reason. It records, streams, and mixes audio from several sources. The trouble is memory: in the Task Manager check later in the video, OBS sat at roughly three and a half gigabytes of RAM while recording. On a machine with 16 GB of RAM that is a shrug. On a machine with 4 GB, one program can leave almost nothing for the browser or the presentation being recorded — and that is when the stutter starts.
Windows 10 and Windows 11 both ship with screen recording built in, and many people never open it. It captures a window without installing anything, and costs no RAM worth worrying about beyond what Windows already uses. For a one-off clip — showing a relative how to change a setting, or saving a short call — it is often enough. Its limits show up when the job gets longer: no simple way to draw an arrow while you talk, and no highlight for the mouse.
ApowerREC is the surprise. The installer is only around 30 MB, and the installed program takes roughly 70 to 80 MB of disk space. Open it and the whole interface is one small dark window: a mode dropdown, four big choices, and a red REC button.
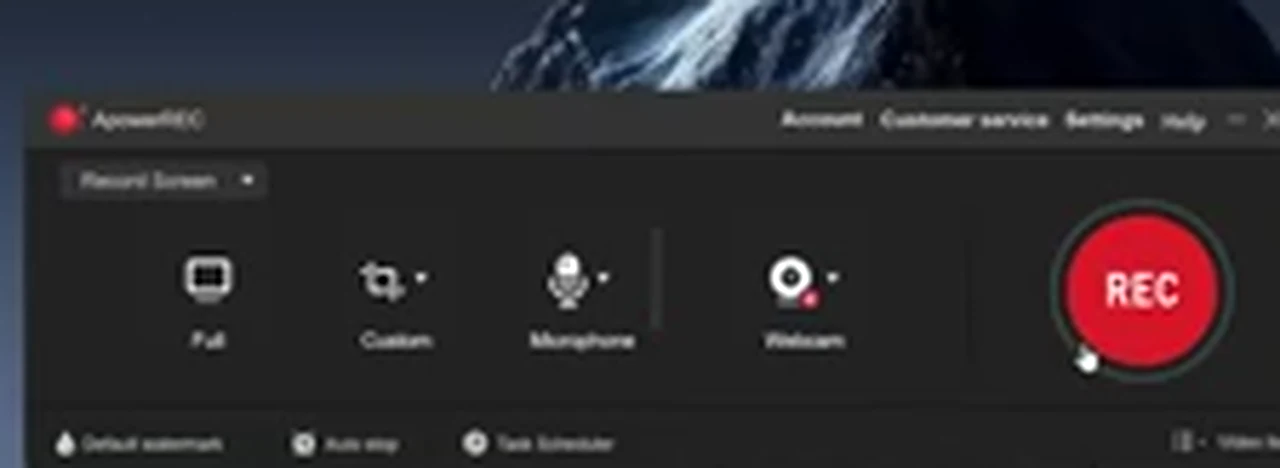
The four choices map neatly to real jobs. Record Screen captures the display. Record Window captures one chosen window and ignores the rest, so a notification elsewhere never sneaks into the frame. Audio records sound only, and Webcam records the camera if one is connected. ApowerREC is paid software, downloaded from the official website. Do not hunt for a cracked copy — a modified installer on a machine that is already struggling can turn a recording problem into a much bigger one.
Pick by Your Machine, Not by the Hype
With 2 GB or 4 GB of RAM, choose the lightweight recorder and use the low-end settings below. With 8 GB, try the built-in Windows recorder for short clips, and the lightweight recorder if you record often or need annotation. With 16 GB of RAM or more, stay with OBS — you have the RAM, and you get scenes, streaming, and fine audio control a small recorder cannot match.
The RAM Proof, With a Caveat
With a recording running, the creator opens Task Manager. ApowerREC is using roughly 560 MB of RAM. OBS Studio, on the same machine at the same time, is using about 3.5 GB. That six-fold gap explains in one glance why the same lesson stutters in one recorder and flows in the other.
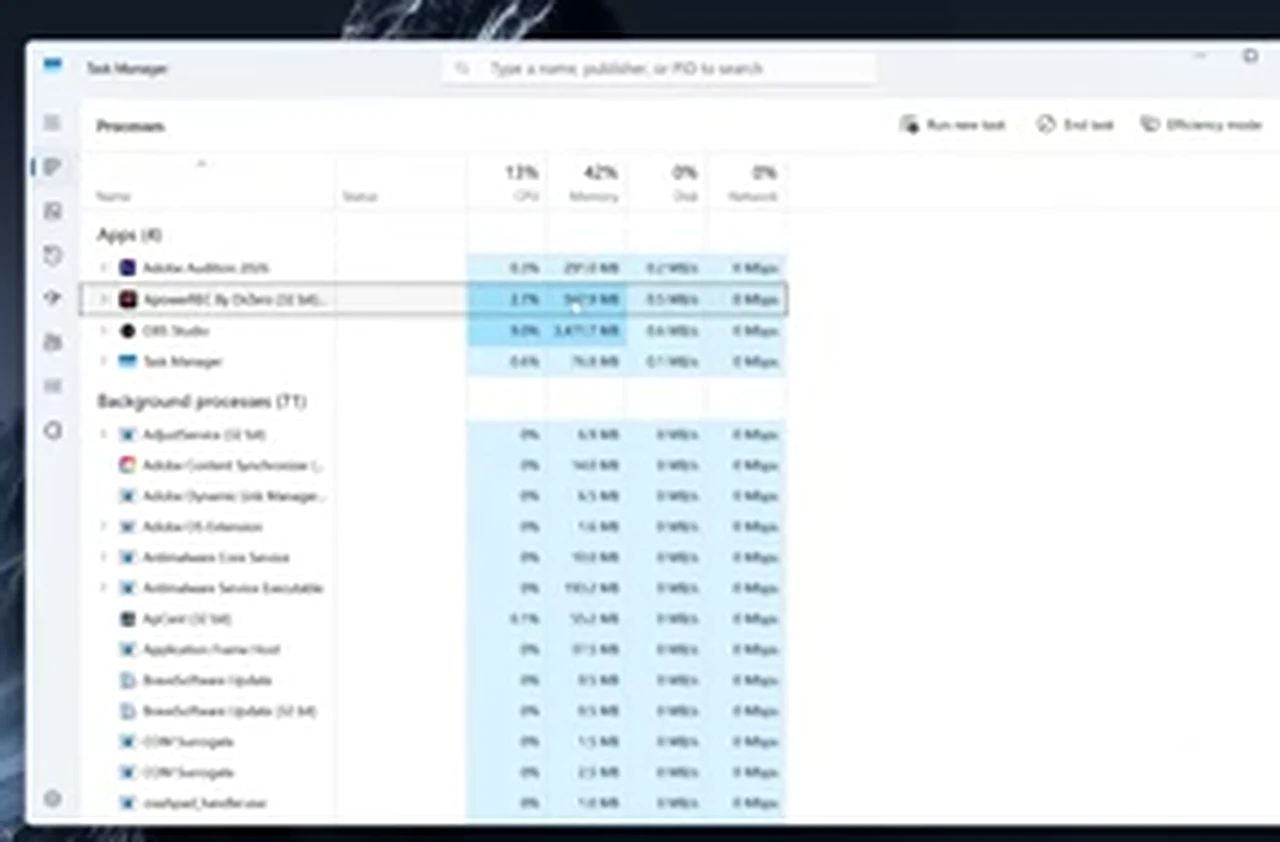
The caveat matters. That check ran on a powerful machine with a 4K monitor, while other programs were also running. Your numbers will differ, but the direction will not: the small recorder asks for a fraction of what the studio asks for. Run your own thirty-second test before any important session.
Set It Up the Low-End Way
1. Area: Full, or Custom
Full records the whole display, taskbar and all. Custom lets you drag a rectangle around just the part that matters — one app, one slide, one browser tab. On a weak machine, Custom is a quiet performance win: fewer pixels to capture and a smaller file. Use Full when the lesson moves between apps, Custom when it stays in one place.
2. Audio: four options, one right answer each time
The audio choice fails silently when it is wrong — you discover it only at playback. System sound records what the machine plays: a lecture, a meeting, a video in a browser. Microphone records your voice. System sound and microphone records both, which is what a narrated class usually needs. Record without audio records neither, for a silent demo you plan to narrate later.
3. Fix the microphone before you blame it
If the microphone is selected but the level meter does not move, open Settings instead of raising your voice. The dropdown may say Default, meaning the program picks whichever microphone Windows treats as active. With a headset, a USB microphone, and a laptop array connected, Default can pick the wrong one. Choose your exact microphone by name and watch the meter while you speak a test sentence.
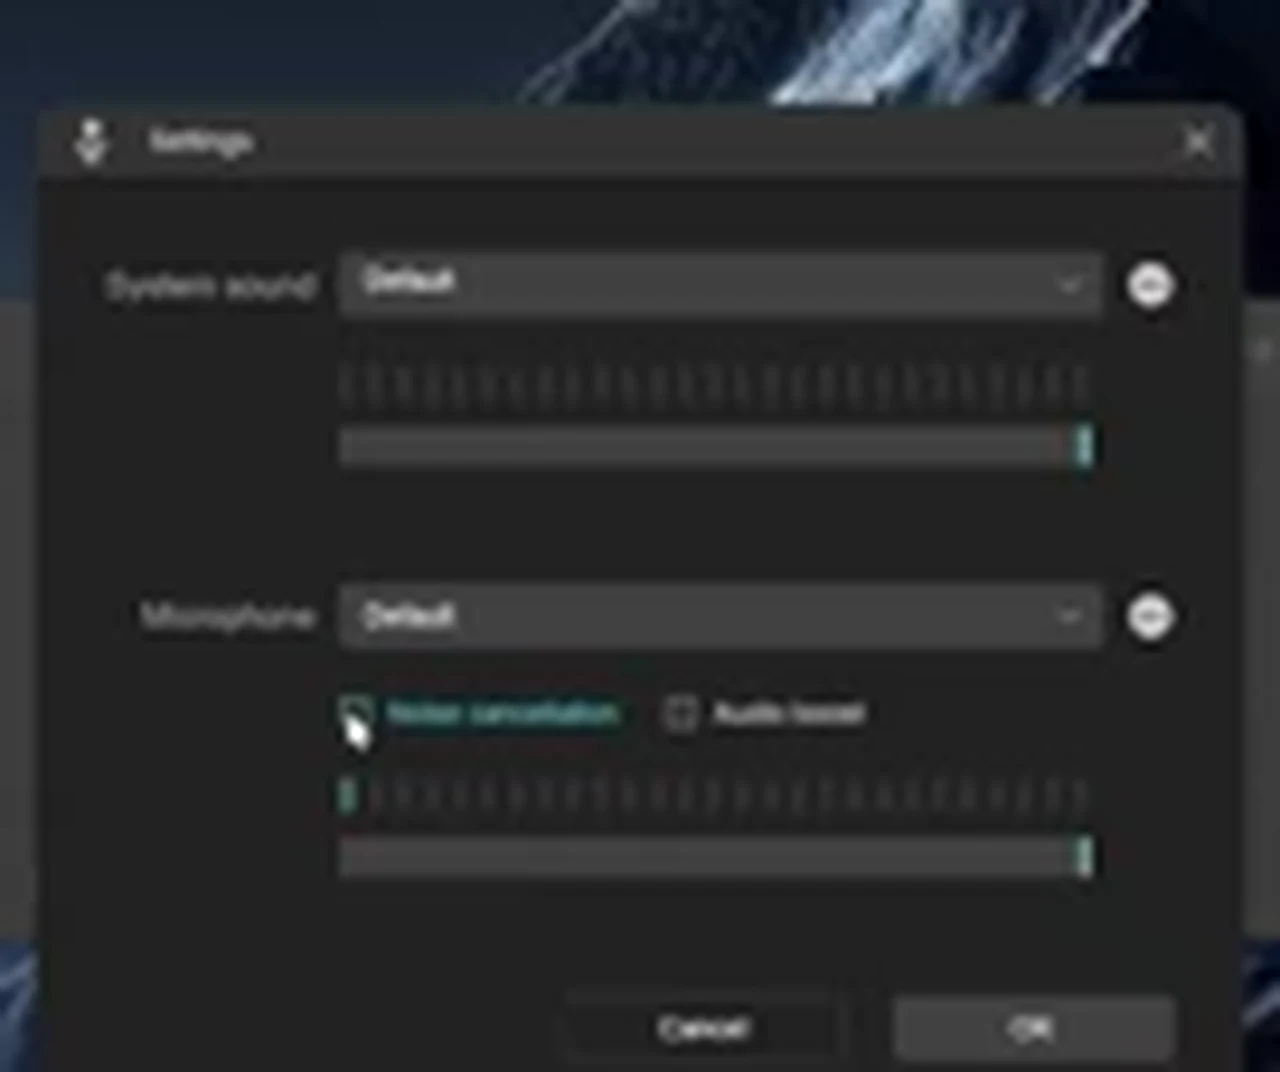
Two checkboxes sit under the microphone choice. Noise cancellation can help a noisy room, and audio boost can lift a faint microphone — but the creator leaves both off, because he records audio separately for editing. If you are not editing separately, turn one on, record ten seconds, and listen with headphones.
4. Output: the numbers that decide file size and smoothness
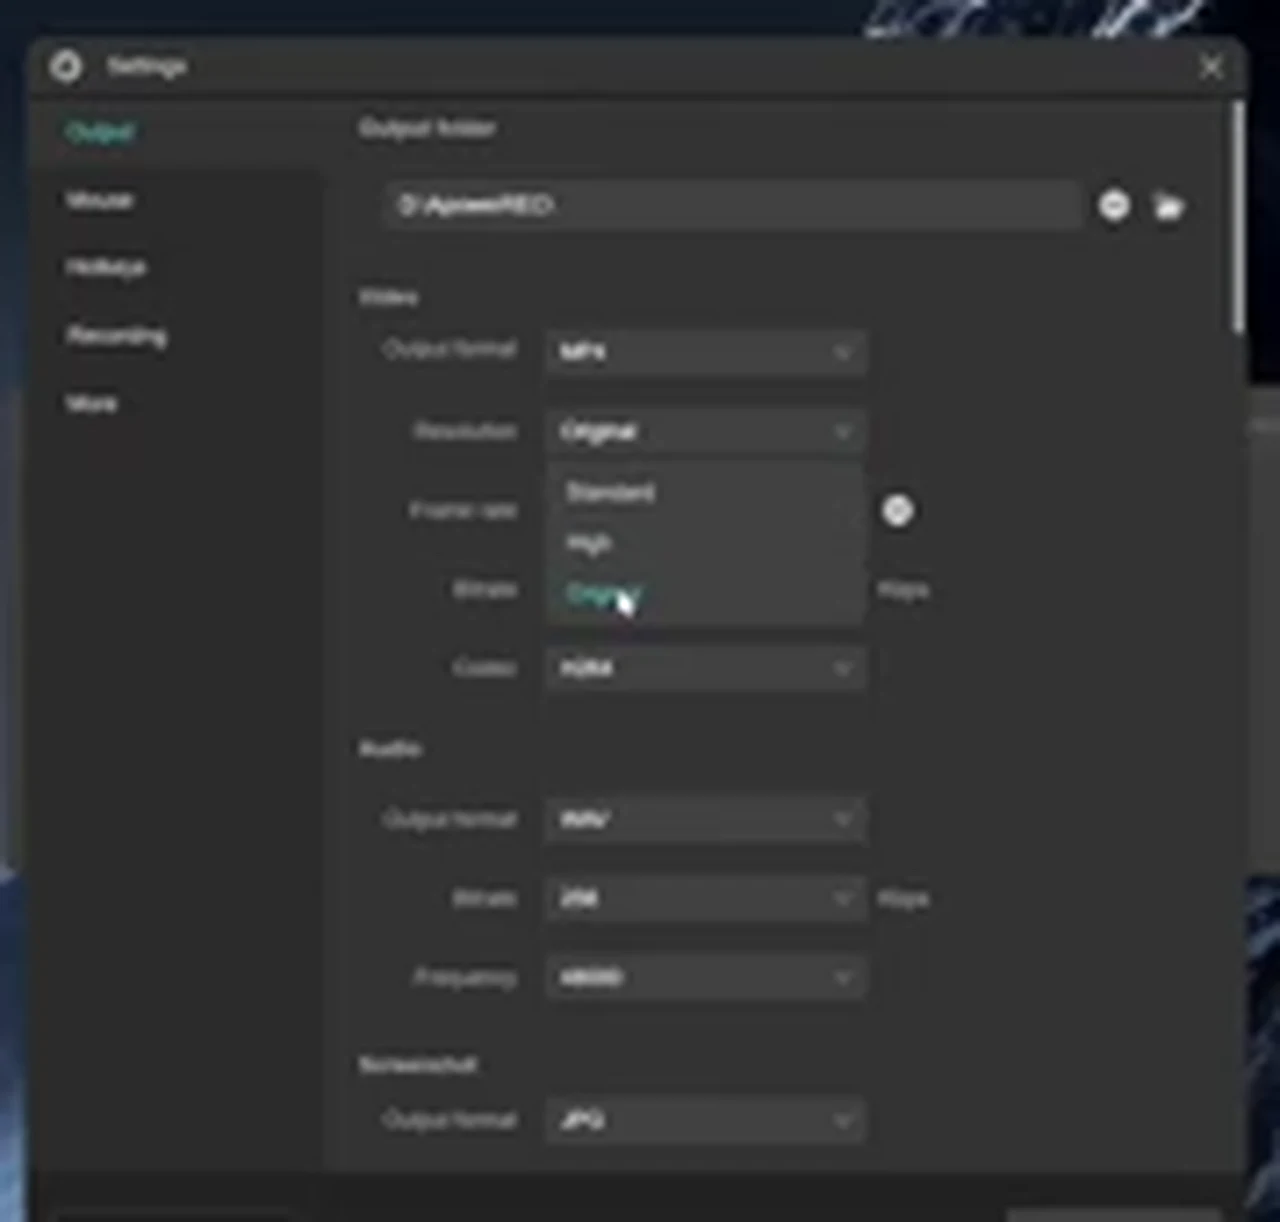
Under Output in Settings, the video format is MP4, which plays everywhere — leave it there. Resolution is set to Original, meaning the recording matches your display exactly. On the creator’s 4K monitor that produced a 4K recording: great for quality, punishing for storage on a weak machine. If your display is 4K and your machine is old, drop the resolution one step. Frame rate is 24 by default; the creator uses 25 to match his other videos, and either is fine for a lesson. For audio, the default is MP3, but the video switches to WAV with the bitrate at maximum, since WAV keeps more of the original sound.
5. Mouse effects: small, but viewers will thank you
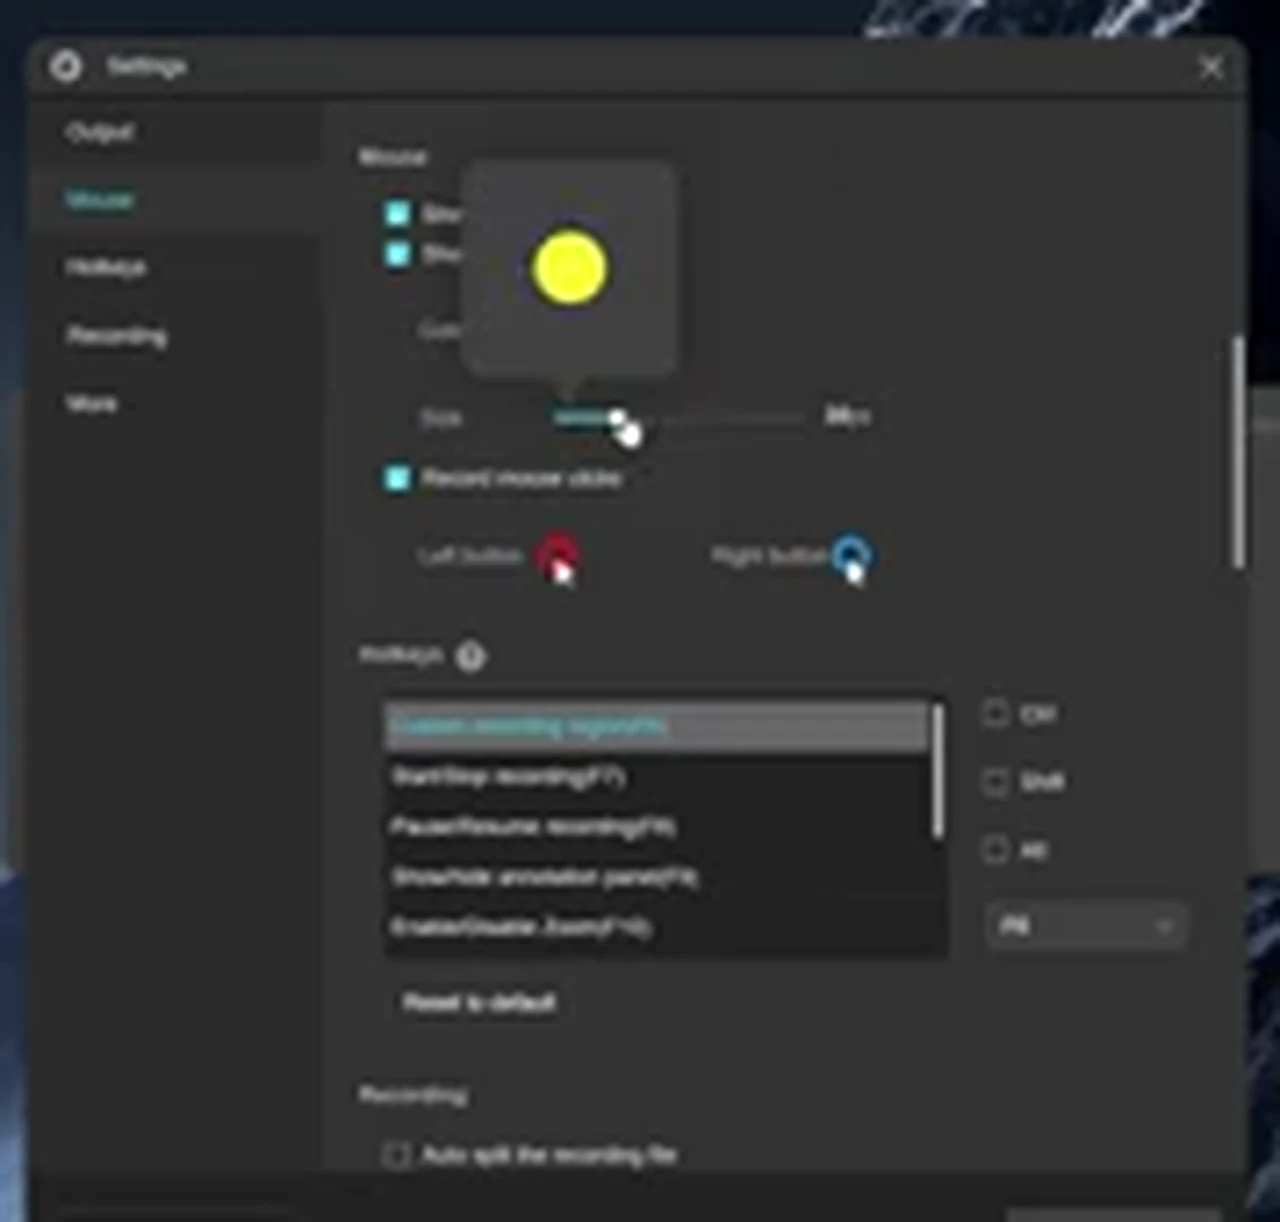
The mouse settings are off by default, and turning them on is the cheapest improvement in the whole program. A left click draws a red ring, a right click draws a green circle, so viewers following a menu can see which button you pressed. Show mouse area adds a small yellow highlight that follows the cursor; keep it small, because a giant glow distracts from the thing being pointed at.
Recording Day: What Happens When You Press REC
Press REC and the program counts down — three, two, one — then starts. Use that countdown to move the mouse to its starting position and let the screen settle. While recording, a small floating bar shows elapsed time with pause and stop controls. It is an overlay for you only, and it is not captured in the finished video, so use pause freely for a cough or a doorbell.
The annotate button opens a toolbar that is the program’s best teaching feature. Draw a rectangle around a button, an arrow at a menu, a line under a heading, or a highlight over a sentence, or open a whiteboard for a quick sketch. One warning: the spotlight tool, which darkens everything except one area, can throw errors in the creator’s experience, and he does not recommend it.
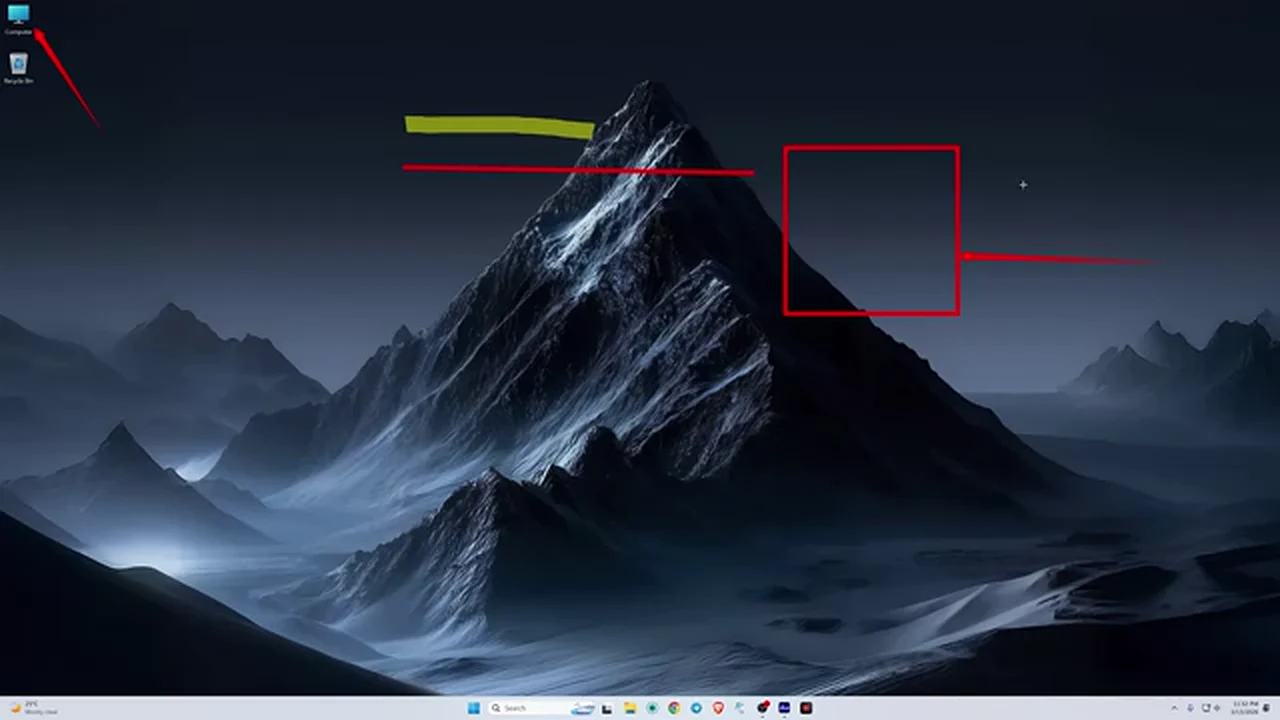
One oddity is worth knowing. The floating bar and annotation marks did not appear when the creator captured ApowerREC with OBS, and part of the video was re-shot on a phone so viewers could see the tools. They are not broken; they work in the recording ApowerREC makes itself.
After You Stop: The Thirty-Second Playback Check
Press stop and the recording opens in the program’s own player. Watch the first twenty seconds and skip to a middle section, checking your voice, the system audio if you needed it, and the mouse effects where you clicked. In the video’s playback, the red annotation rectangle is visible on the finished clip.
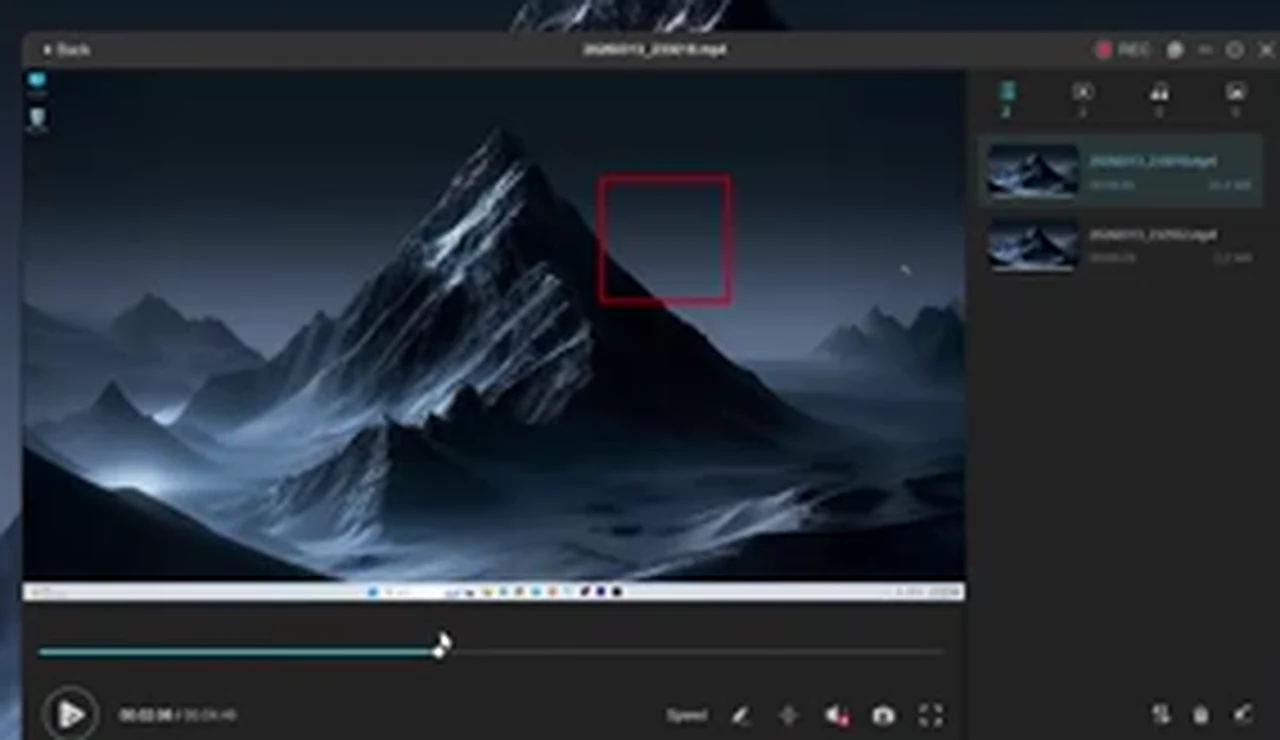
If playback is silent, the audio choice was wrong. If the video stutters but audio is fine, the machine was overloaded: close background apps, switch from Full to Custom area, or lower the resolution one step. If the file is far larger than expected, the resolution setting is the usual culprit, especially on a 4K display left on Original.
The Recording Checklist
- Before: close unneeded tabs and apps; pick Full or Custom area; pick audio by the one-question test; speak a test sentence and watch the meter; turn on mouse effects, kept small; check Output settings; silence notifications.
- During: use the countdown to settle; pause for interruptions; annotate sparingly; leave spotlight off; pause half a second on each click.
- After: play the first twenty seconds and one middle section; confirm voice, system audio, and mouse effects; check file size; rename the file while you remember what is in it.
When Not to Choose the Lightweight Option
Choose OBS when you stream, layer a webcam over gameplay, switch scenes live, or have RAM to spare and want fine audio control. Choose the built-in Windows recorder when the job is one short clip and you would rather not install or pay for anything. Choose the lightweight recorder when the machine is old, the job is one screen and one voice, and the recording must simply work. A recorder that stays small, stays simple, and stays out of the way is not the best recorder in the world. It is the best recorder for a low-end machine, and knowing the difference keeps a lesson from stuttering away.
Frequently Asked Questions
Is ApowerREC free?
No. The video describes it as paid software, downloaded from the official website. If the price is a barrier, start with the free recorder built into Windows, and move to a paid lightweight tool only when you record often enough to feel its limits.
Will it run on 2 GB of RAM?
The video is aimed at machines with 2 GB or 4 GB of RAM, and the small footprint is its main selling point. Nothing guarantees smooth recording on every old machine — close everything unnecessary, use a Custom area, and run the thirty-second test first. If the test stutters, lower the resolution before giving up.
Why is my recording silent?
Almost always, the audio option was wrong. Microphone alone will not capture a lecture playing on the machine; system sound alone will not capture your voice. Pick the combined option for a narrated class, and confirm the exact microphone is chosen by name in Settings.
Record one short test on your own machine today, before the lesson or meeting that actually matters. Ten seconds of setup, thirty seconds of playback, and you will know whether your machine and your settings agree — a much cheaper discovery than a stuttering hour-long recording made in hope.