The pendrive is the problem. It is in another bag, it stopped being recognized, or there simply is not one in the house — and the old computer on the desk still needs Windows. Most guides start the same way: make a bootable USB, restart, press the boot-menu key, and hope the machine sees the drive. This guide starts somewhere else. It shows how to install Windows 11 Lite without USB, from inside the Windows that is already running, by opening the installation files on the hard disk itself.
One clarification first, because this site already has two guides that sound close to this one. Our clean install of Windows 11 26H2 uses a bootable USB and boots from the pendrive. Our Zorin OS guide is also without USB, but it installs Linux, keeps Windows, and builds a small FAT32 partition to boot from. This guide is the third combination: Windows 11, in its light LTSC form, without USB, with no boot menu and no second partition — setup runs from a folder on drive C: and replaces the Windows already there.
The Honest Part Comes First
The warnings come first here, because they change whether you should start at all. The build in the video is Windows 11 IoT Enterprise LTSC 2024, Evaluation edition, made for fixed-purpose machines — cash machines, point-of-sale terminals, factory equipment. The presenter is blunt: this is not built for long-term everyday use. He says it is normally offered as a 90-day trial, and warns of the security risk in running it as a daily system. Do not install it as the only system on the computer you use for banking or work you cannot afford to lose. Read the terms on the download page yourself first.
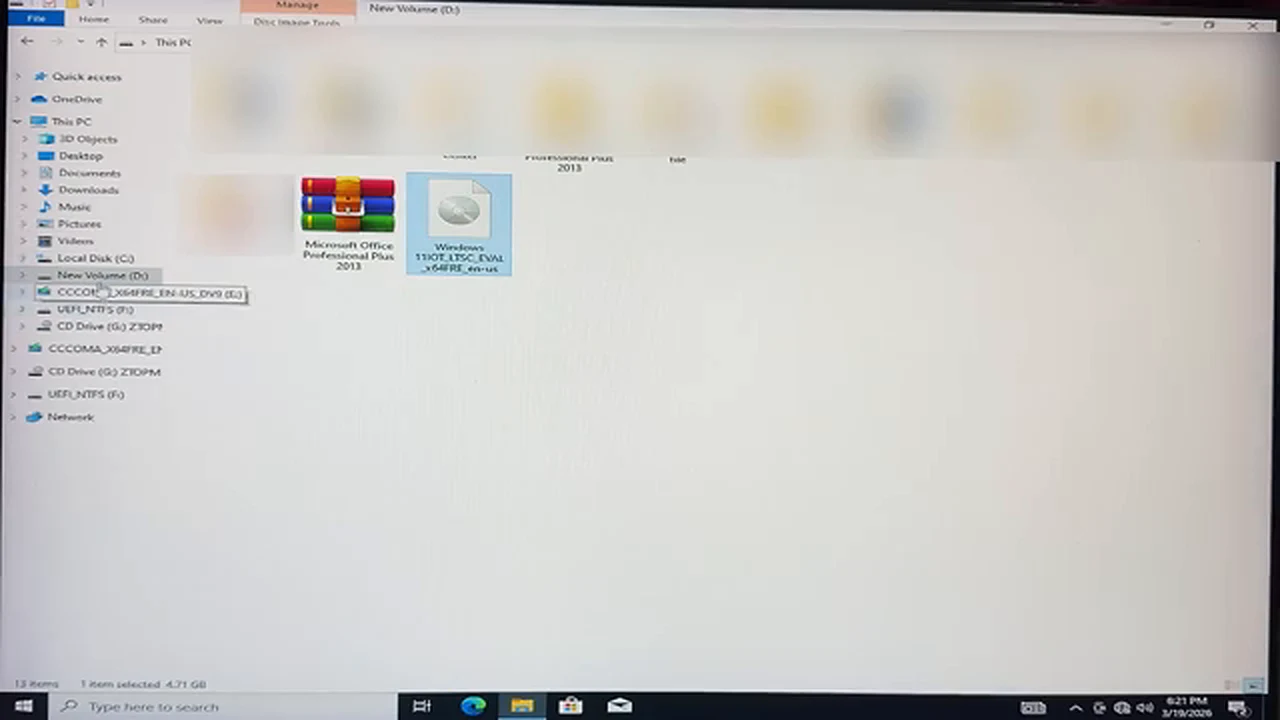
The appeal is real for an old machine. File Explorer in the video shows the ISO at 4.71 GB, against roughly 8 GB for regular Windows 11, because unused apps and extras have been stripped out. Light is not the same as supported for years, though — if long-term support matters more, choose a different build, as explained at the end.
USB Install vs. This No-USB Playbook
| Step | Classic USB install | This method |
|---|---|---|
| Installer lives on | A bootable USB drive | A folder on drive C: |
| Starting point | Restart and boot from USB | Double-click setup.exe inside Windows |
| Boot menu key | Needed | Not needed |
| Your files and apps | Wiped in a clean install | Wiped too — “Nothing” is the only real choice |
| During restarts | Remove the USB at the right moment | Touch nothing; the PC restarts on its own |
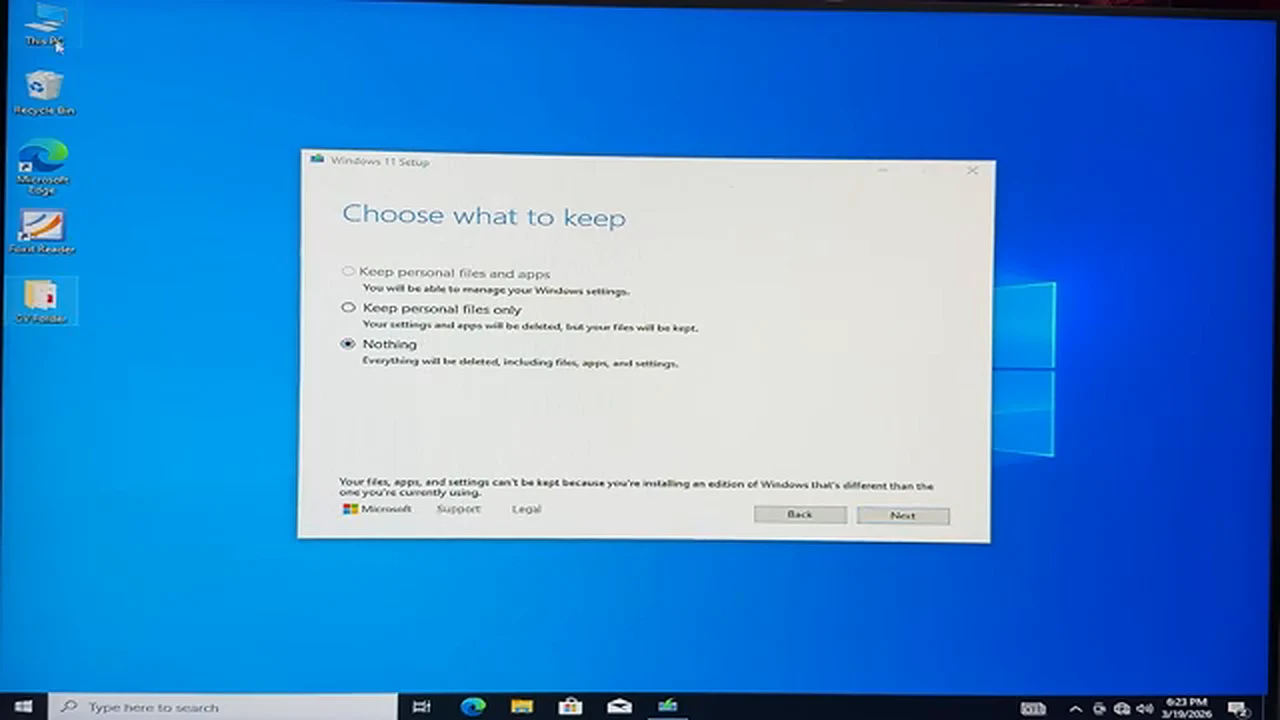
The row that surprises most people is the files row: going without USB does not save your files. Setup explains why in plain words — because you are installing a different edition of Windows from the one on the machine, your files, apps and settings cannot be kept. “Nothing” is the choice the installer forces, and the backup below is the whole safety net.
What You Are Actually Downloading
Search for “Windows LTSC download” and open the first result, which in the video is Microsoft’s Evaluation Center page. Its heading reads “Please select your Windows 11 IoT Enterprise LTSC download”, with two files. Almost everyone needs the first: “ISO – Windows 11 IoT Enterprise LTSC 2024 Evaluation, x64 or AMD64 edition”, for ordinary Intel and AMD processors. The second, ARM64 edition, is for ARM-based processors, which most older desktops and laptops do not have. If you are unsure which processor you have, check in Settings or your machine’s specifications before downloading.
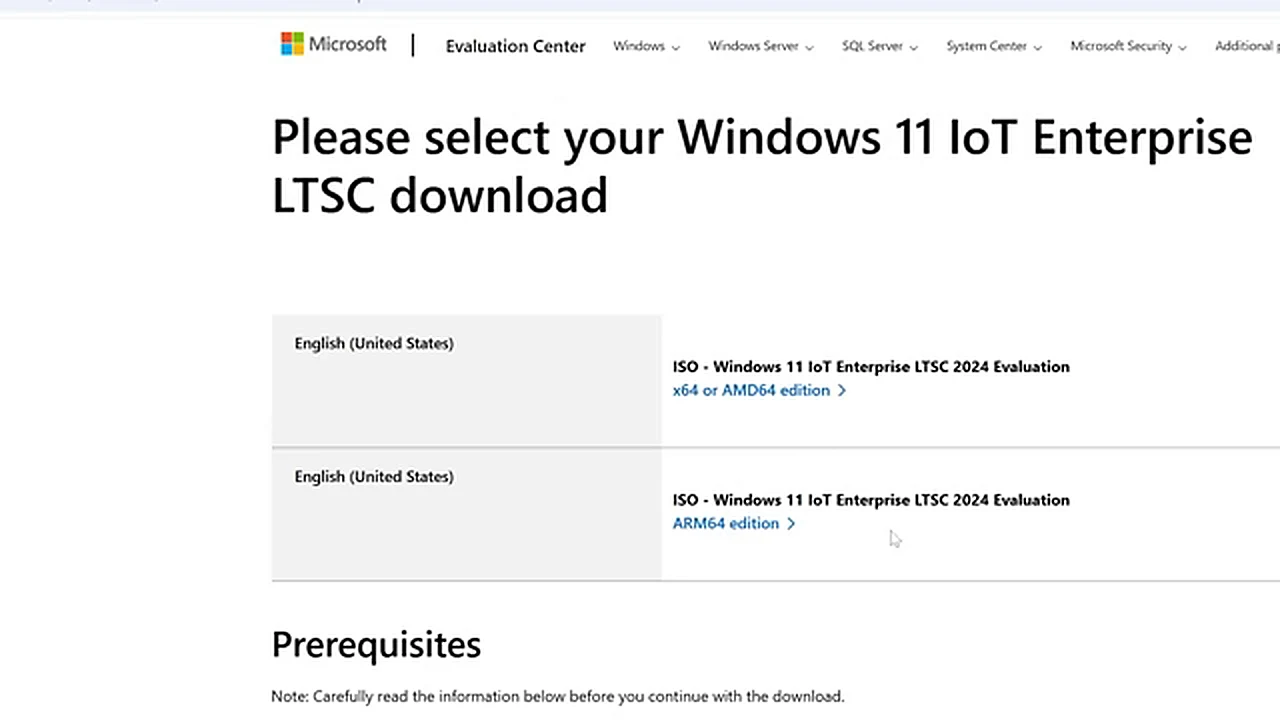
Clicking the x64 edition starts the download. The presenter already had the file, so he does not download it again on camera — and on a weak connection this is the slowest part of the job. Start it early, let it finish completely, and do not extract a half-downloaded ISO.
Before You Start: Backup and Free Space
Everything on the system drive is going: photos, documents, bookmarks, installed programs. Copy what matters to another drive or cloud storage, and open a couple of the copied files to prove the copy worked. You also need room: the ISO is 4.71 GB, its extracted copy takes similar space again, and the new Windows needs working room on top of that — all on drive C:. If C: is nearly full, free space first or stop here. You need a working Windows installation to start from, plus WinRAR or another tool that can extract an ISO.
Phase 1: Get the ISO Onto the Machine That Needs It
The presenter downloads on one computer and moves the file to the machine he installs on, carrying it on a pendrive used purely as storage. The pendrive here is a suitcase, not a boot device: it never boots anything. If both jobs happen on the same computer, skip the move. If you do move the file, copy it onto a drive on the target machine and confirm it opens as a disk image. Do not extract it on the other computer and copy the extracted folder across; extract it where it will be installed.
Phase 2: Extract to C:\Win11 — Folder First, Never the Root
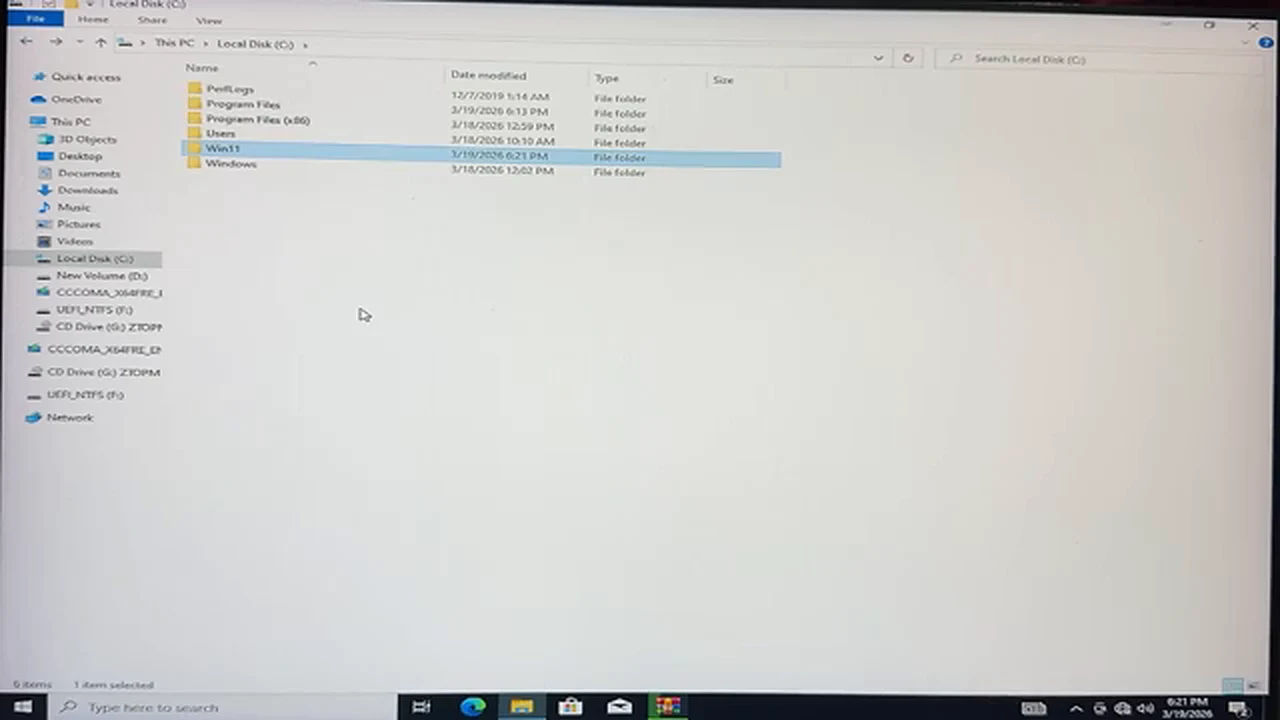
Right-click the ISO and choose Extract Files. Go to Local Disk (C:), but do not extract straight into C: itself. The presenter is explicit: create a folder first. Open C:, right-click in an empty area, choose New, then Folder, and name it Win11. Then right-click the ISO again, choose Extract Files, select the Win11 folder, and click OK. When extraction finishes, the folder holds the full ISO contents, including setup.exe. Leave it there.
Phase 3: Run Setup From Inside Windows
Open C:\Win11 and double-click setup.exe, then click Yes when Windows asks for permission. The “Windows 11 Setup” window opens over your current desktop. You never left Windows, never saw a boot menu, never pressed a key to start from another device. The window says “Checking your PC”, then “Making sure you’re ready to install”. Both stages need patience, so do not start heavy programs behind it. In the video this runs on a Windows 10 desktop — the download is covered from Windows 11 and the installation from Windows 10, and the method is the same either way.
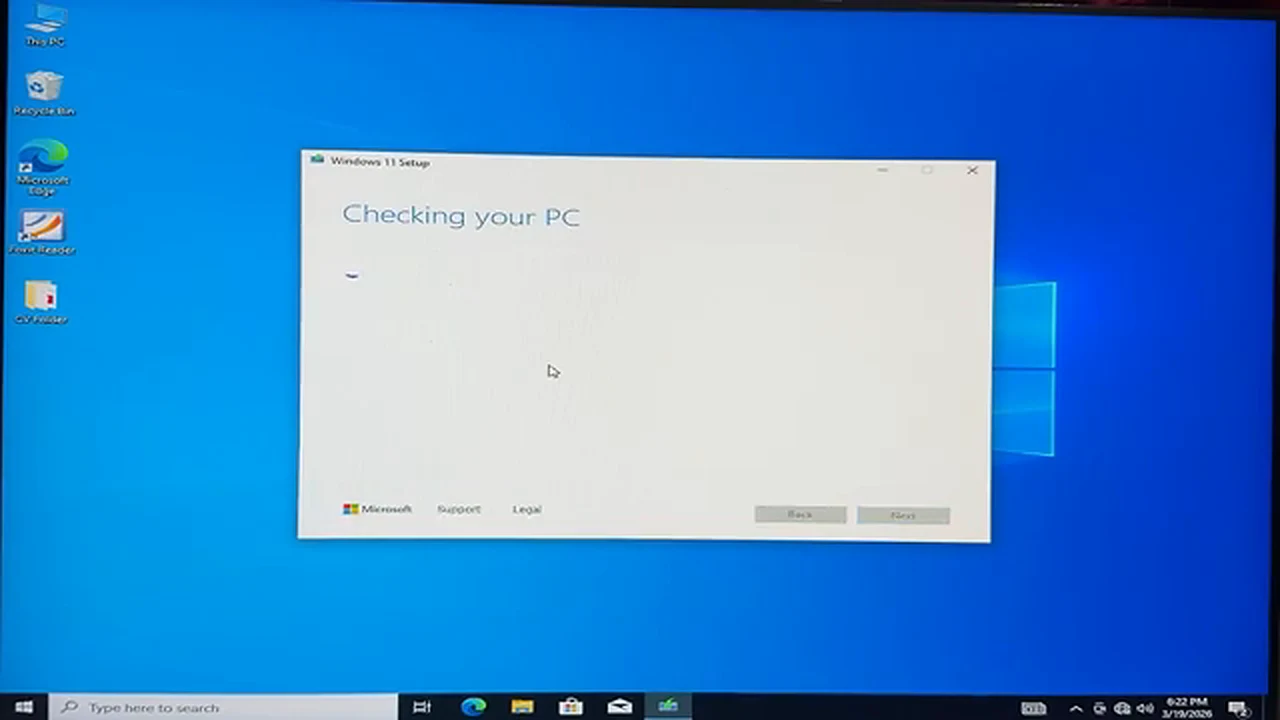
Where is the bypass? Anyone who has put regular Windows 11 on an older machine expects registry edits or commands to skip the TPM and processor checks. The presenter says you do not need any of it here, because this IoT Enterprise edition carries no such minimum configuration demand. Take that as what the video shows, not a promise for every machine: if setup stops you with a compatibility message, believe setup and stop.
Phase 4: Choose “Nothing”, Press Install, and Walk Away
The “Choose what to keep” screen offers three options: keep personal files and apps, keep personal files only, or Nothing. In the video, “Nothing” is selected, and the small print explains why: files, apps and settings cannot be kept when installing a different edition. This is your last easy exit — if the backup is not done, close setup now.
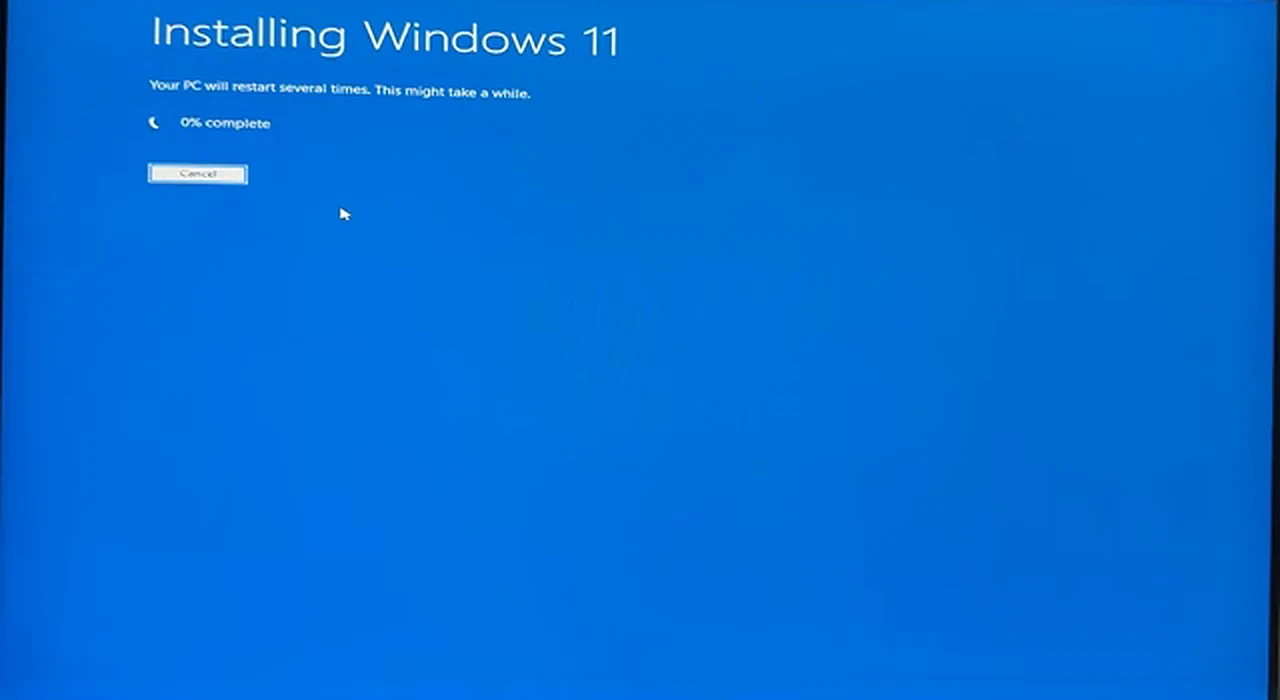
Click Next, then Install. The screen turns blue: “Installing Windows 11”, with a percentage and the warning that your PC will restart several times. In the video the counter is shown at 0%, then at 8%. Your job now is nothing. Do not press keys, do not switch the machine off because the percentage seems stuck, do not unplug anything. The computer restarts on its own — twice in the video — followed by a “Just a moment…” spinner. Unless an error message is on screen, waiting is the correct action.
Phase 5: First-Time Setup, Without an Account or a Cable
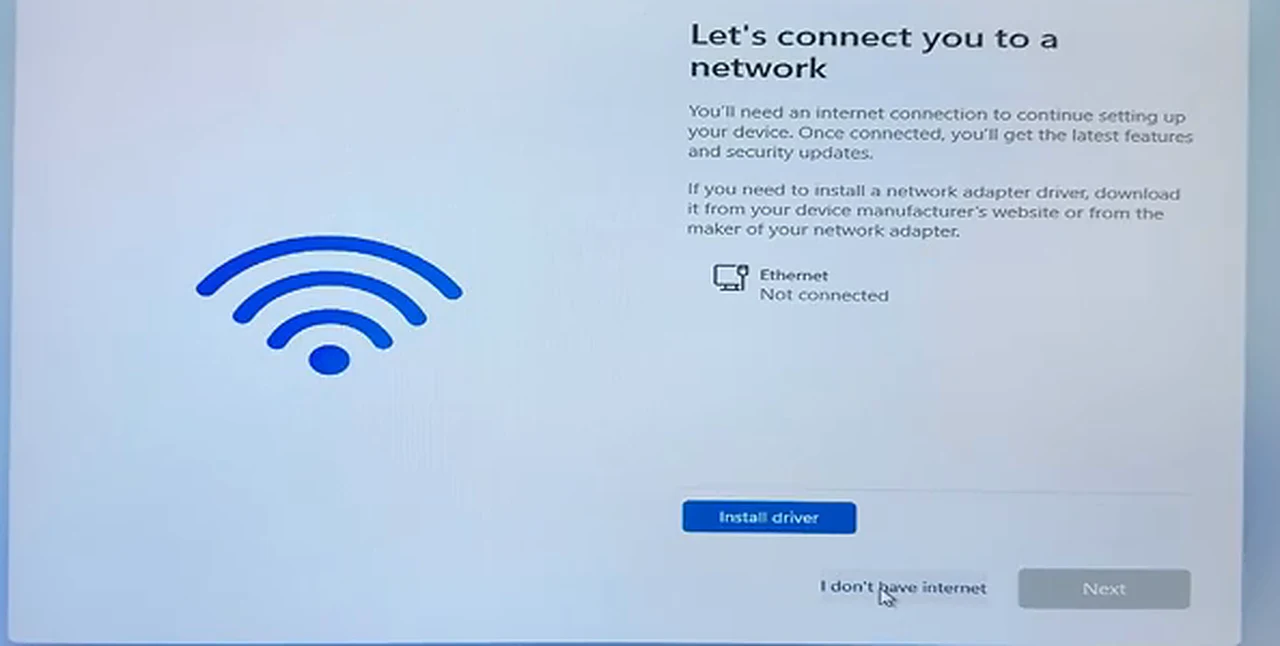
When the restarts finish, choose your country or region — Bangladesh in the video — and click Yes. The keyboard stays on US; click Yes again, then Skip the second layout. The network screen asks to connect you and shows Ethernet as “Not connected”. Click the small “I don’t have internet” link at the bottom. That lets you finish with a local account, with no Microsoft account sign-in forced mid-process.
Type a user name you will remember, set a password, confirm it, and answer the three security questions. Do not copy the video here: the presenter types random letters because he is filming a demonstration. You need answers you will actually remember. Then read the privacy toggles, click Accept, and wait for the final “Just a moment…” before the desktop appears.
Phase 6: The Desktop, the Watermark, and the Drivers
A watermark in the bottom-right corner names the build as Windows 11 IoT Enterprise LTSC Evaluation. The presenter expects it: without activation that notice stays, and he doubts normal activation will remove it on an evaluation build. Do not hunt for activation tools or keys from strangers — that road leads to malware far more often than to a clean system.
The desktop also starts empty, with no This PC icon. Right-click an empty part of the desktop, choose Personalize, scroll to Themes, open Desktop icon settings, tick Computer, and click OK. Refresh, and This PC appears.
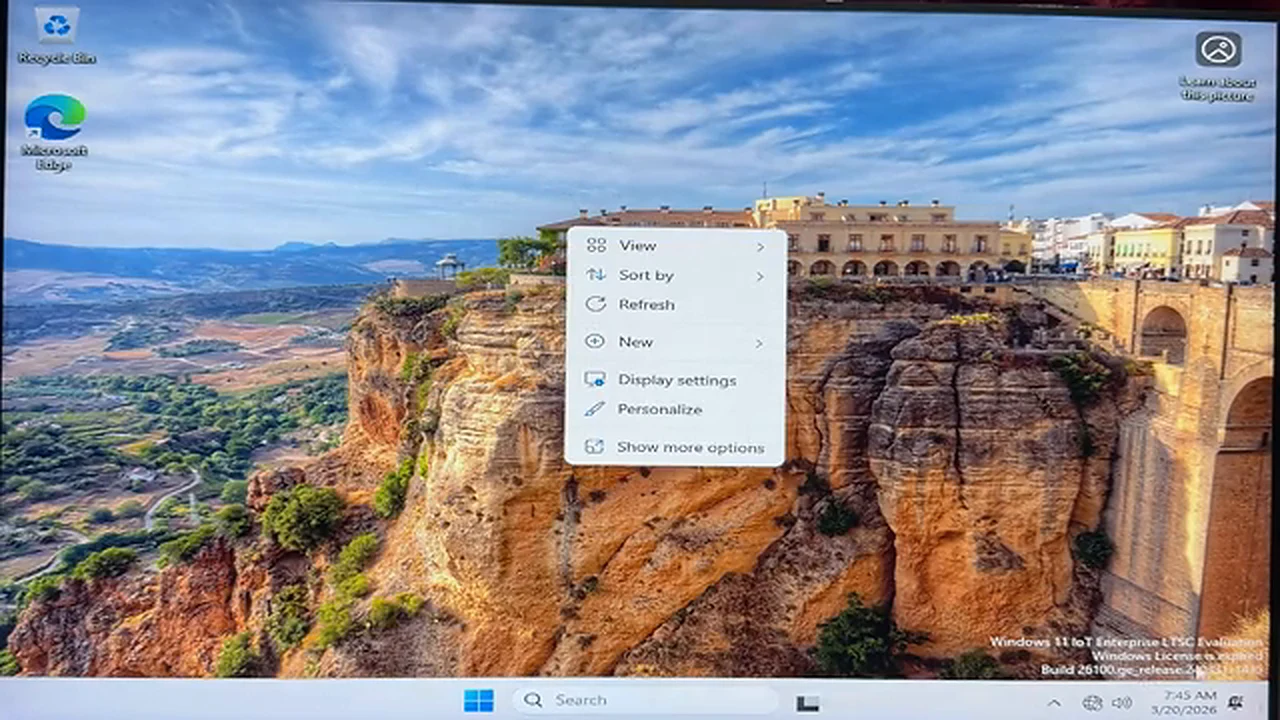
Now connect to the internet and open Windows Update. The presenter says Windows Update will download and install the drivers the computer needs, and the graphics problems visible right after installation should clear up once they land. Let updates finish, restart if asked, then check Device Manager for warnings. If a network adapter is missing entirely, get its driver from another computer, from the PC or motherboard maker’s website.
If Something Looks Wrong
Most failures happen before setup starts: extraction fails, setup.exe is missing, or setup cannot find the files. The cause is usually one of three things — the ISO did not finish downloading, the files were extracted straight into C: instead of the Win11 folder, or the ISO was extracted on a different computer. Extract again on the machine itself. If “Checking your PC” takes a very long time, leave it; it is slow on old hardware.
Who This Is For — and Who Should Choose Something Else
This fits a narrow situation: an old computer, no pendrive, a working Windows installation, and a short-term need — revive the machine, or see how the LTSC build behaves before deciding anything bigger. It does not fit a main computer needing years of security updates or a machine holding important work. For those, the presenter points to custom light builds such as Optimum 11. Our Optimum 11 guide covers one such build, and the official route is our USB clean install of Windows 11 26H2.
Frequently Asked Questions
Can I use this on a computer that will not boot?
No. Setup.exe has to run from inside a working Windows installation. A machine that will not boot needs a bootable installer — the USB route.
Will I lose my files?
Yes. Files, apps and settings cannot be kept when changing to this edition, and “Nothing” is the choice used in the video. Back up first.
Do I need a TPM bypass?
Not in the video. This edition installs directly, with no registry or command-window bypass. If setup blocks you, stop and believe the message.
Is the LTSC evaluation build safe for daily use?
Treat it as short-term. It is built for fixed-purpose machines, normally a 90-day trial, and the presenter warns of the security risk of long-term daily use.
Why is there a watermark on the desktop?
It identifies the build as an evaluation edition. The presenter expects it. Do not use activation tools from untrusted sources to try to clear it.