A dual-boot install looks like a list of steps. In practice, it is a short chain of choices, and three of them can cost you your files or your Windows boot if you pick the wrong side. This guide covers the installation the way you will meet it: one decision at a time, with the cost of the other option spelled out before you click. Windows 11 is already on the computer; Ubuntu goes beside it, so every start-up becomes a choice. The same decisions apply on Windows 10 or 8.1.
Before the first decision: watch it through, then back up
First, a choice nobody lists as a step: start clicking now, or watch the whole process once and then do it. Pick the second one. Once the installer writes partitions, there is no undo for a drive formatted by mistake. Copy anything you cannot afford to lose off the drive Ubuntu will share. Done right, the installation leaves Windows files alone. Done wrong, it can destroy them.
Decision 1: where the Ubuntu file comes from
The first fork is which download you trust. The safe pick is the official Ubuntu website, ubuntu.com, and the desktop download. The file is the ISO image: one large file containing the whole operating system. In the video it is Ubuntu 24.04.3 LTS, the long-term support release, with five years of free security and maintenance updates. It will not stop getting fixes in nine months.
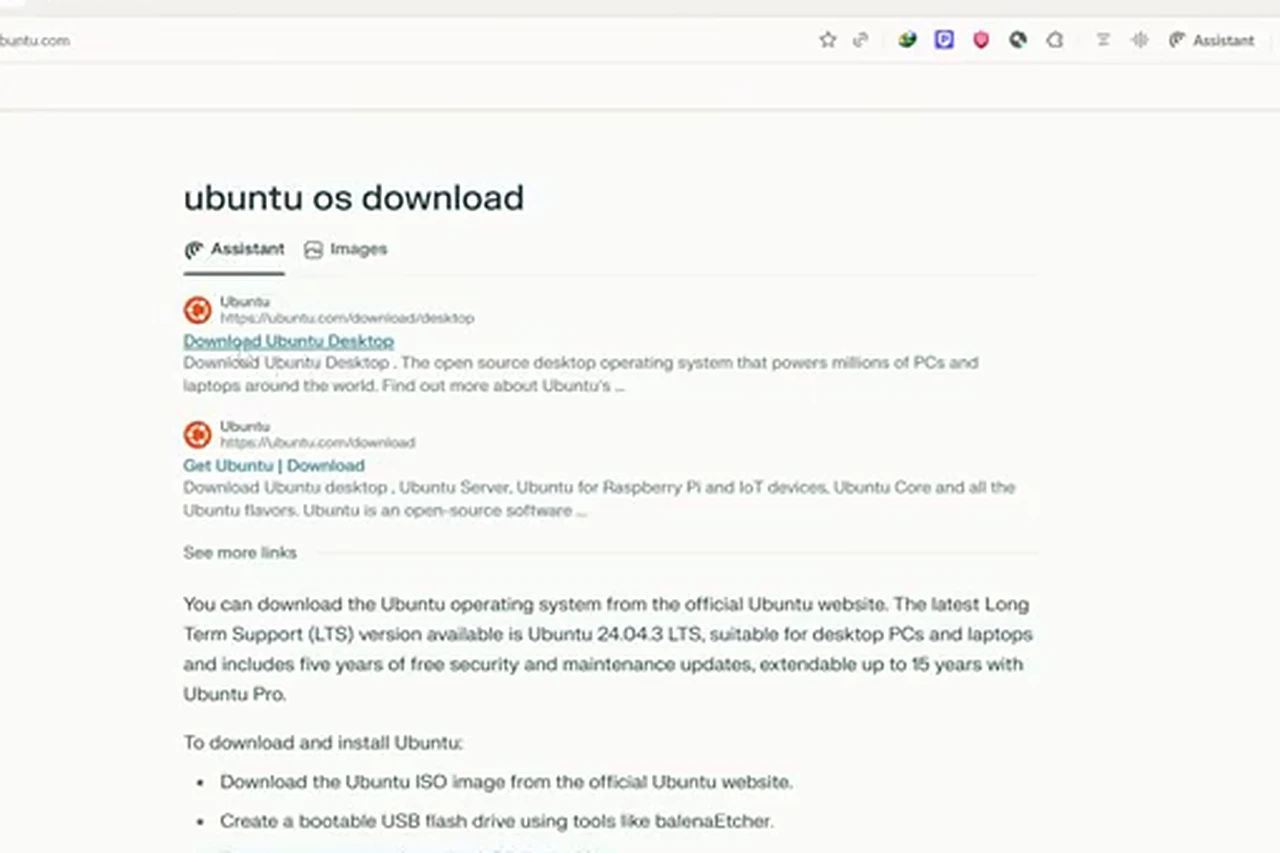
A random mirror, a repacked ISO, or an old version from a three-year-old tutorial may boot and look fine until it does not, leaving you with an outdated release or an image you cannot verify. The official site costs nothing extra. Intel and AMD computers use the same download. One file, from one place.
Decision 2: Rufus, or another USB writer
An ISO cannot just be copied onto a pen drive. It must be written so the computer can boot from it. The video uses Rufus, a free, portable utility for Windows from its own site. Open it, plug in the pen drive, select the ISO, and start. Rufus warns you more than once that the drive will be erased. That warning is the point of this decision.
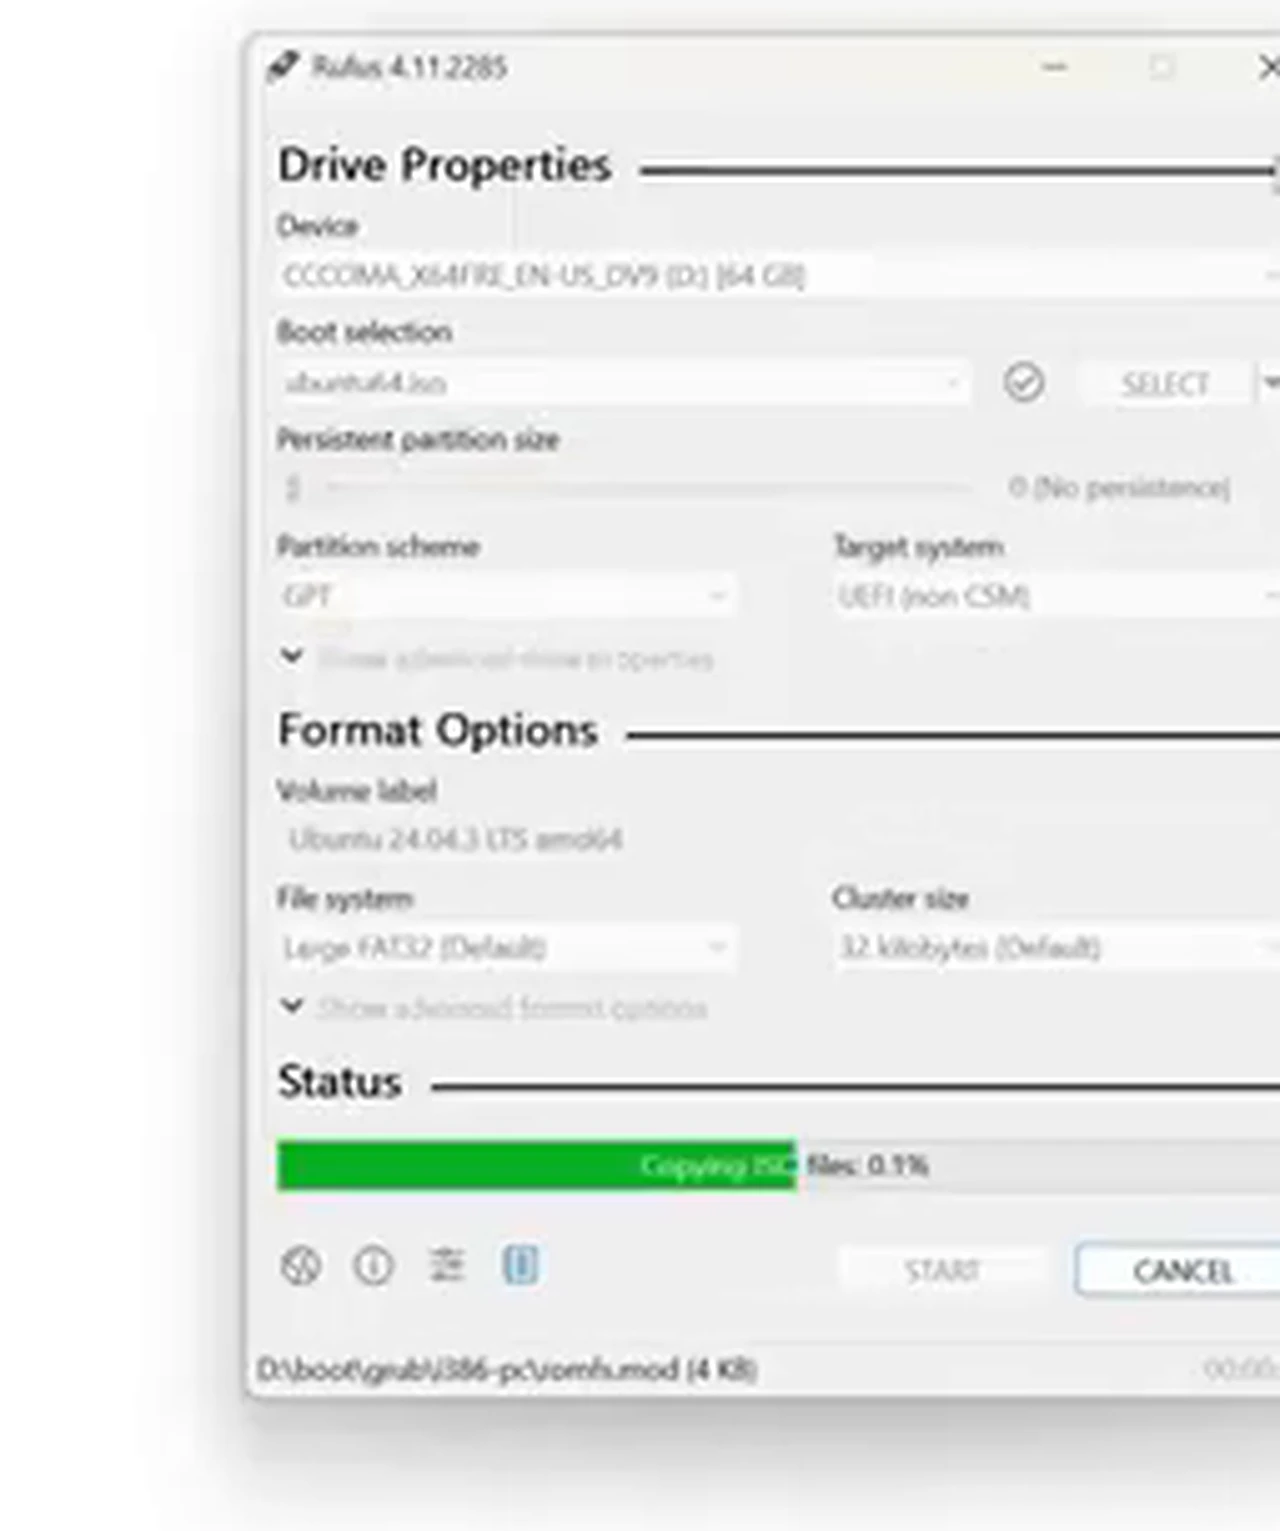
Other writers work too; the Ubuntu page itself suggests balenaEtcher. The difference is rarely the result, but the prompts. Some tools hide the partition scheme choice. Rufus shows the choices plainly. One hard rule applies to every tool: everything on that pen drive is gone. The video’s drive held a Windows installer; after Rufus, it held Ubuntu. Move any sole copies elsewhere first.
Decision 3: GPT or MBR, and why it has to match Windows
In Rufus, a dropdown called Partition scheme defaults to MBR. The video changes it to GPT, with the target system set to UEFI. Windows 11 runs in UEFI mode on a GPT-partitioned drive; MBR is the older BIOS-era scheme. Linux handles both, but the stick must speak the same language as the system already on the disk. Left on MBR, it may fail to appear, or boot in legacy mode while Windows lives in UEFI mode, and the two halves stop agreeing about how the computer starts. You then chase a boot problem that looks like a broken stick and is really a mismatch chosen five minutes earlier.
Decision 4: where the space comes from
Ubuntu needs space carved out first: 20 to 30 GB at a minimum, 40 to 50 GB far more comfortable. It needs unallocated space, belonging to no drive letter. With both an SSD and a hard disk, use the SSD if there is room. A hard disk works, but everything feels slower, and you will blame Ubuntu for a slow drive.
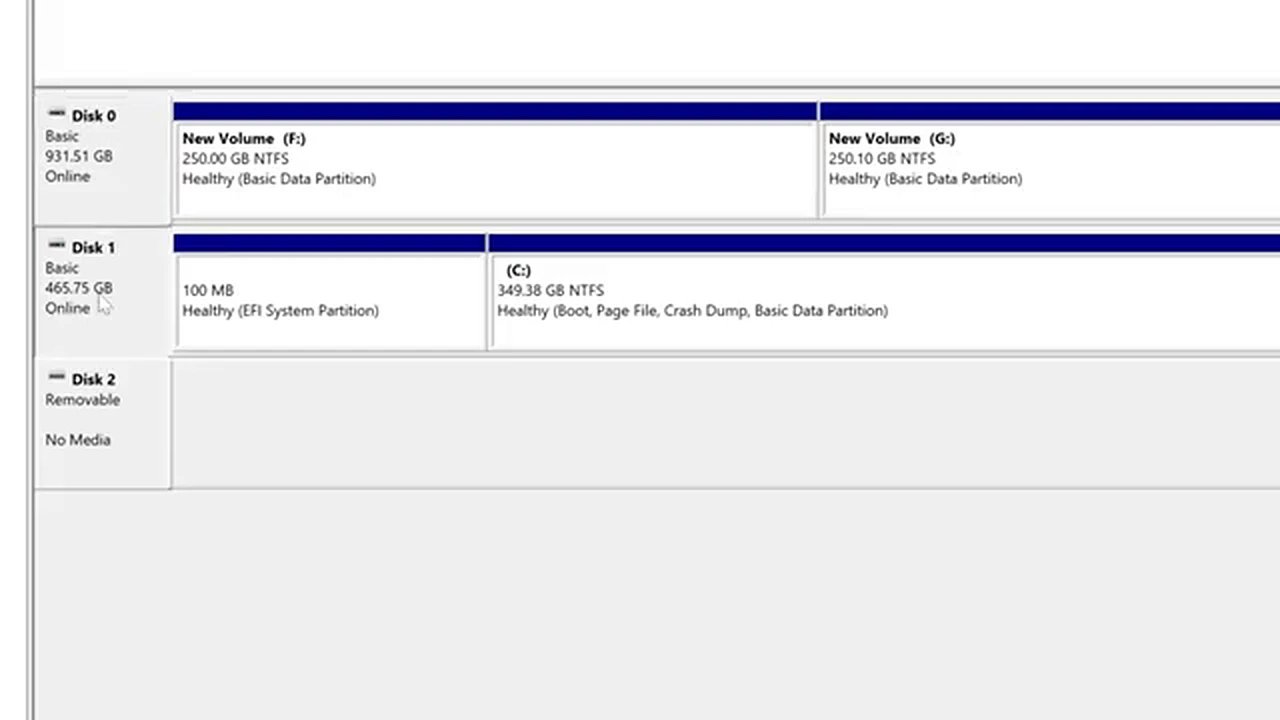
Free the space in Disk Management, reached by searching for Computer Management. The careful route is Shrink Volume: right-click a drive with free space, choose Shrink Volume, and type the amount. The field asks for megabytes, so 50 GB is 50 times 1024, which is 51200. The C: drive can give up space this way too; in the video it could have spared around 90 GB. The other route is Delete Volume, used in the video on a drive that was already completely empty. Shrink a drive with almost no free space and Windows will refuse. Delete a volume that still has files and they are gone at once, with no recycle bin. The video could delete its drive only because it was empty. If yours is not empty, shrink instead. Leave the new space unallocated: do not format it or give it a letter. In This PC, the deleted drive simply vanishes. That is correct.
Decision 5: which line in the boot menu
Restart with the stick plugged in and open the boot menu. The key depends on your board; know it before you restart. Search your brand and model plus the words boot key. On the Gigabyte board in the video, F12 opens the boot menu and Delete opens BIOS setup. Other brands use F8, F11, or Escape. Guessing while the logo flashes past is how people end up in Windows three times in a row.
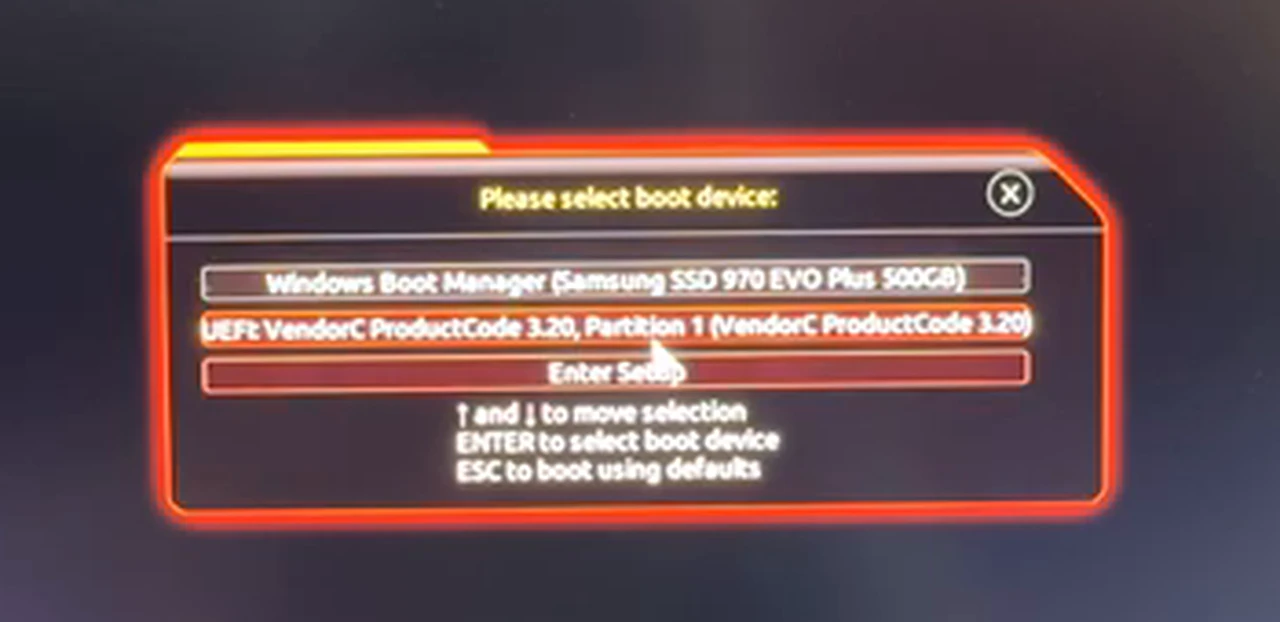
The menu is short: Windows Boot Manager, your SSD or hard disk, and one UEFI entry for the stick, often named as a vendor and product code rather than Ubuntu. That UEFI entry is the one you want. Choose Windows Boot Manager and Windows starts as usual; nothing is broken, and the stick looks useless. Choose a non-UEFI entry and you may boot in legacy mode, back to the GPT problem. If the stick does not appear, try another port, check Secure Boot settings, and confirm it finished writing.
Decision 6: try it, or install it, and how much help you want
Ubuntu’s first screen offers two doors. Try Ubuntu loads a desktop from the stick without touching your disk: a fine way to check Wi-Fi and sound. But nothing there is the installation, and it is gone on restart. Install Ubuntu is the door that changes the disk. Inside the installer, Interactive versus Automated is next. Interactive means answering each screen yourself. Automated means handing it a prepared answer file, built for deploying many identical computers, not for learning where Ubuntu lands on your drive. For a first dual boot, choose interactive. Connect to Wi-Fi or a cable if offered, so the installer fetches updates and drivers while it works.
Decision 7: the third-party drivers tick
One checkbox screen deserves more attention than it gets: install third-party software for graphics and Wi-Fi hardware, and download support for additional media formats. Tick it. In the video both boxes are ticked, the difference between a first boot where everything works and one spent hunting for a Wi-Fi driver with no internet. Left empty, Ubuntu still installs, then greets you with basic graphics drivers, unseen Wi-Fi, or videos that will not play for want of a codec. All fixable with a cable and an update, but miserable as a first impression. Skip it only with no network during install, and add the drivers afterwards.
Decision 8: alongside, erase, or manual, and the one you must not rush
This is the screen the guide has built toward. Install alongside Windows Boot Manager keeps Windows and adds Ubuntu, letting the installer decide the split. Erase disk wipes the entire disk. Manual Installation lets you choose the partitions yourself. The video chooses Manual, and with space prepared yourself, so would I.
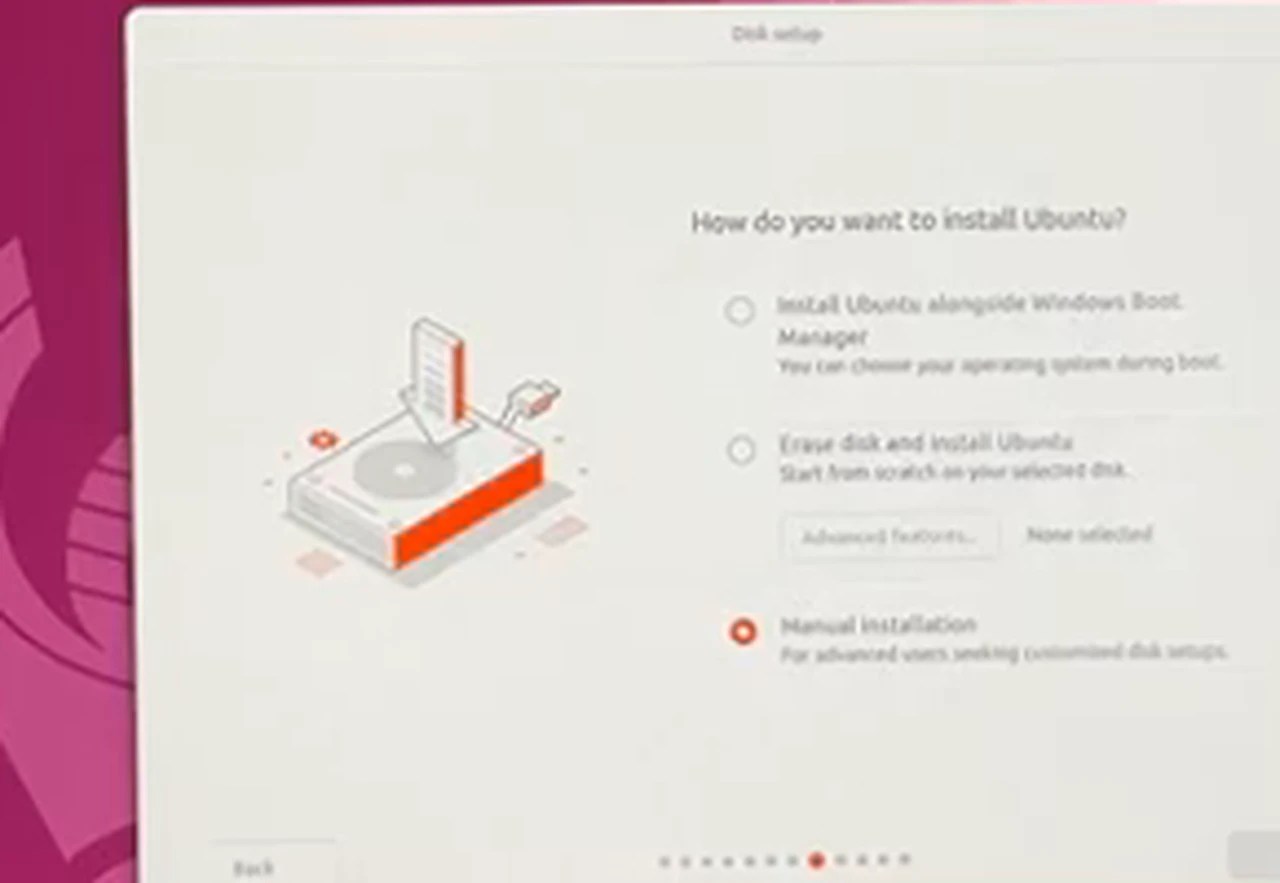
Erase disk does exactly what it says. Pick it on a computer holding Windows and your files, and all of it is gone. Install alongside is safe for a first-timer who has not prepared space, because the installer shrinks Windows itself. Its cost is control: you accept its sizes. Manual keeps the steering wheel in your hands, and asks one thing: that you recognise your own free space.
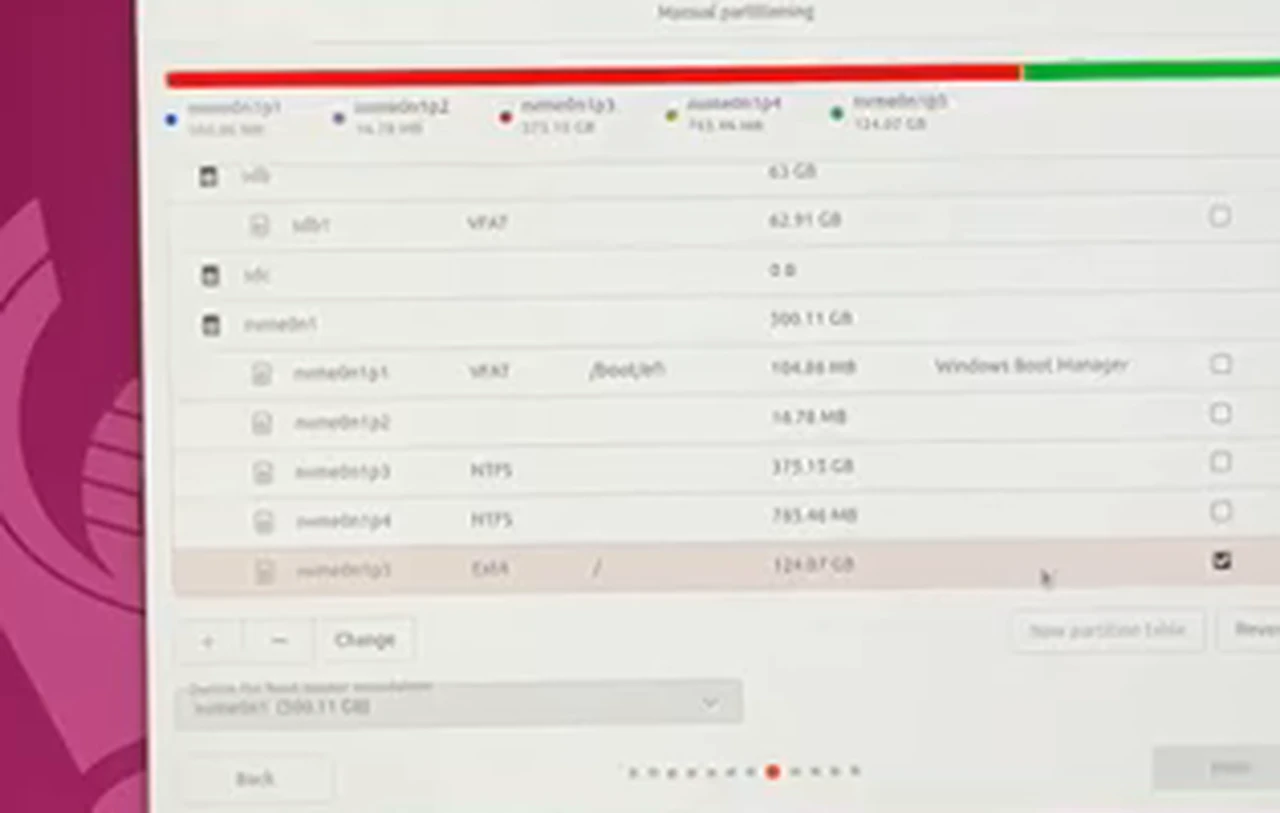
In Manual Installation, find the free space you created: in the video, about 124 GB on the SSD, below the Windows partitions and separate from the NTFS volumes Windows uses. Select it, press the plus button, and create the partition with type Ext4 and mount point a single forward slash, the root of the system. Press OK. The free space becomes an Ubuntu partition marked Ext4 with mount point slash. Nothing else should have changed. If a Windows partition shows a change you did not make, stop and go back. Press Next only when Ubuntu is going where you intended.
The installer then asks for your name, username, password, and time zone, usually detected as Asia/Dhaka in Bangladesh. Choose a password you will remember: Ubuntu asks for it whenever you install software or change settings. Press Install and wait. At the restart prompt, remove the stick, press Enter, and let the computer start.
Decision 9: who boots first, and why it decides everything
On the first restart you should meet GRUB, the boot menu. It lists Ubuntu first, with Windows Boot Manager available to choose. Arrow keys, pick a system, press Enter. From now on, every start is a choice.
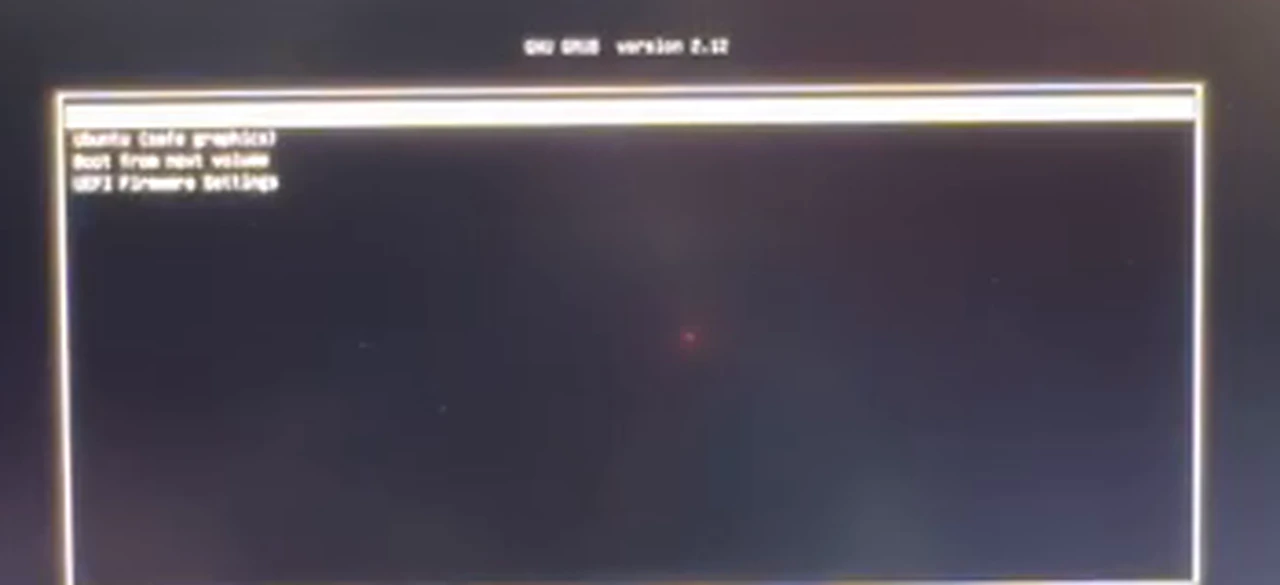
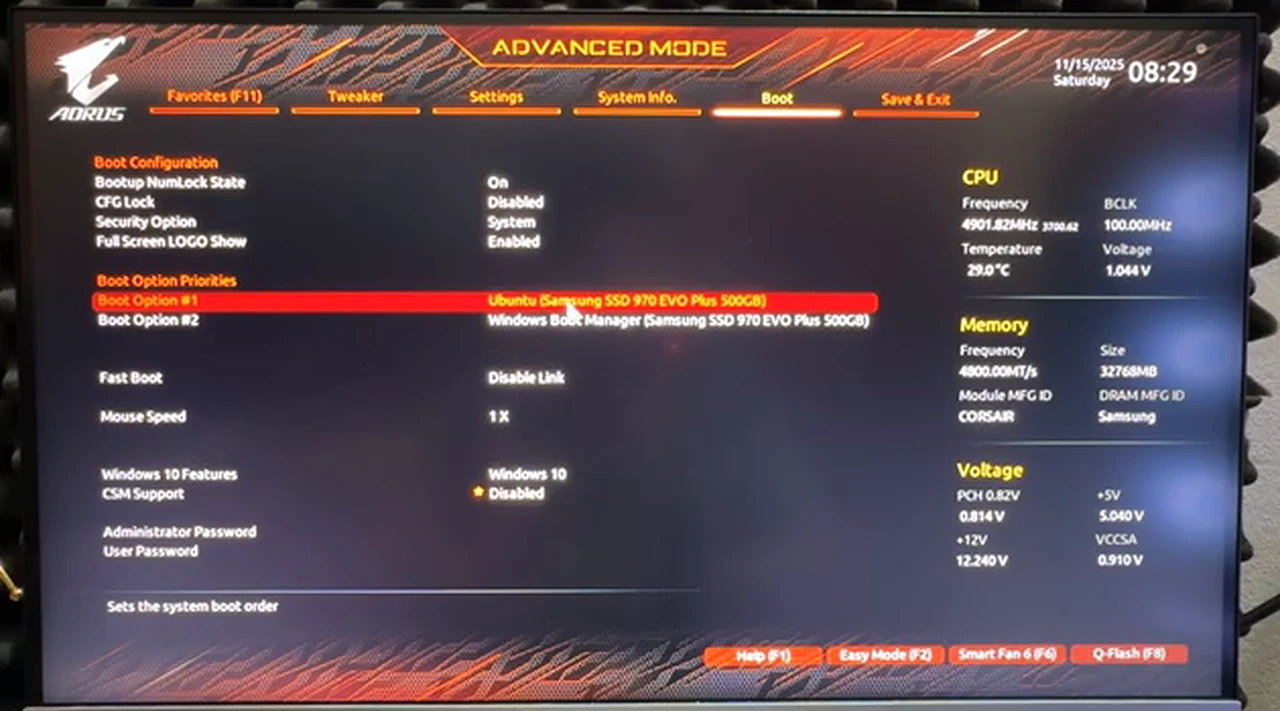
If you never see this menu and Windows just starts, that is not a failed installation. It is Decision 9, made by your firmware. In BIOS setup, under Boot, there is a boot order. Windows Boot Manager at number one means the computer never pauses to ask. Ubuntu at number one means its menu loads first and offers both. On the Gigabyte board in the video, Boot Option 1 is Ubuntu and Boot Option 2 is Windows Boot Manager, which is why the menu appeared unaided. If yours is reversed, enter the BIOS, open Boot in Advanced Mode, move Ubuntu to the top, save, and exit. Screens differ between brands, but the principle does not change.
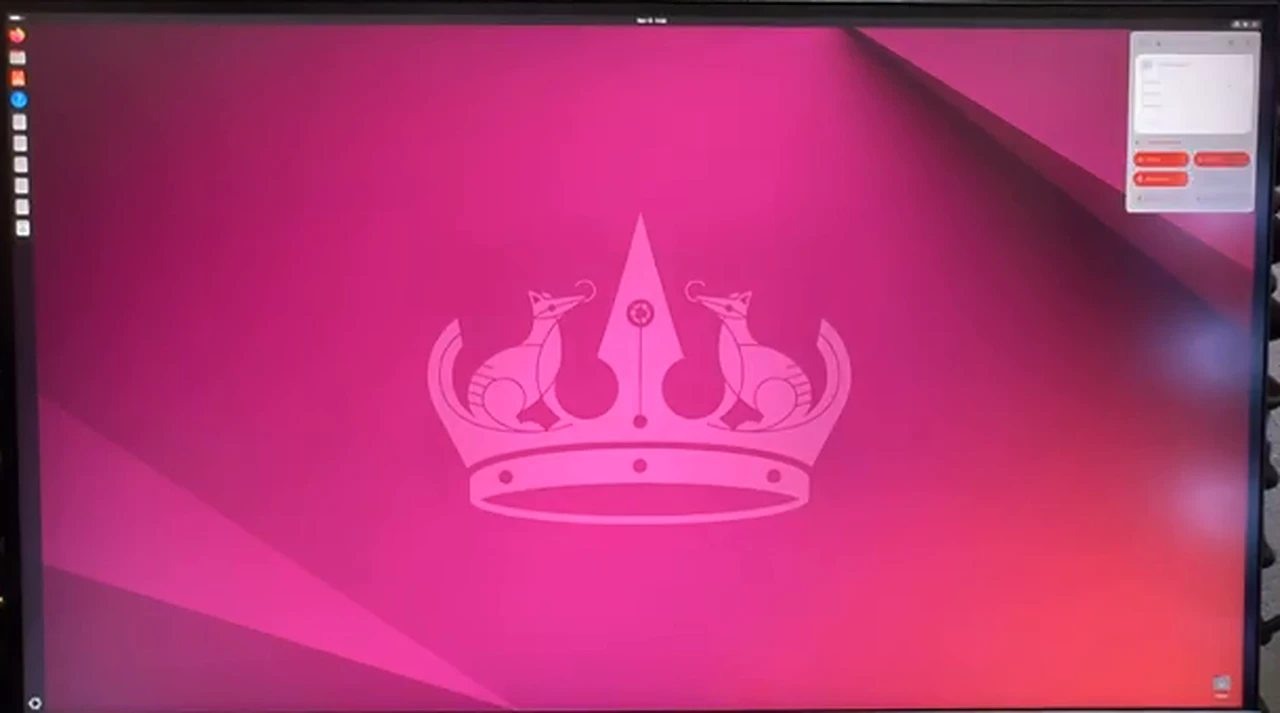
Log in, finish the welcome screens, and you are on the Ubuntu desktop. Your Windows drives are still there, files intact, in the file manager. Open one and check. To undo it later, delete the Ubuntu partition in Disk Management, reclaim the space, and remove the Ubuntu boot entry in the BIOS. Leave the installation until you are sure. Dual boot is meant to be tried, not committed to on day one.
Your nine answers, on one line each
1. ISO: official site, LTS release. 2. Writer: Rufus, accepting the stick gets erased. 3. Scheme: GPT with UEFI, matching Windows 11. 4. Space: SSD first, freed by shrinking or deleting a truly empty drive, left unallocated. 5. Boot menu: the UEFI stick entry, found with your board’s boot key. 6. Style: Install, interactive, network connected. 7. Drivers: tick the third-party boxes. 8. Layout: Manual, free space only, Ext4, mount point slash, never Erase disk. 9. Boot order: Ubuntu first, Windows one arrow key away.
Get those nine right and the installation is unremarkable, exactly what you want. Get one wrong and the fix is almost always that one decision, not starting over. Nine choices, made once, on purpose, and then a computer that asks which system you feel like using.