Most people never think about Gmail security until the day something goes wrong. One morning the inbox will not open, the password does not work, and then the real panic starts. That Gmail address is rarely just an inbox. It is the recovery address for Facebook, the login for a YouTube channel, and the backup for a bank account and half a dozen other services. Lose the Gmail account and every one of those doors starts rattling. The common thread is simple: the account was never set up properly.
Fixing this costs nothing and takes well under an hour, because Google already built every tool you need into the account. The difference is not between a free account and a paid security product. It is between leaving the defaults alone and turning on the handful of settings Google quietly provides. This guide compares the two approaches, then walks through the winning one, exactly as shown in the video below.
The Old Way: One Password and a Lot of Hope
The old way is how most Gmail accounts are actually used. You create the account, pick a password you can remember, and never open the settings again. The password is often something personal: a date of birth, a phone number, a pet’s name with a year on the end. It may be the same password used on other sites, because remembering different ones feels like work. No recovery email is verified. No recovery phone number is saved. Two-step verification stays off. The account works fine, month after month, and that quiet is exactly what makes it dangerous.
A password-only account has a single point of failure, and passwords leak constantly: through breaches at other websites, through fake login pages that copy the Gmail sign-in screen, and through guessing when a password is built from personal details. Once an attacker has the password, nothing else stands in the way. They can sign in, change the recovery details, and lock the real owner out. Without a verified recovery email or phone number, getting the account back becomes a long argument with a recovery form.
The New Way: Six Layers That Cover Each Other
The new way is six ordinary settings, each covering a different way an account gets lost or stolen. A verified recovery email gives you a way back in when the password fails. A verified recovery phone number gives you a second way back, through a code sent to a device you carry. Complete personal information helps Google confirm the account is really yours. Checking recent activity catches a stranger early. Two-step verification means a stolen password alone is no longer enough. A strong password plus Enhanced Safe Browsing closes the doors to guessing and phishing links. Stacked together, any one failure leaves five other layers standing.
Old Way vs New Way: The Verdict
| Test | Old way: password only | New way: six settings | Winner |
|---|---|---|---|
| Password stolen | Attacker signs straight in | They still need your phone or code | New way |
| Password forgotten | Recovery is slow, often fails | Recovery email or phone gets you back | New way |
| Stranger signs in | You may never notice | Activity shows it; sign the device out | New way |
| Phishing link clicked | Attacker gets full access | Second step blocks them; Safe Browsing warns first | New way |
| Phone lost | Nothing changes | Prompt and authenticator move; recovery still works | New way |
| Time to set up | Two minutes | Thirty to forty minutes, once | Old way |
| Daily hassle | None, until disaster | A tap when signing in somewhere new | Old way, narrowly |
The old way wins on two rows only: it is faster to set up and slightly less annoying day to day. The new way wins every row that actually matters, by a wide margin. A few extra seconds when signing in on a new device is a small price for an account that cannot be taken with a leaked password alone.
The Winning Method, Step by Step
Everything below happens inside your own Google Account, on a phone, a tablet, or a computer. The video demonstrates it on a tablet screen, and the same pages work on every device. Open Chrome, or the Gmail app if you prefer, sign in, then open your profile and choose Manage your Google Account. Every setting lives in one of two places: Personal info, and Security and sign-in. Take the steps in order. None needs a paid tool.
Step 1: Open the Right Page Before You Change Anything
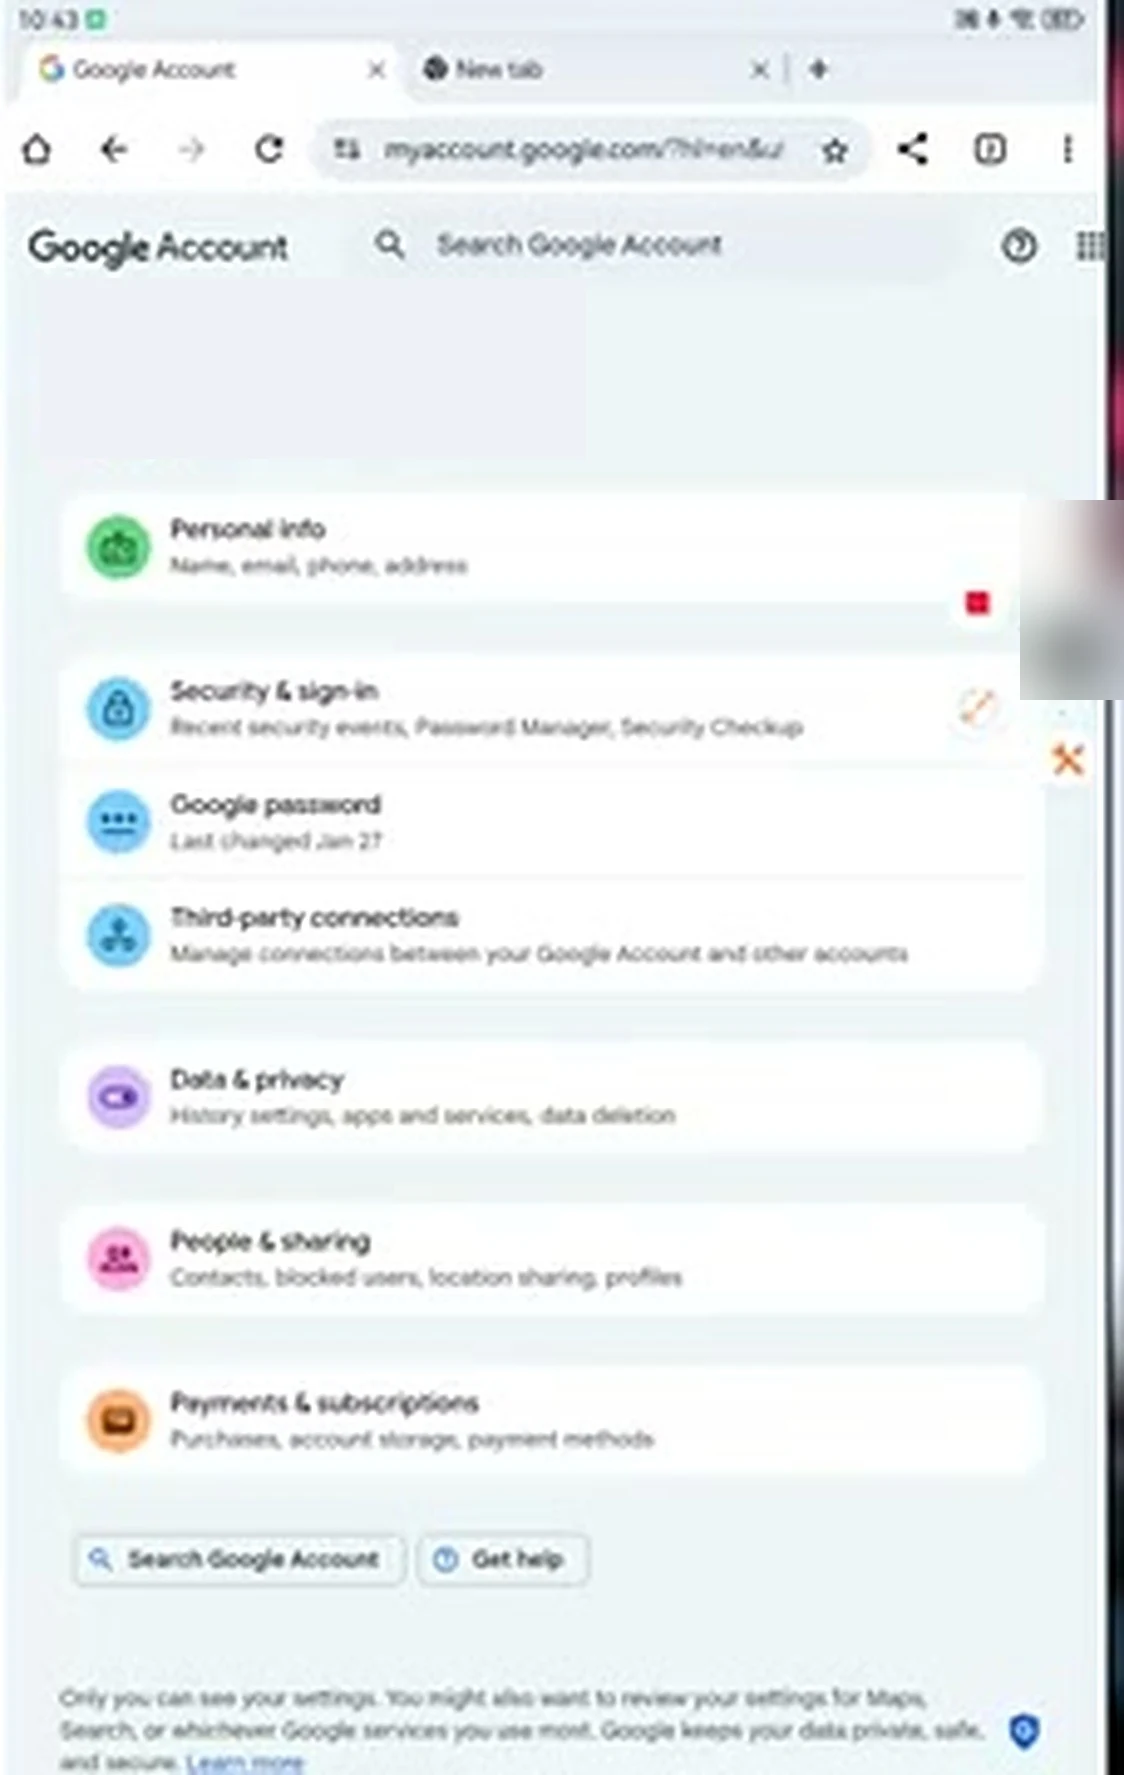
Start at the Google Account home page, where the sections are laid out in plain language. Personal info covers your name, email, phone, and address details. Security and sign-in covers recent activity, how you sign in, and your devices. Google password shows when the password was last changed. Knowing this map matters, because every later step sends you back here. If a section shows a warning, read it.
Step 2: Complete Your Personal Info and Verify the Recovery Email
Open Personal info first. Check that your name is spelled correctly and your date of birth is right. These details sound boring until the day you need to prove an account is yours. During recovery, Google compares what you tell it with what the account already holds.
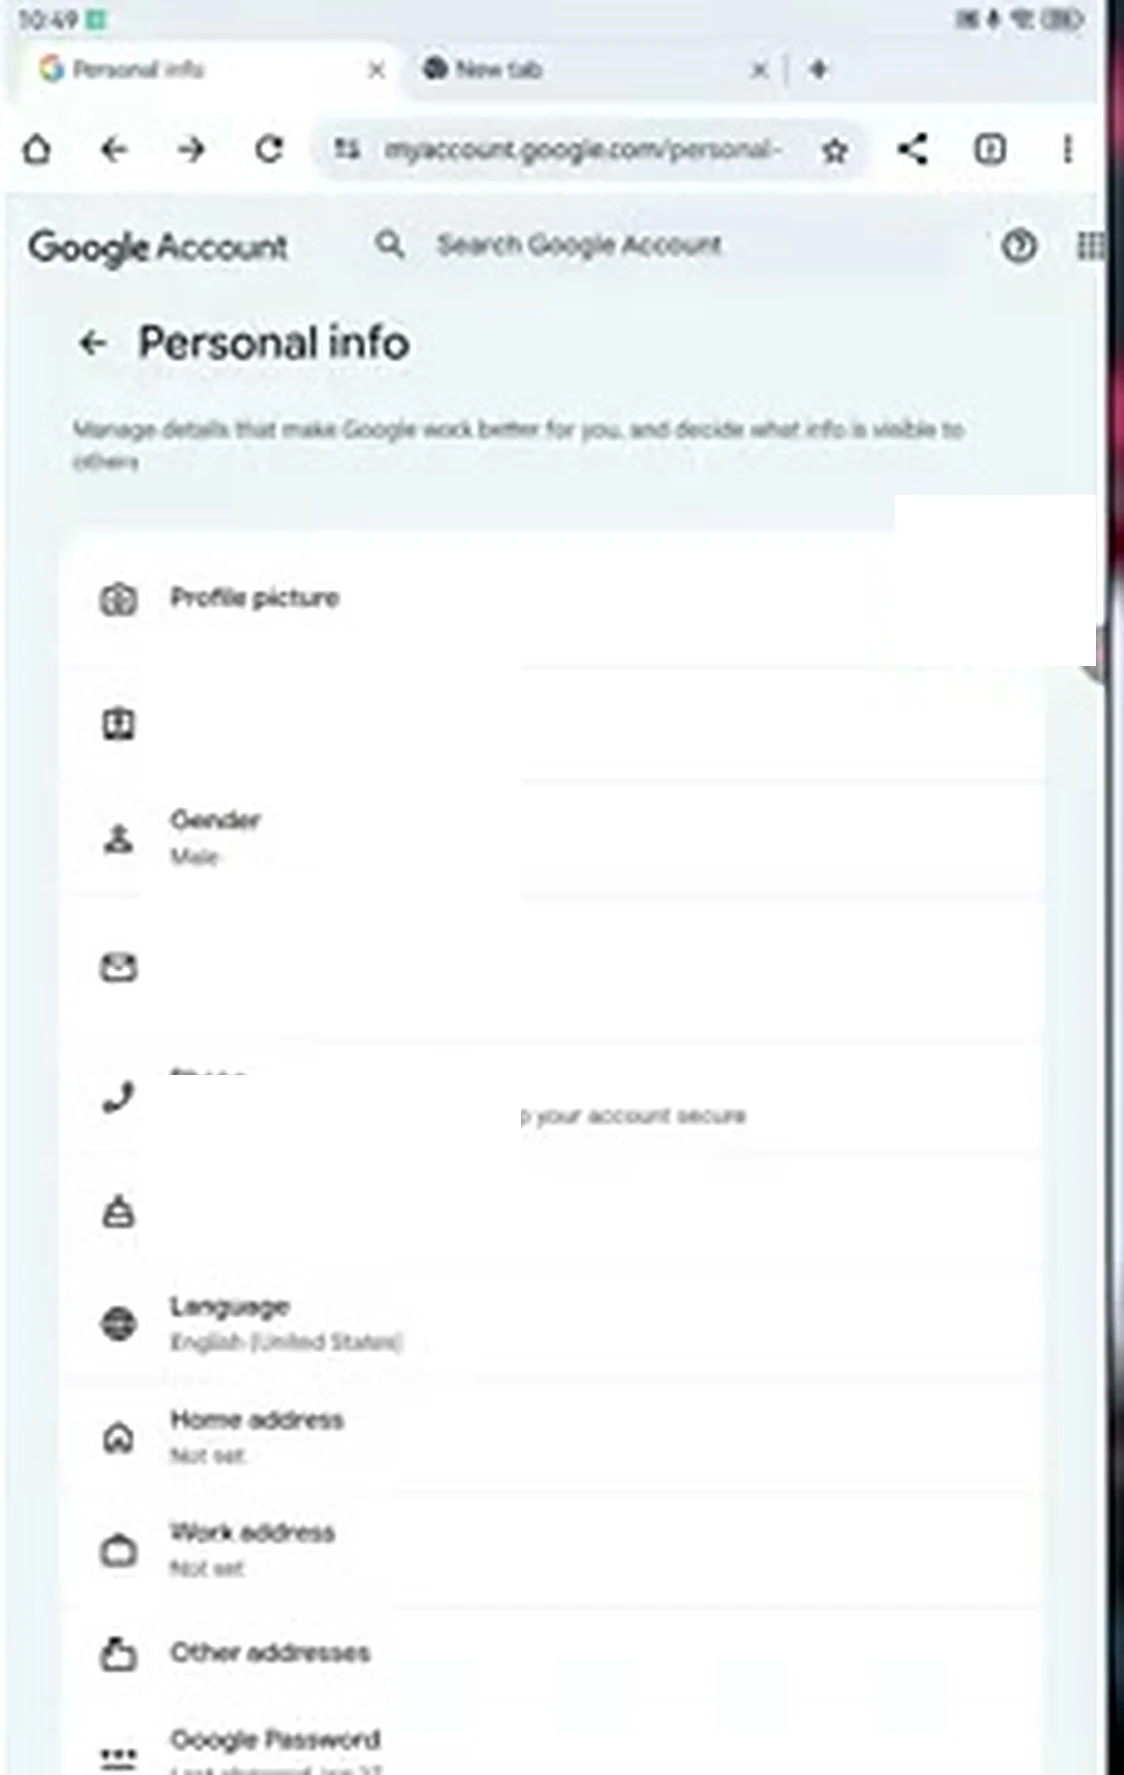
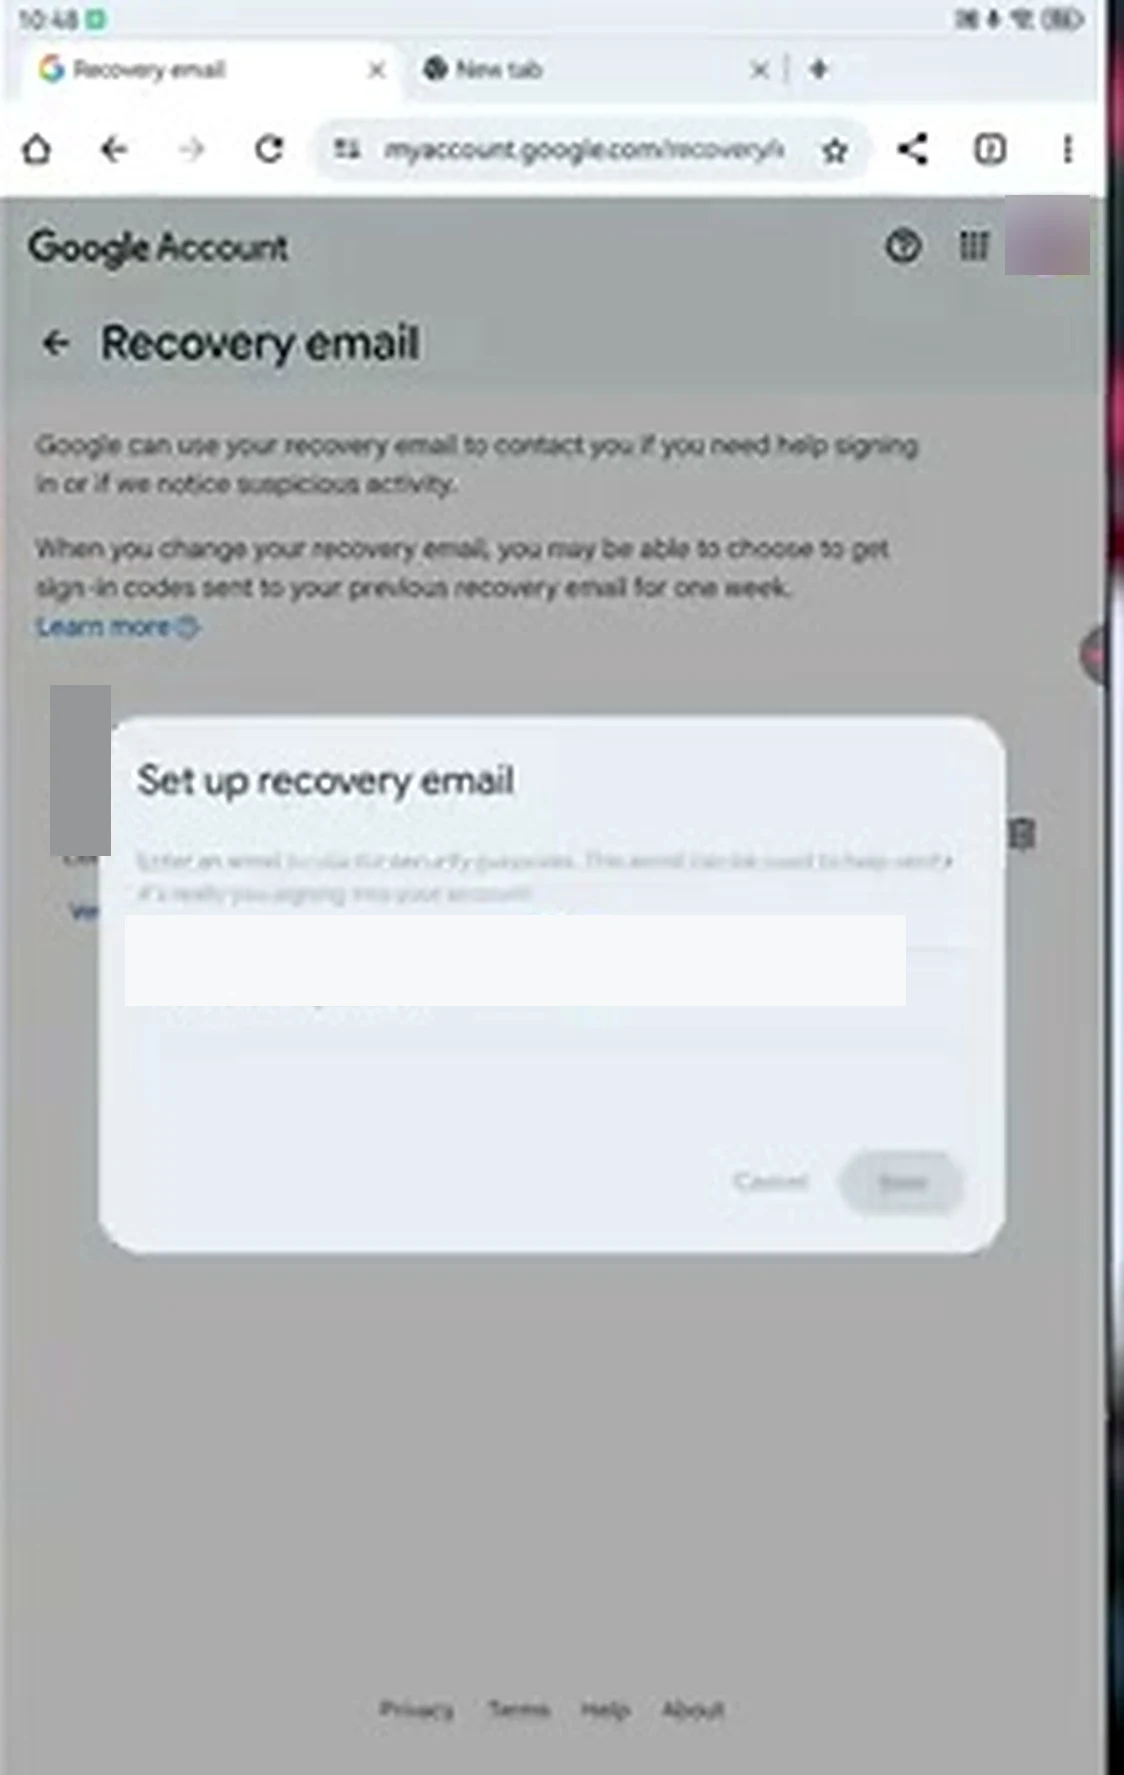
The most important part of this page is the email section. Your main Gmail address cannot be changed, but the recovery email can, and it must be an address you can actually open today. Tap into Email, find Recovery email, and check its status. If it says verification is needed, that address is not protecting you yet. In the video, the original recovery address could no longer be opened, so a different, working address was entered and verified with a fresh code. A recovery email you cannot open is no recovery at all.
Step 3: Add and Verify a Recovery Phone Number
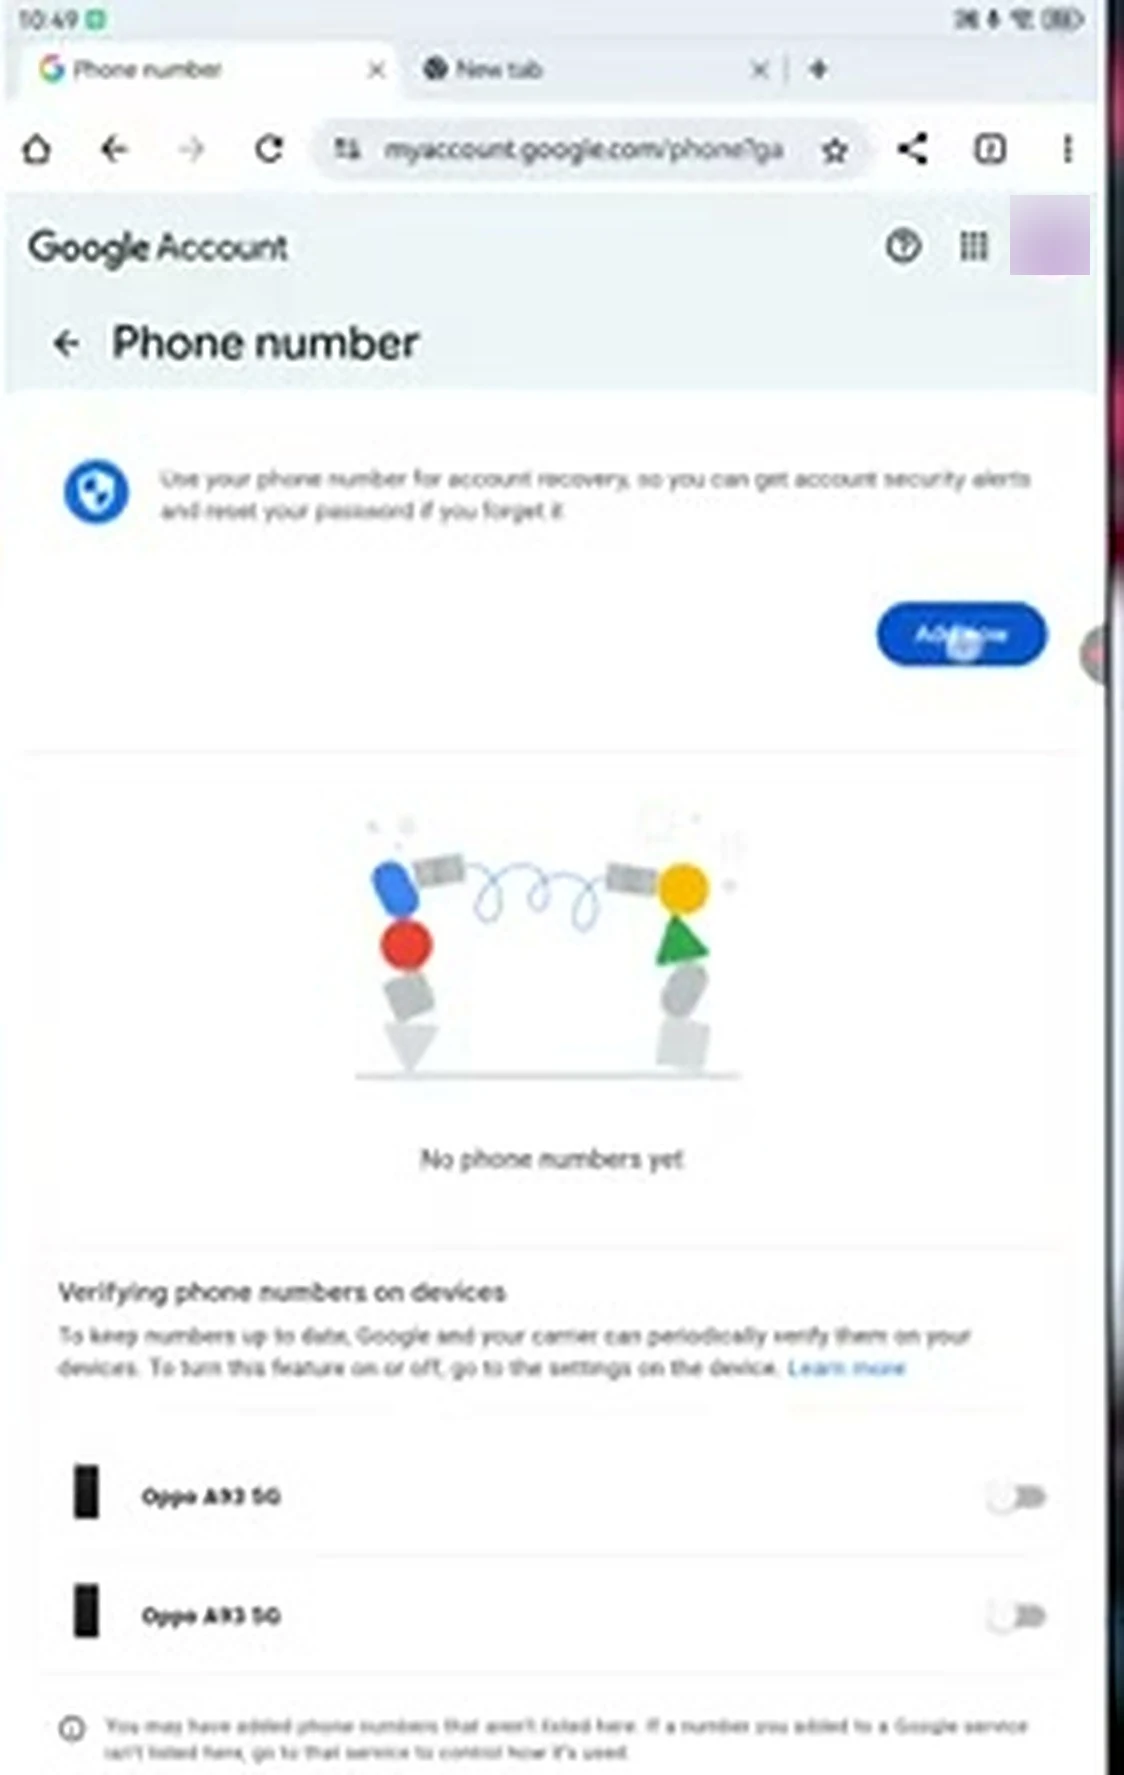
A recovery phone number is your second way back into the account, and it works even when email access fails. From Personal info, open the Phone section. If it says no phone numbers yet, tap Add now and type the number of a phone you actually carry. Google sends a text message with a verification code. Type the code in and confirm. The number is now linked to the account for recovery and security alerts. Keep it current: if you change your number, update it here the same week.
Step 4: Check Recent Activity and Sign Out Devices You Do Not Recognize
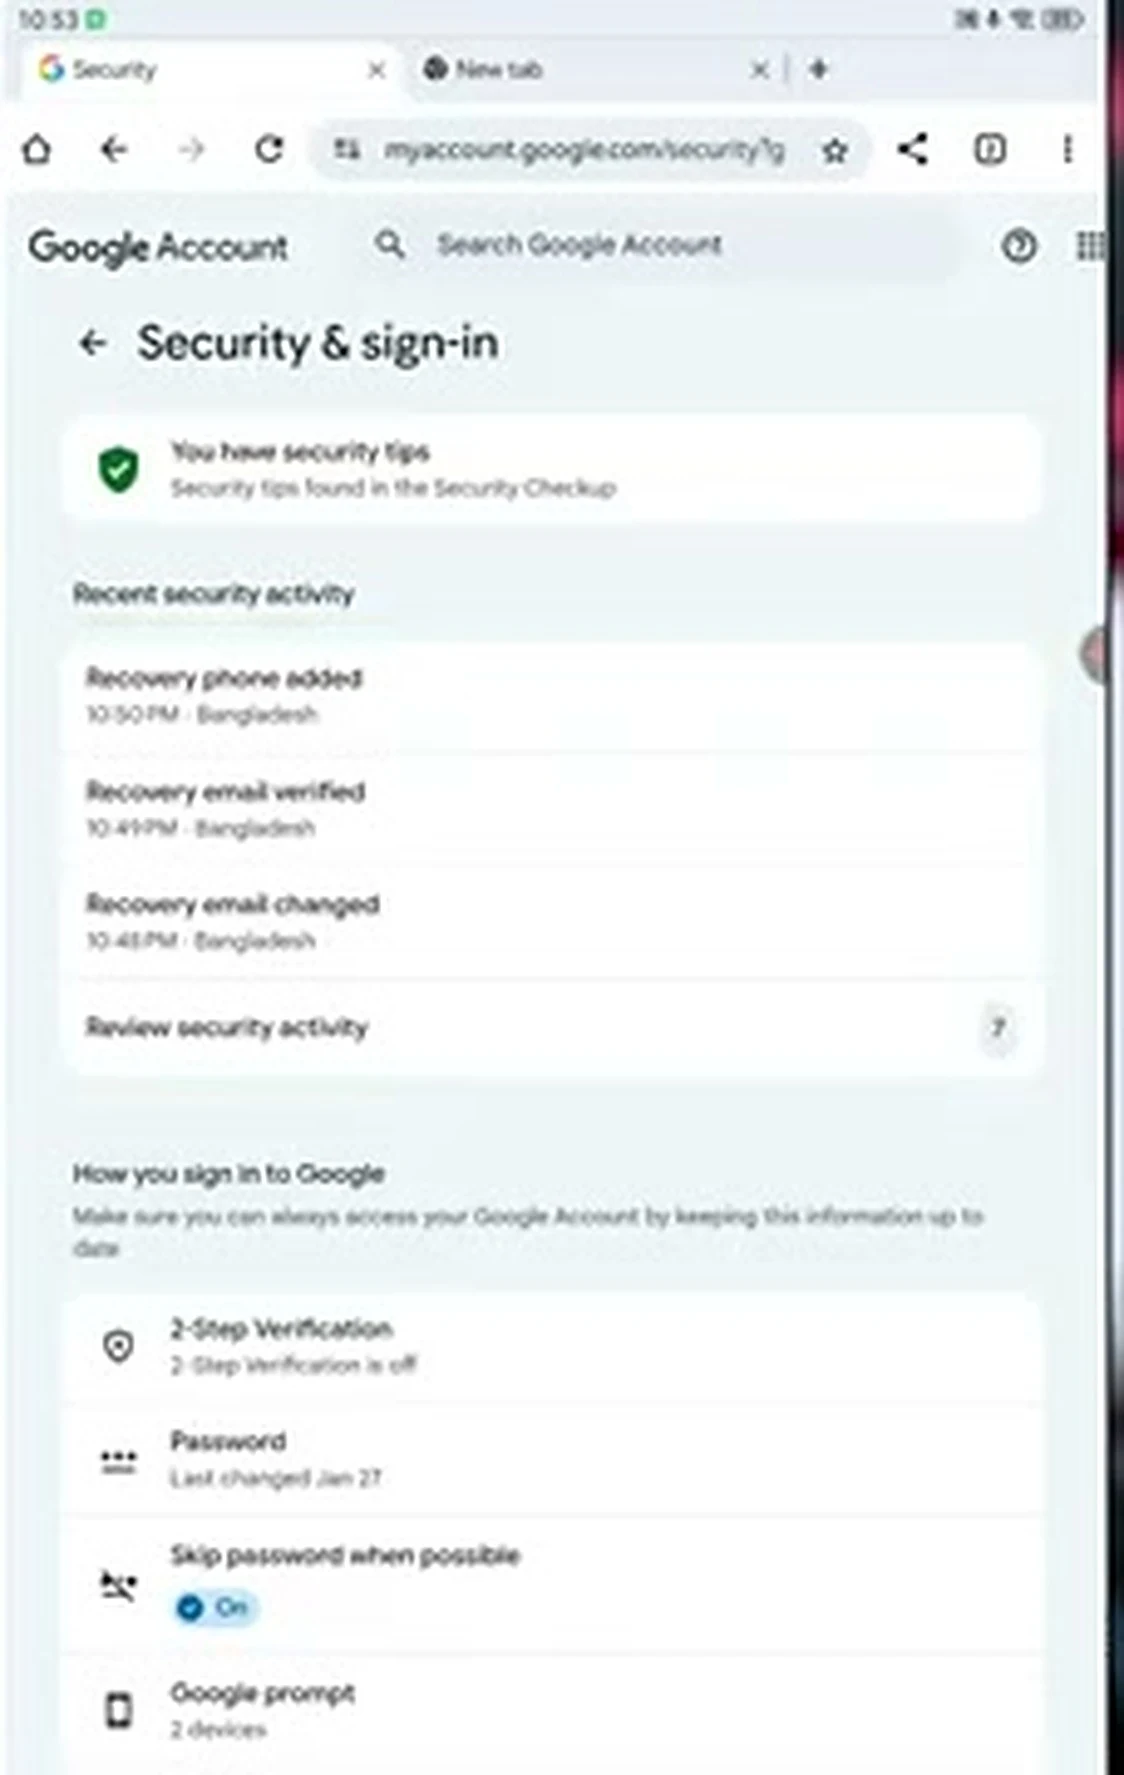
Now open Security and sign-in and look at Recent security activity before changing anything else. This list shows what has happened to the account recently: recovery details added or changed, new sign-ins, and password changes, each with a time and a place. Every entry should be something you did. If an entry is not yours, tap it, choose the option that says it was not you, and change the password immediately.
Below the activity list, check Your devices. This shows every phone, tablet, and computer currently signed in, including the device you are using right now. If a device looks unfamiliar, open it and sign it out. If every device is yours, leave them alone. Make this check a habit, once every few weeks. It takes less than a minute.
Step 5: Turn On 2-Step Verification With an Authenticator App
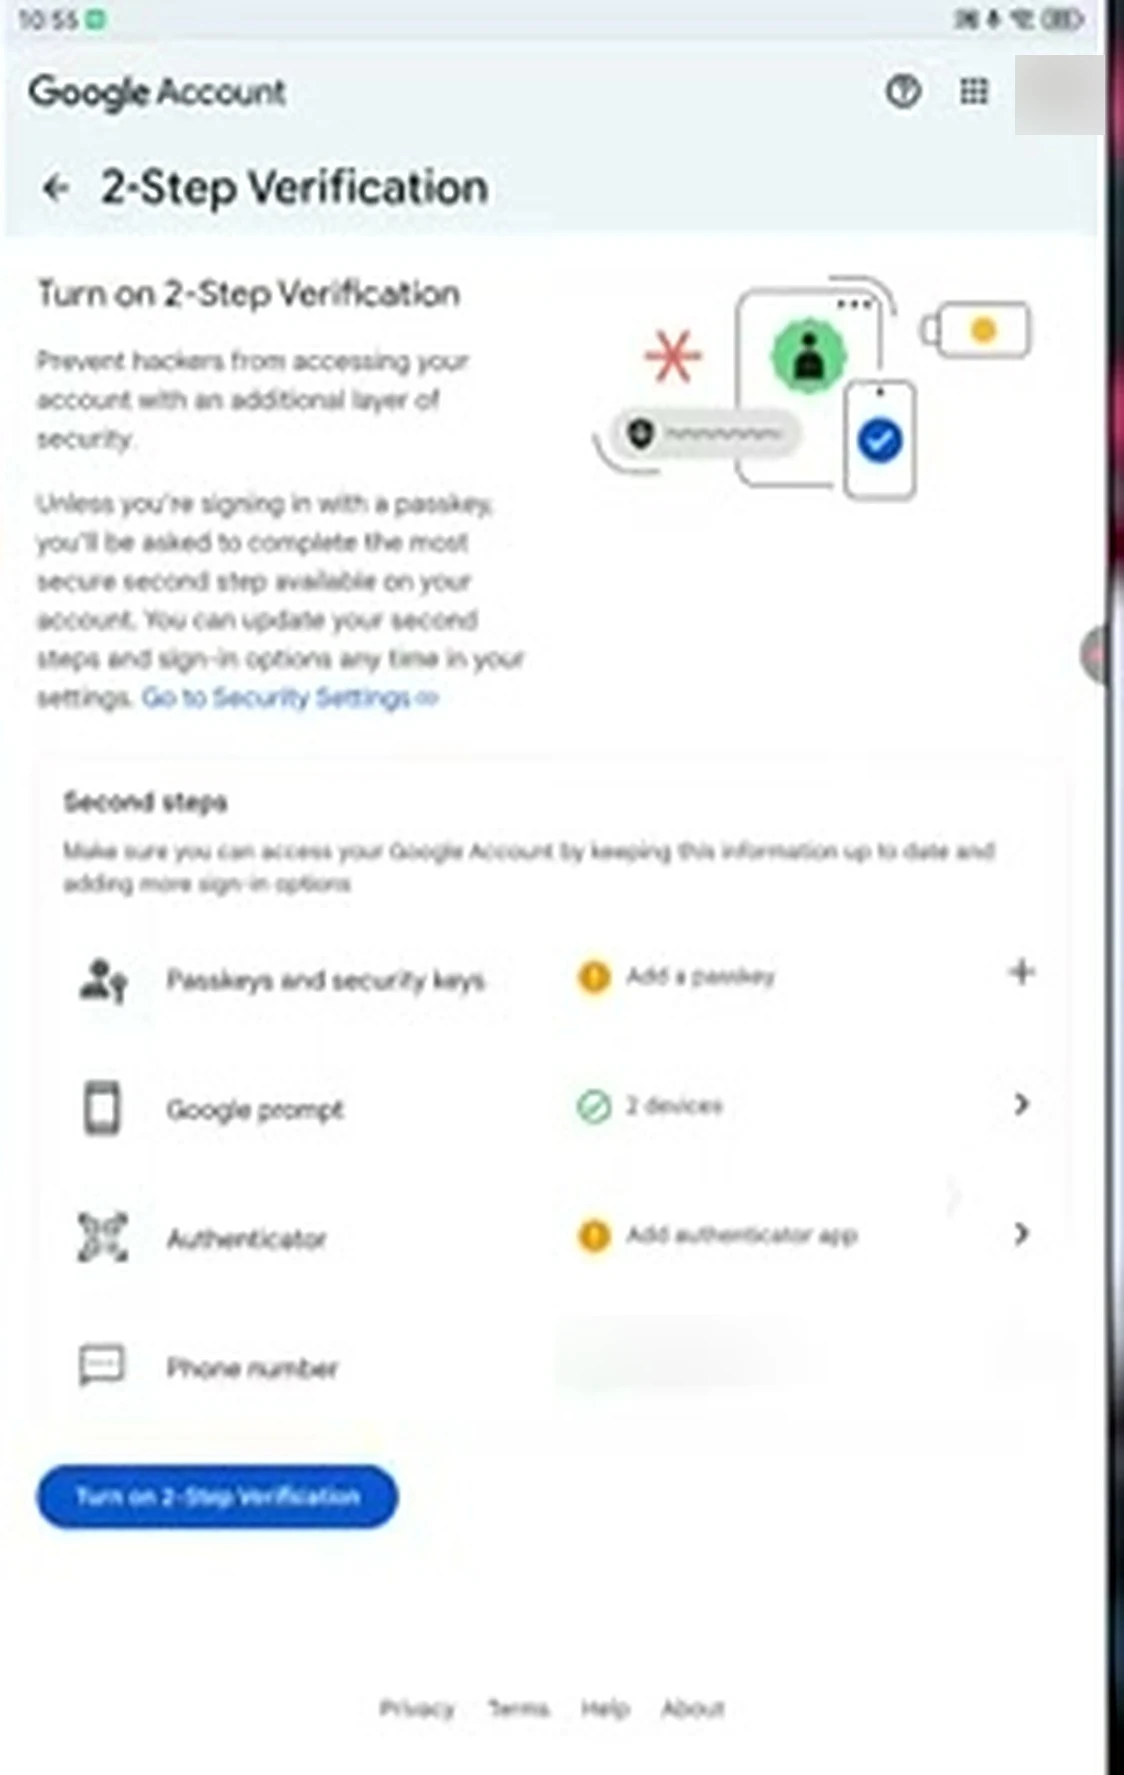
This is the step that changes everything. Open 2-Step Verification under How you sign in to Google. The page lists your second steps: passkeys and security keys, Google prompt on your signed-in devices, an authenticator app, and your phone number. If your device supports it, add a passkey for fingerprint or face unlock. Google prompt is also useful: a yes-or-no question appears on a phone you trust. But the strongest everyday option, and the one the video sets up in full, is the authenticator app, because it works even with no signal.
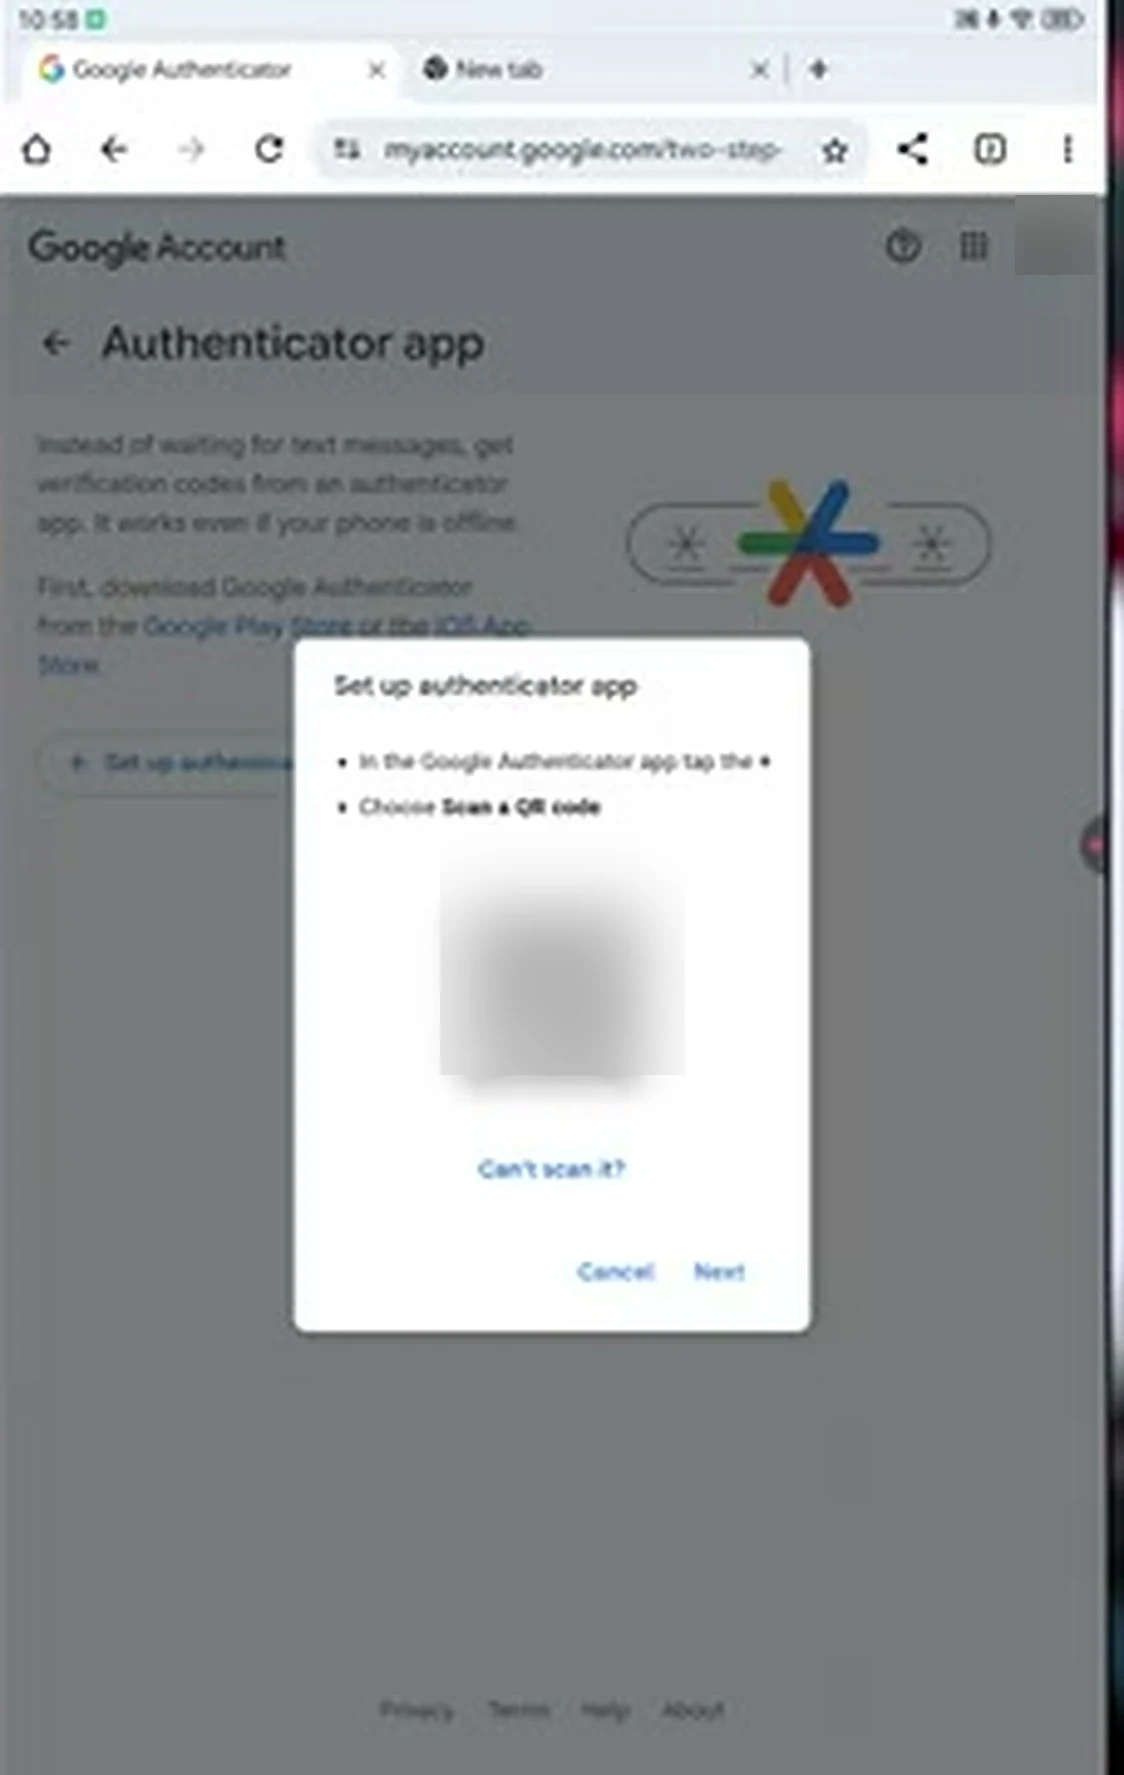
Tap Authenticator, then Set up authenticator, and a QR code appears. This code is a secret, so never share a screenshot of it and never let anyone else scan it. First, install Google Authenticator from the Play Store or the App Store, open it, tap the plus sign, and choose Scan a QR code. If this is your only phone, photograph the QR code with a second phone or a tablet, then scan that photo. Once the app shows a six-digit code, type it in and choose Verify. A stolen password alone now gets an attacker nowhere.
Step 6: Replace a Weak Password and Switch On Enhanced Safe Browsing
Finish with the two settings people skip because they feel like chores. First, the password itself. If your current password is a date of birth, a phone number, a pet’s name, or anything you have used on another site, replace it now. Open Google password and choose a new one that is at least ten to twelve characters long, mixing upper-case and lower-case letters, numbers, and symbols such as @, #, or $. Never reuse it anywhere else.
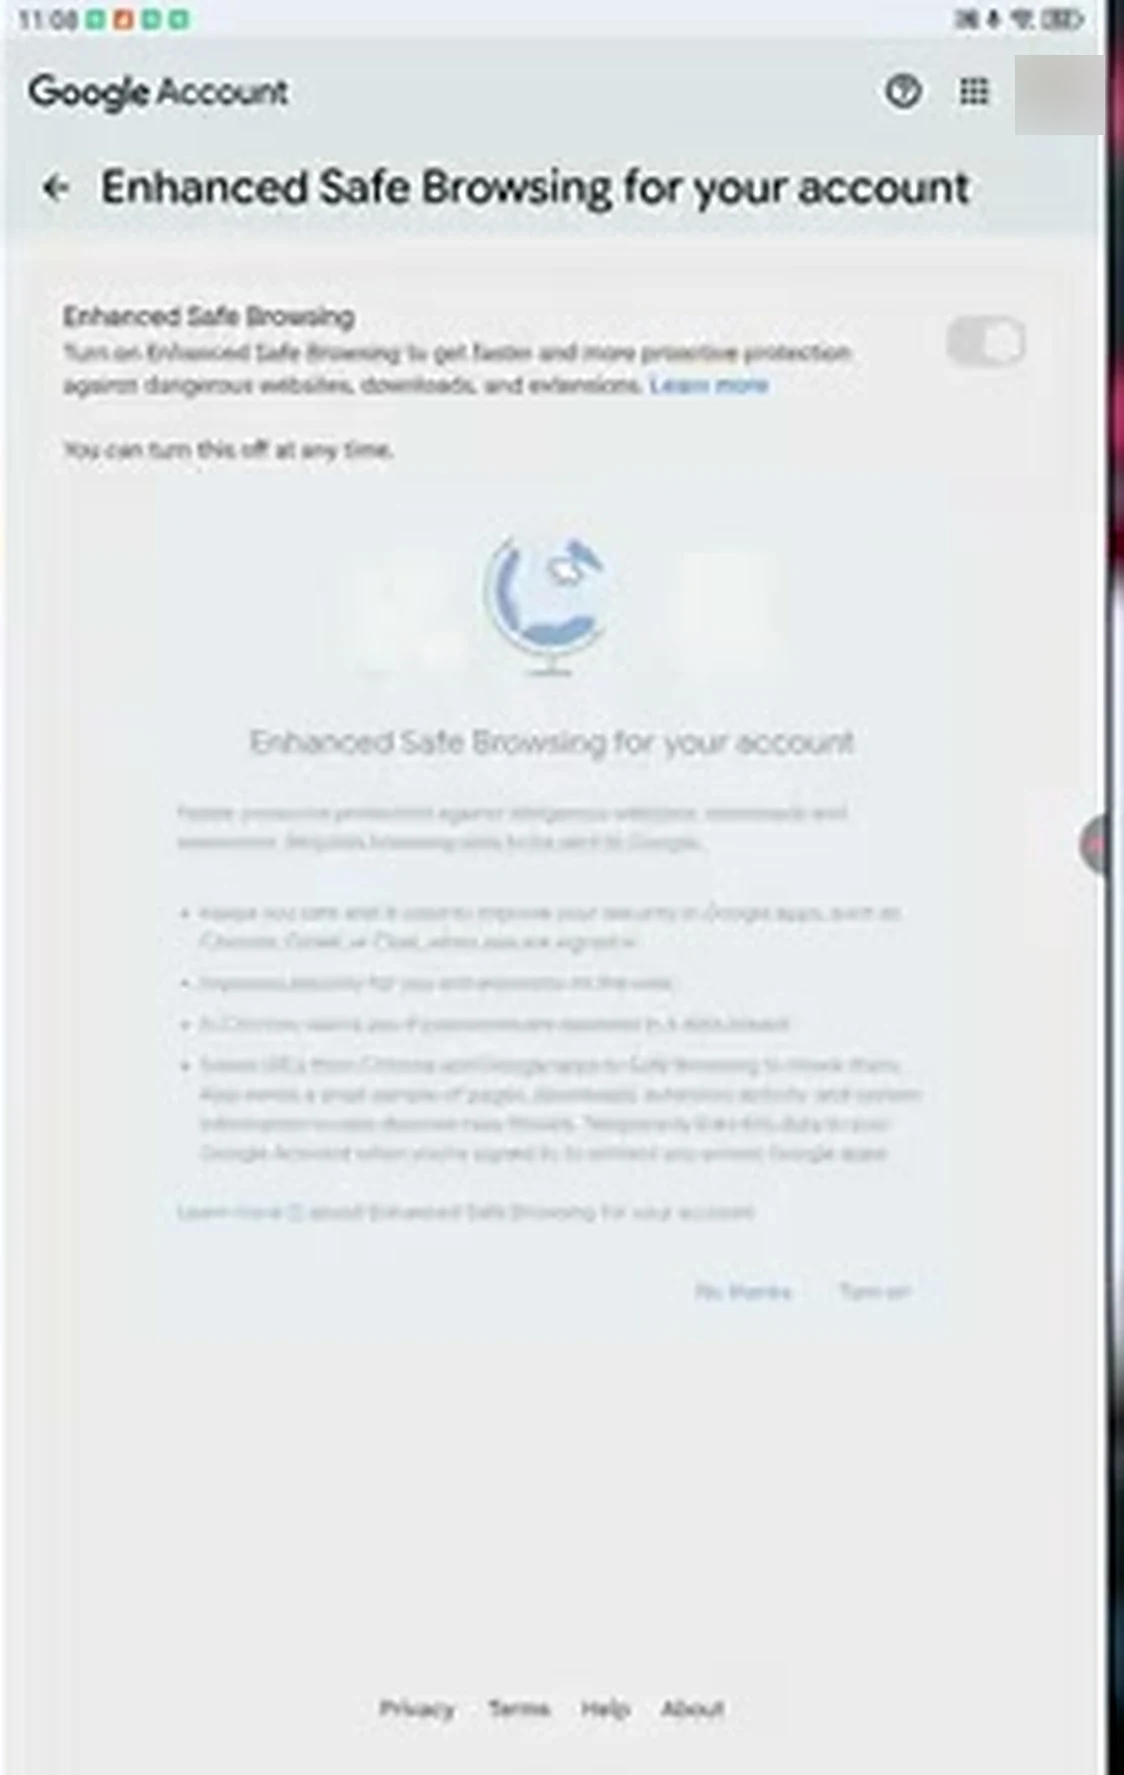
Then scroll down in Security and sign-in to Enhanced Safe Browsing for your account and switch it on. With this off, Google gives you standard warnings. With it on, you get faster, more proactive protection against dangerous websites, risky downloads, and harmful extensions, and Chrome warns you before a known phishing page can do its work. Once this is on, all six layers are in place.
The Habits That Decide Whether the Settings Hold
Settings protect the account, but habits protect the settings. Never open an email attachment, a PDF, or a video file from a sender you do not trust, without stopping to ask why it arrived. A file that looks ordinary can carry the malware that steals a session or a password, and no setting can undo a file you chose to run. The same caution applies to software from unknown sources, especially cracked programs, which the video names as a common way accounts get taken. If you did not expect the file, do not open it.
The other habit is just as simple. When Google sends a security alert, read it the same day. An alert about a new sign-in or a changed recovery detail is either something you did, in which case it takes ten seconds to confirm, or something you did not do, in which case those ten seconds are the cheapest rescue you will ever get. Accounts are rarely lost in one dramatic hack. They are lost slowly, through ignored warnings, until one day there is no verified way back in.
If Something Still Goes Wrong
No setup makes an account one hundred percent safe, and anyone who promises that is selling something. When trouble appears, change the password from a device you trust, sign out any device you do not recognize, and use your verified recovery email or phone number to regain access, entering codes only on the real Google sign-in page. Then check that the recovery details are still yours, because an attacker who gets in often changes them first. Never share a code you did not ask for. Google will never ask for your password or verification code.
That is the whole job: six settings, in order, with habits that back them up. The password-only way asks nothing of you and protects nothing that matters. The layered way asks for under an hour once, and a tap now and then afterward, and it turns a single leaked password from a disaster into a failed attempt. Open your Google Account today and work through the steps in the video above.