Some machines refuse to die quietly. They sit in a corner with a charger that still works, waiting for one more job: an old printer that only behaves with its original driver, or shop software that sulks on a newer system. That is the one honest reason to install Windows 8.1 in 2026 — a rescue, a test, or a specific compatibility job. It is not a fresh start for everyday life.
Below, you will make a bootable USB drive, check whether your disk needs GPT or MBR, walk through Setup without guessing at the partition screen, and fix the two problems that follow almost every install: .NET Framework 3.5 and missing drivers.
First, the honest warning: support is over
Microsoft ended support for Windows 8.1 on 10 January 2023. There are no new security updates, and the ISO file is no longer offered on the Microsoft website as it once was. The presenter in the video is plain about it too: he would not personally recommend it for daily use now. Browsers and everyday apps are gradually dropping it as well.
So set the boundary before you start. If the job is short and contained — one old program, a hardware test, a machine that will stay mostly offline — Windows 8.1 can still earn its place. If you need a safe everyday system, install a supported version instead.
Who it still helps
Think of the laptop that shipped with Windows 8. Its maker may never have released proper drivers for a newer version, yet every part still works. Putting 8.1 back on it can feel like giving it its native language again: the function keys behave, and the old driver package installs instead of arguing with you. The same applies to a second machine kept for one stubborn program.
Walk away if this will be your only computer or if it will hold files you cannot lose. Lightness alone does not make up for missing security patches.
Gather everything first
- A Windows 8.1 ISO file for the edition and language you are licensed for. In the video, the 64-bit file is about 4 GB and the 32-bit file is about 3 GB. A much smaller file should be treated with suspicion.
- An empty USB drive of at least 8 GB. Everything on it will be erased.
- Rufus, the free tool used in the video to make the drive bootable. The video uses version 4.13; download the current version from the official Rufus website.
- Your product key, where you can read it during Setup. Next will not become available until a key in the right format is entered.
- A backup of your files. A clean install formats the partition you choose.
- The boot-menu key for the machine, and a second device, such as a phone, for looking up drivers afterwards.
Microsoft’s published minimum was a 1 GHz processor, 1 GB of RAM for 32-bit or 2 GB for 64-bit, 16 GB of disk space for 32-bit or 20 GB for 64-bit, and a DirectX 9 graphics device. Treat that as the floor, not the target: 4 GB of RAM and a healthy drive make a visible difference.
Check GPT or MBR before you make the USB drive
A disk uses one of two partition styles: GPT, used with UEFI booting, or MBR, used with legacy BIOS booting. Rufus must match the style already on the disk you plan to install to. Get it wrong and the machine may boot straight back into the old system.
Check it while the machine still runs its current system. Right-click This PC, choose Manage, and open Disk Management. Right-click the disk itself, choose Properties, and open the Volumes tab. Partition style will say GPT or MBR. In the video, the disk shows GPT, so the USB drive is made with GPT.
Make the bootable USB drive with Rufus
Plug in the USB drive and open Rufus. If more than one removable drive is plugged in, stop and confirm you selected the right one, because the wrong choice erases the wrong drive. Click Select, browse to the ISO file, and choose the version you need at the full size. In the video, the Windows 8.1 English 64-bit ISO is highlighted in the file picker.
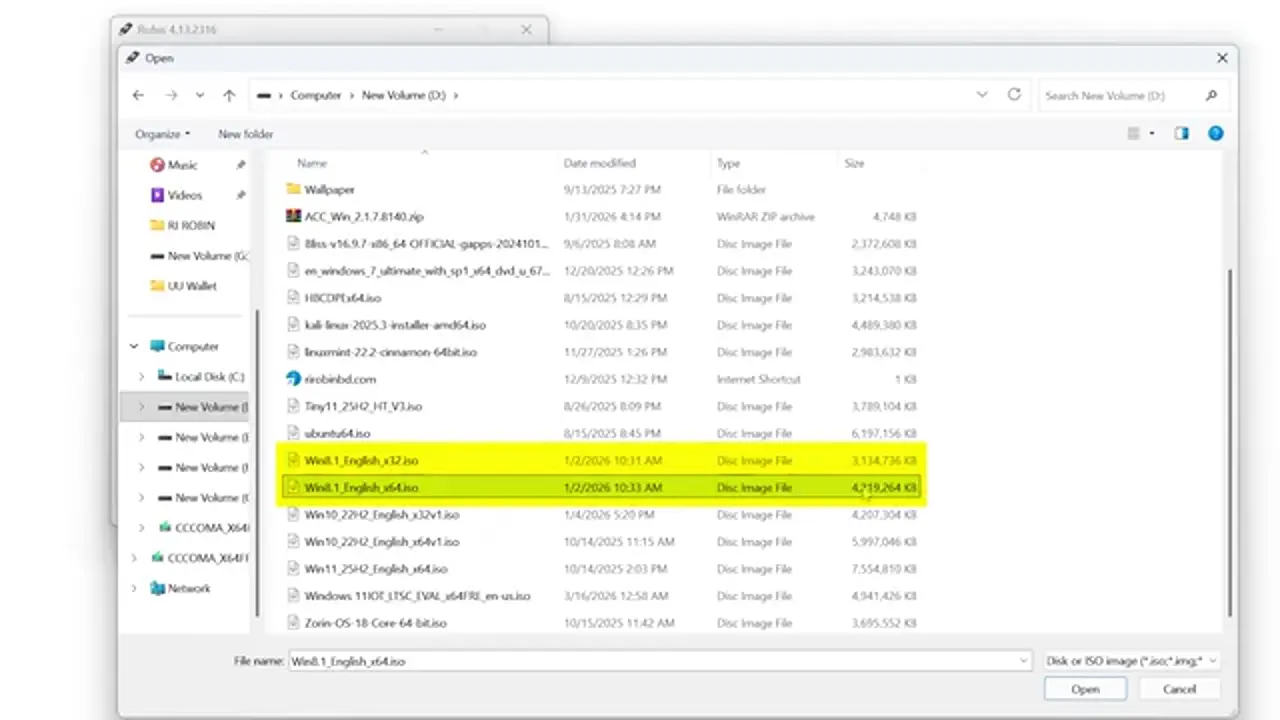
Set the partition scheme to match what you found: GPT for a GPT disk, MBR for an MBR disk. Leave the other defaults alone. Click Start, confirm the warning that the drive will be erased, and wait. When Rufus reports that the drive is ready, close it.
Save the .NET 3.5 command now
Windows 8.1 does not include .NET Framework 3.5 by default, and some older programs refuse to run without it. The fix is a single command, but it needs the installer files, and the easiest source is the USB drive you just made. Copy the command into a text file and save that file on the USB drive, as shown in the video. The command is published in the video description:
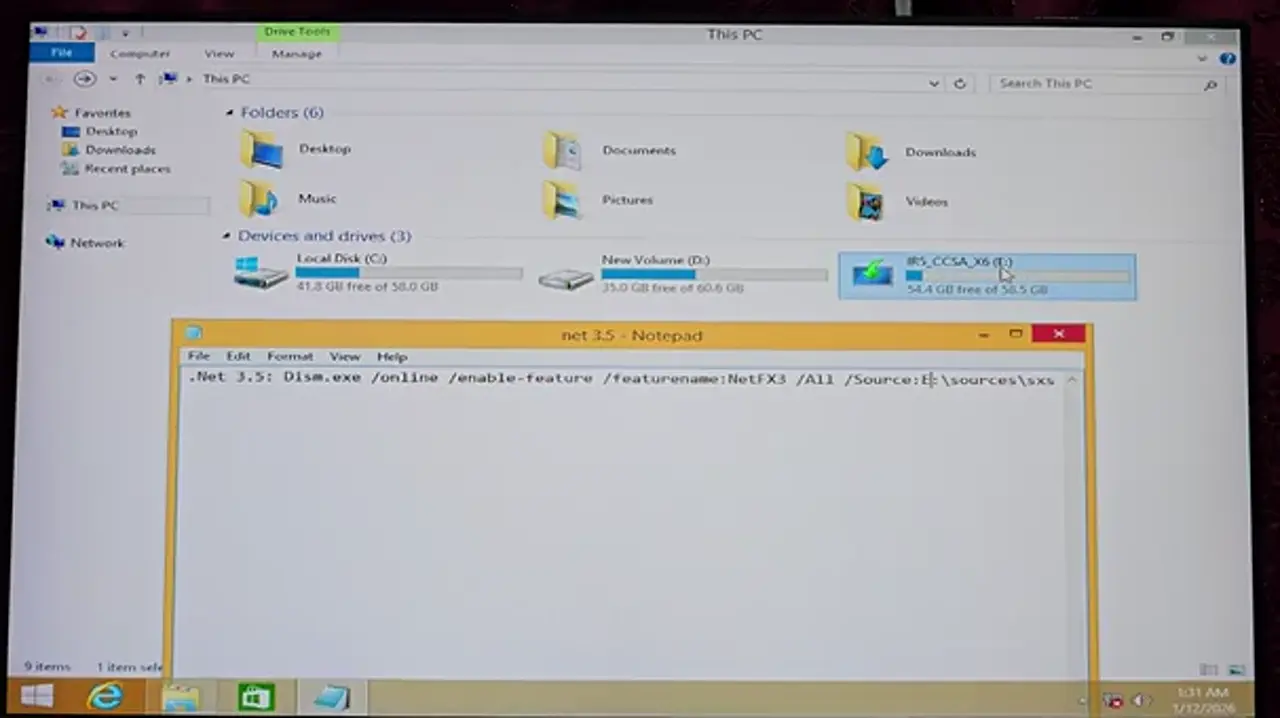
Dism.exe /online /enable-feature /featurename:NetFX3 /All /Source:D:\sources\sxs /LimitAccessNote the /Source: part. It points at the sources\sxs folder on the installation drive. In the description, the letter is D. On the machine in the video, the USB drive is E, so the working command uses E:\sources\sxs. Use the letter your USB drive actually has, or the command will look in the wrong place and fail.
Boot from the USB drive
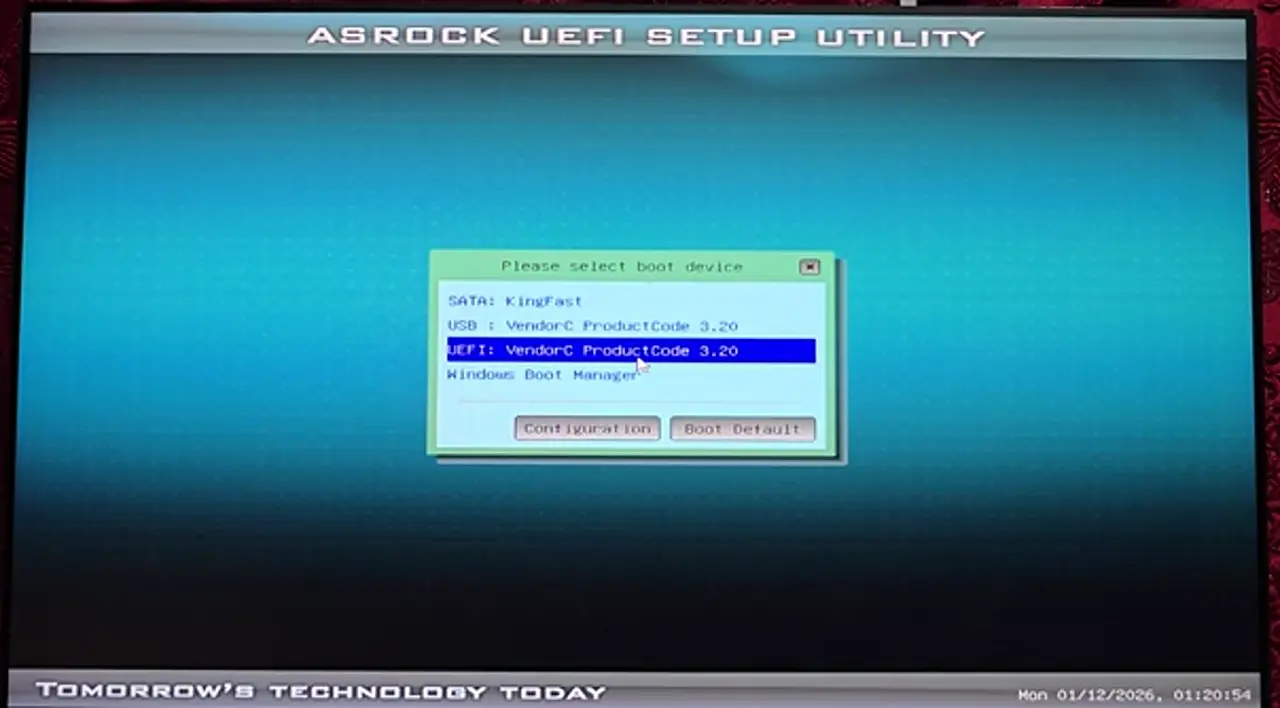
Every motherboard has its own boot-menu key. Before you restart, search for it using the make and model of your motherboard or laptop — for example, “ASRock motherboard boot menu key”. In the video, the machine uses an ASRock board and the key is F11, pressed repeatedly just after the power button. Other boards use F12, F8, or Esc.
With the USB drive plugged in, restart, press the boot-menu key, and look at the device list. You will usually see the USB drive twice: once as a plain USB entry, and once with UEFI in front of it. For a GPT disk, choose the UEFI entry; for an MBR disk, choose the legacy USB entry. In the video, the UEFI entry is highlighted, and Windows 8.1 begins to load. If the old system boots instead, restart and try the other entry.
Walk through Setup
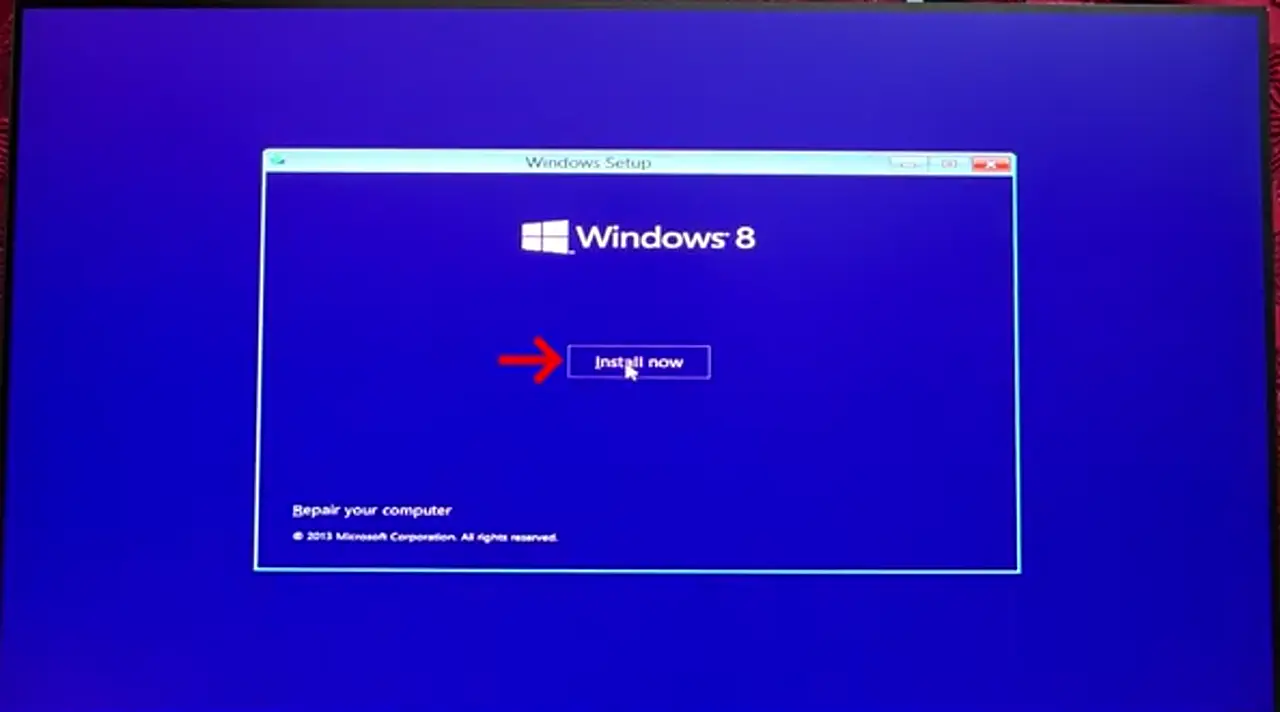
The first screen asks for language, time and currency format, and keyboard layout. Check that they match what you use, then click Next. The next screen shows the Windows 8 logo and one button: Install now. Click it. The Repair your computer link is for fixing an existing install, not for this job.
Next comes the product key, in five groups of five, with dashes added as you type. Type slowly and check each group, because one wrong character keeps Next greyed out without saying which character is wrong. Once the key is accepted, click Next, accept the licence terms, and click Next again. Then choose Custom: Install Windows only (advanced).
The partition screen: slow down
The list shows every drive and partition Setup can see. In the video, Drive 0 has small Recovery, System, and reserved partitions, plus Drive 0 Partition 4, a 58.1 GB primary partition that is already selected. On a machine with two drives, Setup can highlight the wrong one. Before you format anything, confirm that the size of the selected partition matches the system drive you intended. If you are not sure, stop. Do not format.
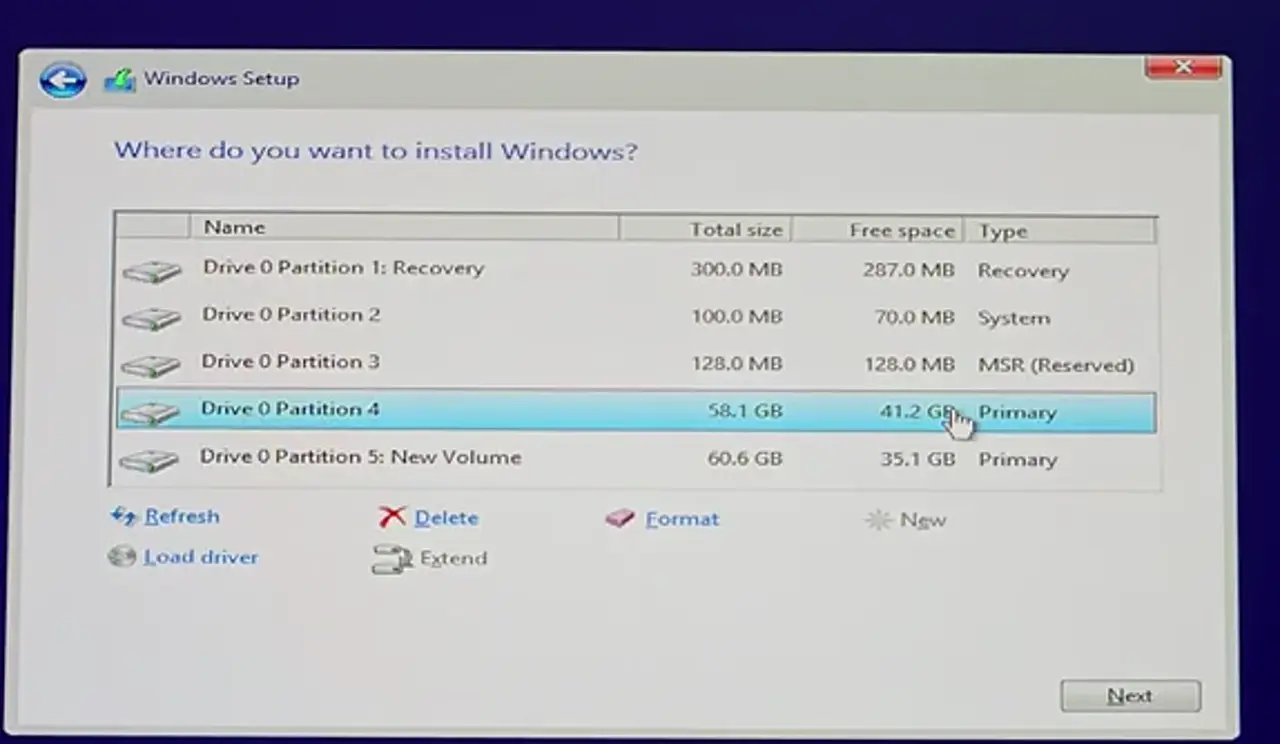
When you are sure, select the system partition, click Format, confirm, and click Next. Formatting erases that partition, which is what a clean install means — and why the backup came first. Setup then copies files, and the machine restarts on its own. In the video, this takes only a few minutes. Let it finish, and when the machine restarts, leave it alone: pressing keys at the wrong moment can send it back into Setup.
First boot: colour, name, and settings
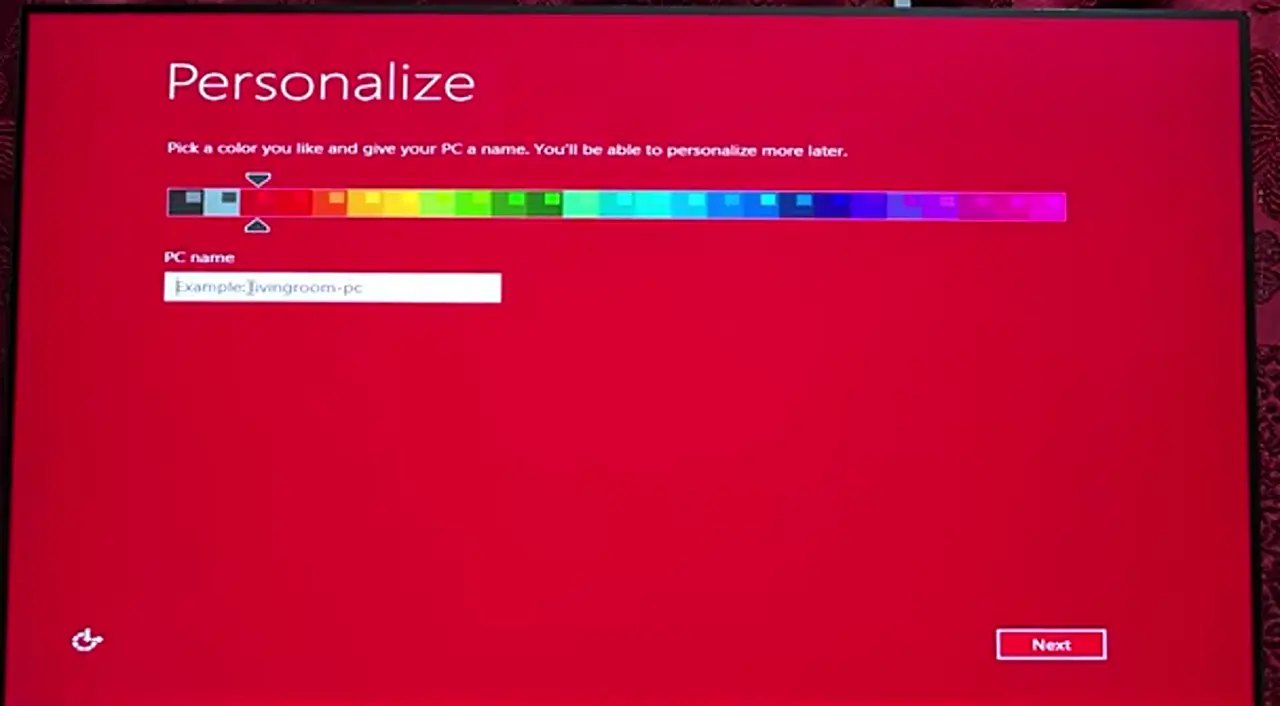
After the restart, pick a colour and give the machine a name that will still make sense in a month. Click Next. The next screen offers Express settings, with a list of what that includes. The video chooses Use express settings, a reasonable quick path for a contained test machine. If the machine will touch a network you care about, open Customize and read each option. Then enter an account name, set a password if others can reach the machine, and click Finish.
After the install: desktop icon, then .NET 3.5
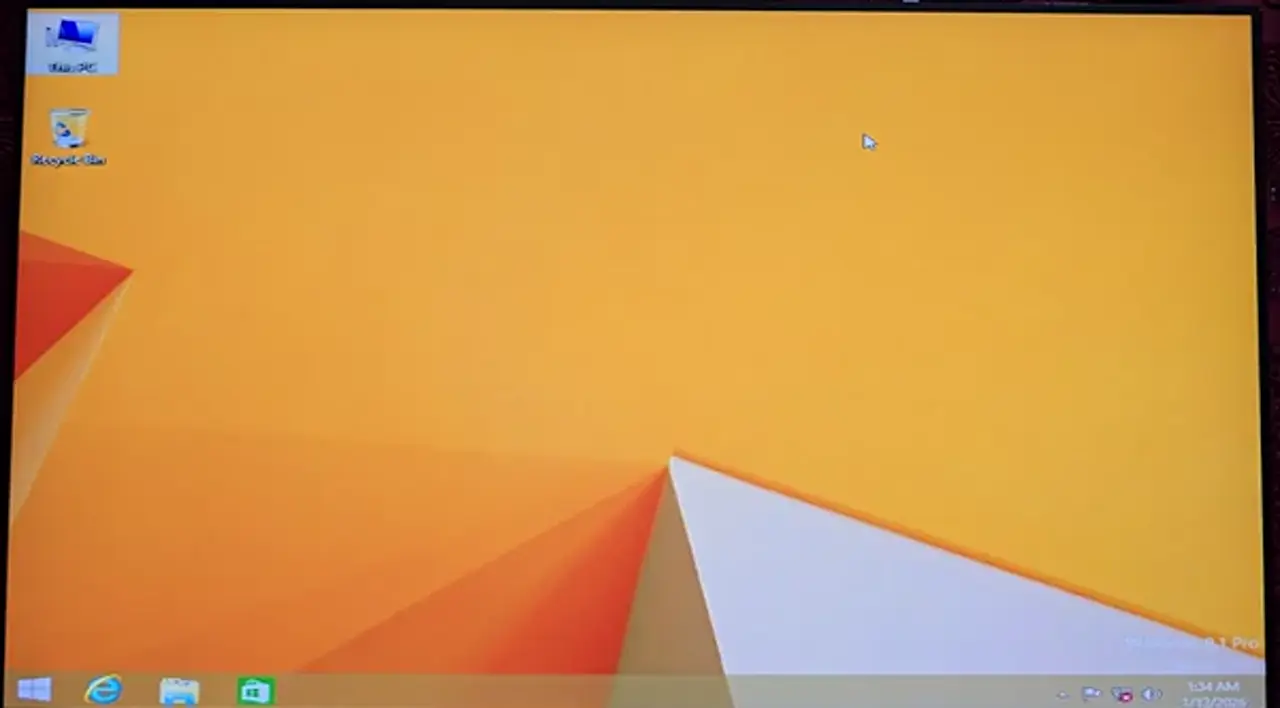
Right-click an empty part of the desktop, choose Personalize, then Change desktop icons, tick Computer, and click OK. The icon for This PC appears on the desktop. Open This PC, note the USB drive letter, and check the command in the text file. If the letter does not match, edit that one letter only. Then type cmd on the Start screen, right-click Command Prompt, and choose Run as administrator. Right-click inside the window to paste the command, as in the video, and press Enter.
Drivers: expect flat graphics until they are in
Connect to the internet, then install drivers, starting with the chipset and network drivers for your exact model, from the maker’s support page, and then the graphics driver. Until the graphics driver is installed, everything will look flat and the resolution may be wrong. That is normal, not a sign the install failed. If a device still shows a warning in Device Manager, note its exact name and search for that, rather than installing a generic driver pack from an unfamiliar site.
Activation is separate from installation. Use a legitimate licence you own, keep it private, and be wary of any site offering activation as a free download.
If it goes wrong
- USB drive ignored: try the other USB boot entry, then recheck GPT against MBR and remake the drive if they do not match.
- Next greyed out at the product-key screen: recheck the key group by group, with the correct keyboard layout.
- Partition list looks unexpected: stop before formatting, and confirm drive sizes and your backup.
- .NET command fails: check the drive letter first, and that the USB drive is still plugged in.
- Flat graphics or low resolution: install the graphics driver for your exact model and restart before judging the display.
- A device has no driver: search by the exact model on the maker’s support page. If no Windows 8.1 driver was ever released, that hardware may not work properly here.
Frequently asked questions
Can I install Windows 8.1 without a product key?
Not through the Setup flow shown here. Next stays unavailable until a key in the correct format is entered, so have a legitimate key ready before you boot from USB.
How do I know whether to use GPT or MBR in Rufus?
Match the disk you are installing to. Check it in Disk Management, under Properties and Volumes. GPT goes with the UEFI boot entry, and MBR goes with the legacy USB boot entry.
Is Windows 8.1 safe to use every day in 2026?
No, not as a main everyday system. Support ended in January 2023, so there are no new security updates. Use it for a contained, specific job, and choose a supported system for daily work.
The verdict: a good rescue, a poor daily driver
Installing Windows 8.1 from a USB drive is straightforward in the right order: check GPT or MBR first, make the drive with Rufus, know your boot-menu key, take the partition screen slowly, and finish with .NET 3.5 and drivers. Keep the verdict in view when the desktop appears: that bright wallpaper is a tool for one job — an old program, an old piece of hardware, a test that needs the real thing. Use it for that job, keep it contained, and let a supported system do the rest.