The Disk That Disappears First
The scariest screen in this process does not look scary at all. It is a plain white box, a drop-down menu, and a button that says Install Now. Yet the moment you click it, the drive you picked is rewritten: its partition table is replaced, its old partitions are deleted, and a fresh system is copied over the top. That is the point of a full install, and it is why you should understand what happens underneath before you touch that button.
This guide follows a clean install of Linux Mint 22.2, the Cinnamon edition, onto a single drive, with nothing kept from before. No Windows beside it, no second system to fall back on, no dual boot menu at the end. If you want Mint beside Windows, that is a different install, with a different choice on one screen. Here, one drive is wiped and Mint takes all of it. Knowing how that works makes the steps feel calm, because every later screen is just the installer doing the job you already decided on.
What an ISO Really Is
The file you download, linuxmint-22.2-cinnamon-64bit.iso, is not a program you double-click on Windows. It is a frozen picture of a working system: the Linux kernel, the Cinnamon desktop, Firefox, LibreOffice, VLC, and the installer, all packed into one image. Think of it as a snapshot of a finished computer, sealed inside a single file.
Rufus does not simply copy that file onto a USB drive. It unpacks the image and writes it sector by sector, so the drive itself becomes bootable. That is why the drive is formatted in the process, and why anything already on that USB drive is lost. Back up the stick as well as the target drive if either holds something you care about.
When you boot from the finished USB drive, Mint starts a live session, running mostly from the USB drive and from memory. The desktop you see is the real Mint desktop. You can open folders and check Wi-Fi and sound, but nothing is saved to the hard drive, and everything vanishes on restart. Test freely, and save nothing you need.
GPT, UEFI, and the Small Partition That Starts Everything
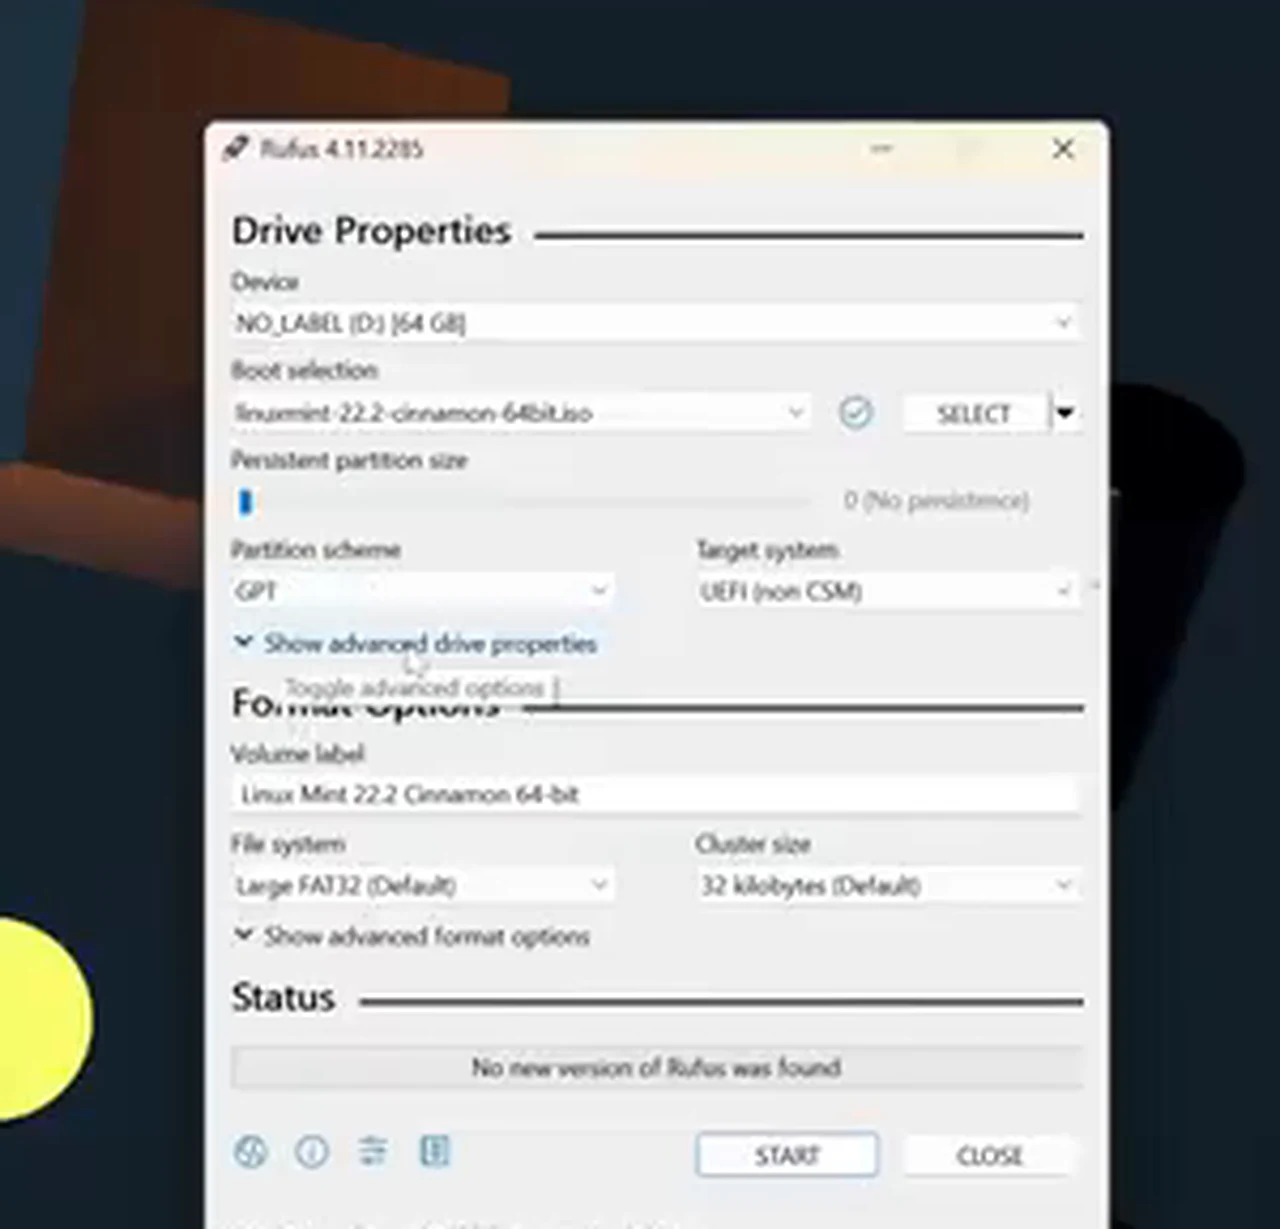
Most modern computers use UEFI, not the older BIOS way of booting, and that changes what Rufus must write. In Rufus, set the partition scheme to GPT, which sets the target system to UEFI (non CSM). GPT is the newer way of describing where partitions begin and end, and it is the layout UEFI expects. Pick MBR for a UEFI machine and the drive may refuse to boot, even though every file copied correctly. Check that one drop-down; do not trust the default.
UEFI booting needs an EFI System Partition, a small FAT32 partition holding the bootloader that wakes the system and hands control to the kernel. Mint creates it for you in a full install. Knowing it exists explains the password screen later: with Secure Boot on, the bootloader must be signed and trusted. It also explains why an erase install cannot be undone by simply putting Windows back over the top without a proper Windows installer.
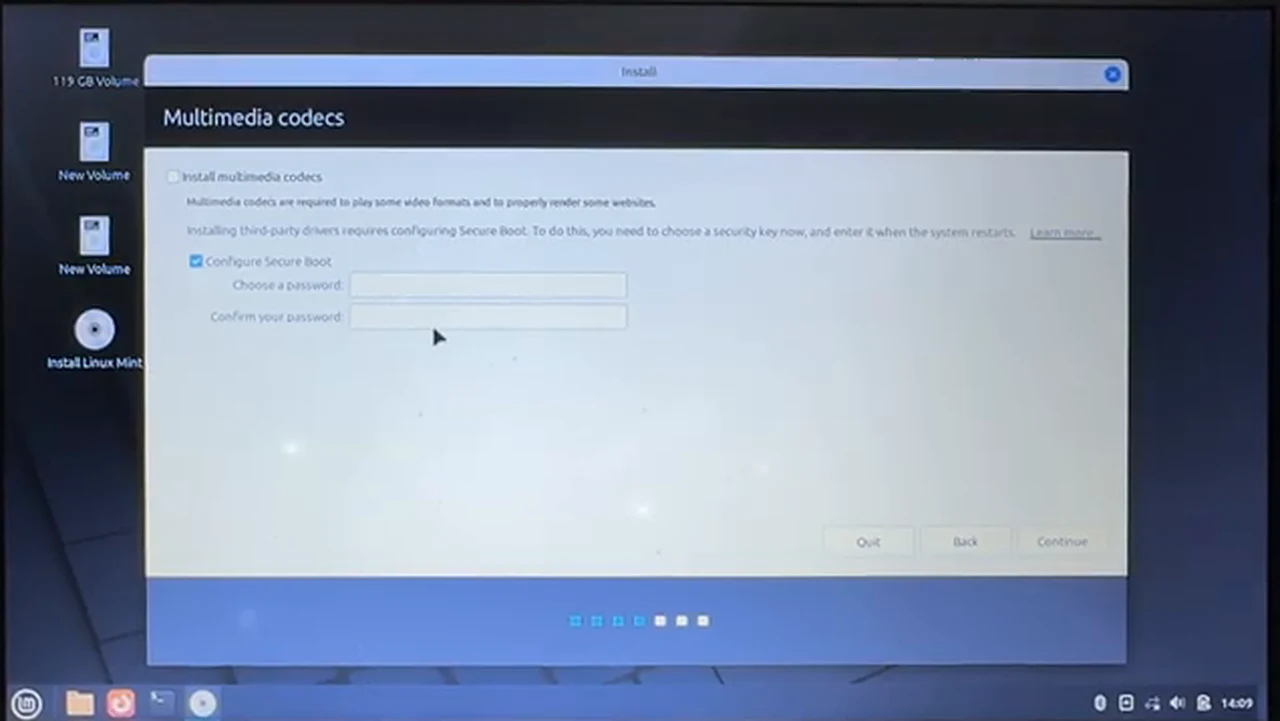
Secure Boot only allows signed boot software to run. Mint works with it, but third-party drivers and multimedia codecs need a one-time trust step. The installer asks for a security key, a password of at least eight characters, to be typed again after the first restart, when the firmware asks whether to enrol that key. It is not your login password, and it is not asked every day. Remember it for that one restart.
Cinnamon, Ubuntu Underneath, and Why Windows Programs Do Not Just Run
Linux Mint is a community-developed distribution based primarily on Ubuntu, and Cinnamon is the desktop the Mint team builds itself: the panel, the menu, the file manager, and the settings app. It is deliberately familiar if you come from Windows, with folders called Desktop, Documents, Music, Pictures, and Videos. That familiarity is a design choice. Mint wants the move to feel like changing house, not changing country.
Underneath, the Ubuntu base means software arrives through a package system, not through installers downloaded one by one. The Software Manager and Update Manager fetch tested packages from repositories and keep them updated together. The trade-off is plain: a Windows .exe file will not run natively, and a Windows-only driver will not install. Most everyday needs are already covered, with LibreOffice, Firefox, and VLC on the system. If one Windows-only program is essential to you, test it in the live session before you wipe a drive.
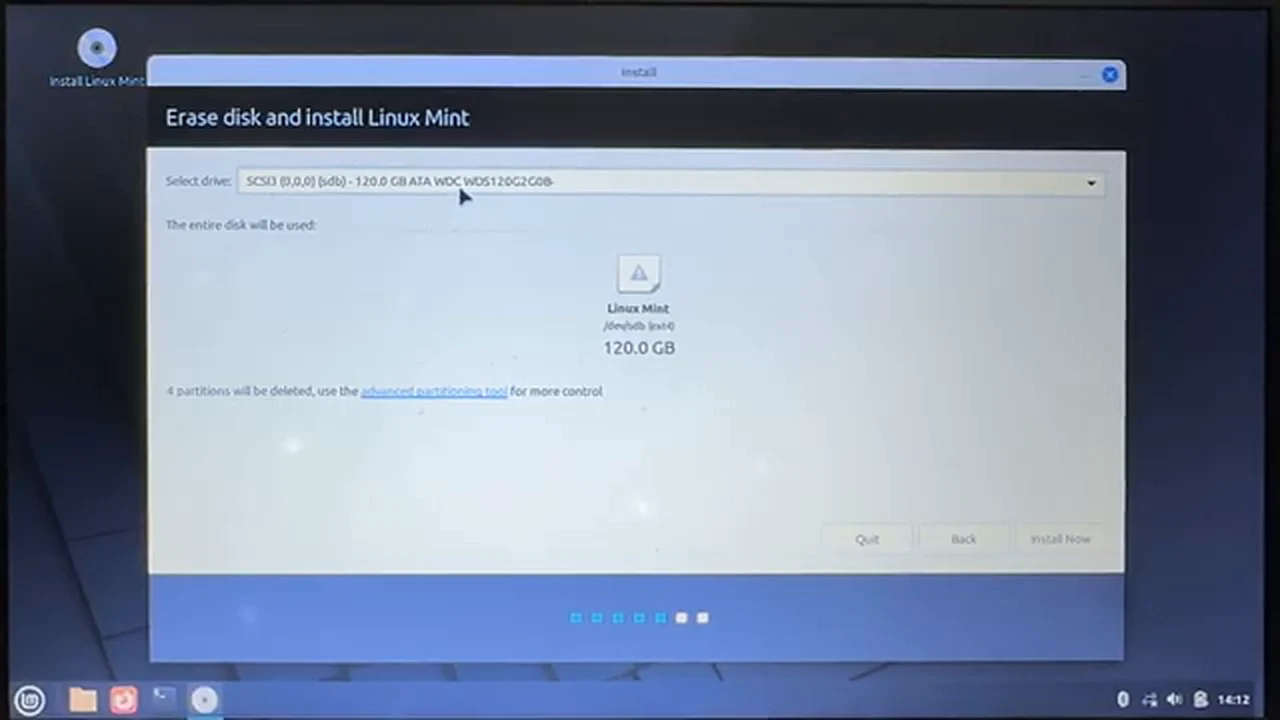
There are no drive letters here. Your files live in your home folder, and a second drive appears as a mounted volume rather than as D:. That is why the installer names drives by size and model, like a 120 GB SSD. When a machine holds more than one drive, size and model are your only reliable guides. The video behind this guide shows why: the machine held an SSD and a hard drive, and only the SSD was chosen. Read the size, read the model, then read them again.
A Backup Is Not a Formality Here
In a dual boot install, a mistake usually costs time. In an erase install, a mistake costs data. The installer warns that your choice will delete all programs, documents, photos, and music on the drive you pick. Believe it literally. Copy what you cannot re-download to a separate drive or cloud storage, and check that the copy opens before you start. The presenter in the video had a backup and an empty SSD, which made wiping it a calm decision. If the only copy of something lives on the drive you are about to wipe, you are not ready yet.
Step by Step: From Download to First Boot
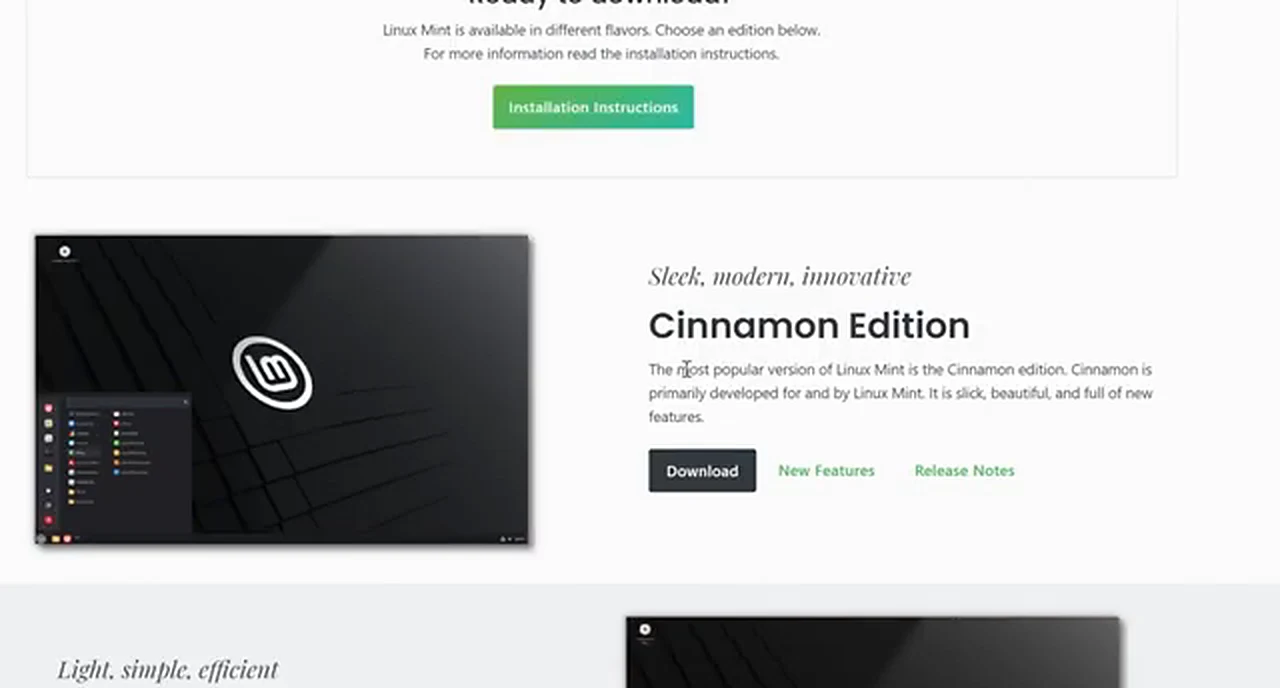
Download Cinnamon from linuxmint.com. Go to Download, choose the Cinnamon edition, described as the most popular version of Mint, and pick a nearby mirror. The file is a few gigabytes, so a stable connection helps. While it downloads, get Rufus from its official site. You need Rufus only on a Windows computer to build the USB drive.
Open Rufus, confirm the right USB drive is shown, and use Select to choose the ISO. Change the partition scheme from MBR to GPT, which sets the target to UEFI. When asked how to write the image, choose Write in ISO image mode, the recommended option. Press Start, accept the format warnings, and wait for the progress bar to finish. Do not pull the drive out mid-write.
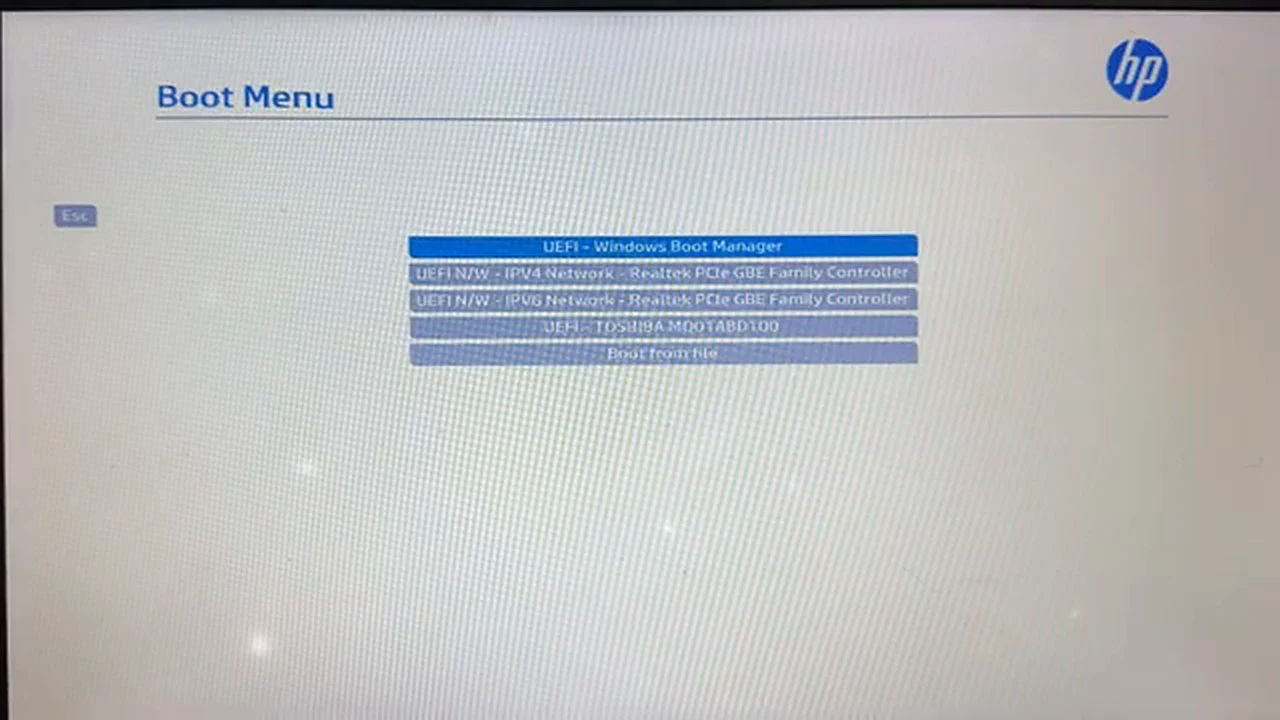
Boot from the USB drive. Look up your brand's boot menu key first. On the HP laptop in the video it is F9, pressed repeatedly right after the power button. Other brands use F12, F8, or Esc. Plug the drive in, power on, press the key, and pick the USB entry, shown in the video as a UEFI entry for the Toshiba drive. If it does not appear, try another port or recreate the drive with GPT.
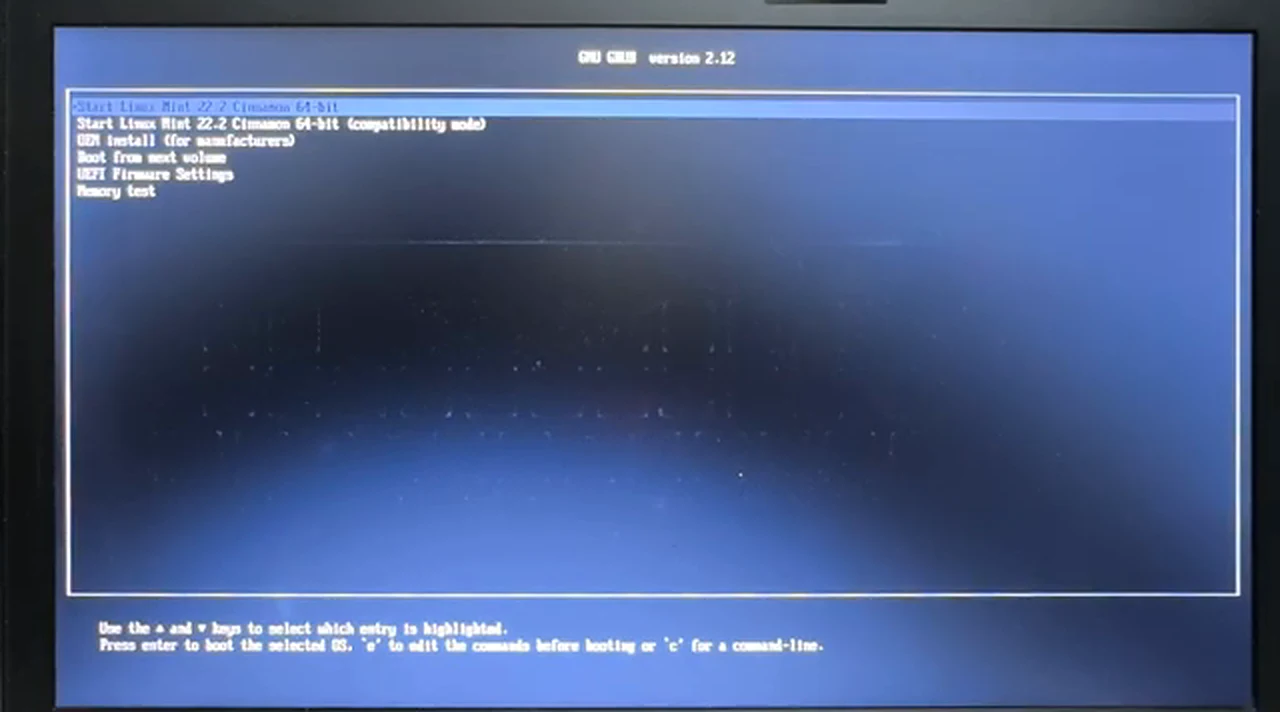
At the GRUB menu, leave Start Linux Mint 22.2 Cinnamon 64-bit highlighted and press Enter. GRUB is the plain text bootloader menu. The other entries, compatibility mode, OEM install, firmware settings, and memory test, are for edge cases. If the normal entry gives a black screen, restart and try compatibility mode.
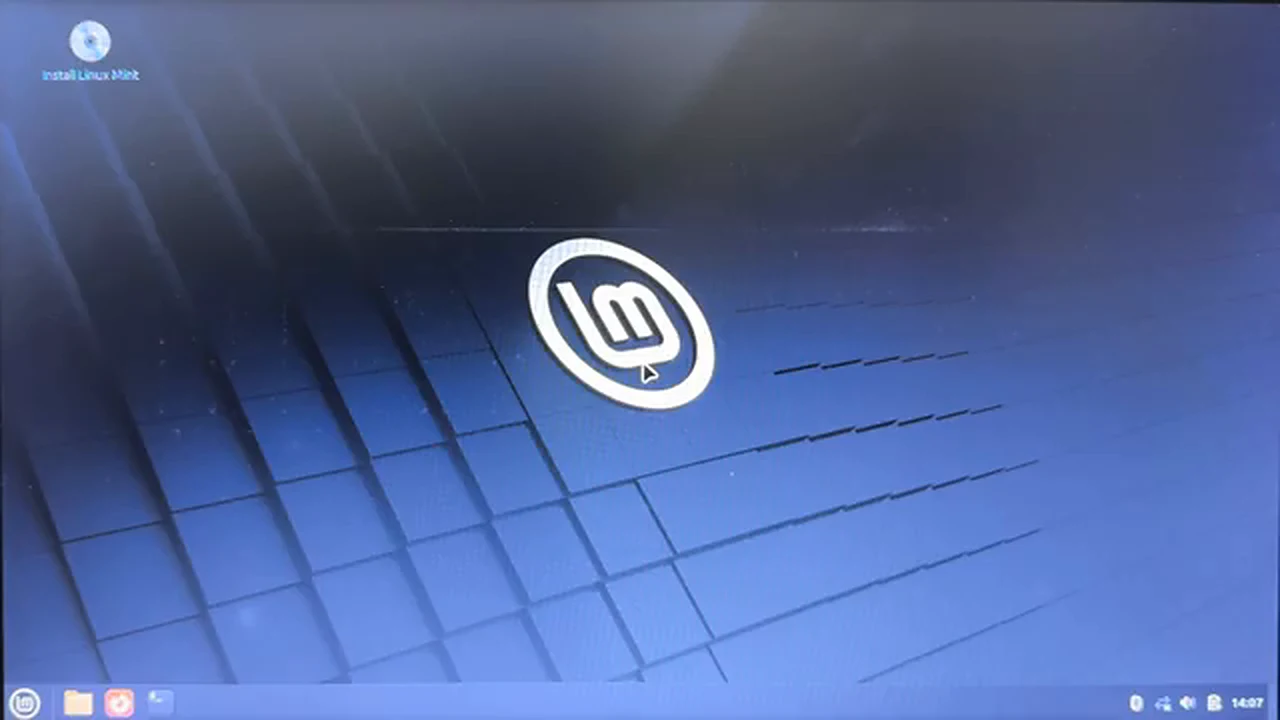
Try the live desktop before installing. Check Wi-Fi and sound, open the file manager, and look at the familiar folders. If something important does not work here, investigate first, because the installed system will inherit the same hardware. When you are happy, double-click Install Linux Mint.
Work through the installer slowly. Keep English and the English (US) keyboard. On the wireless screen, choose not to connect right now; you can update after the first boot. On the next screen, tick Install multimedia codecs, and for Secure Boot, choose a password of at least eight characters and write it down.
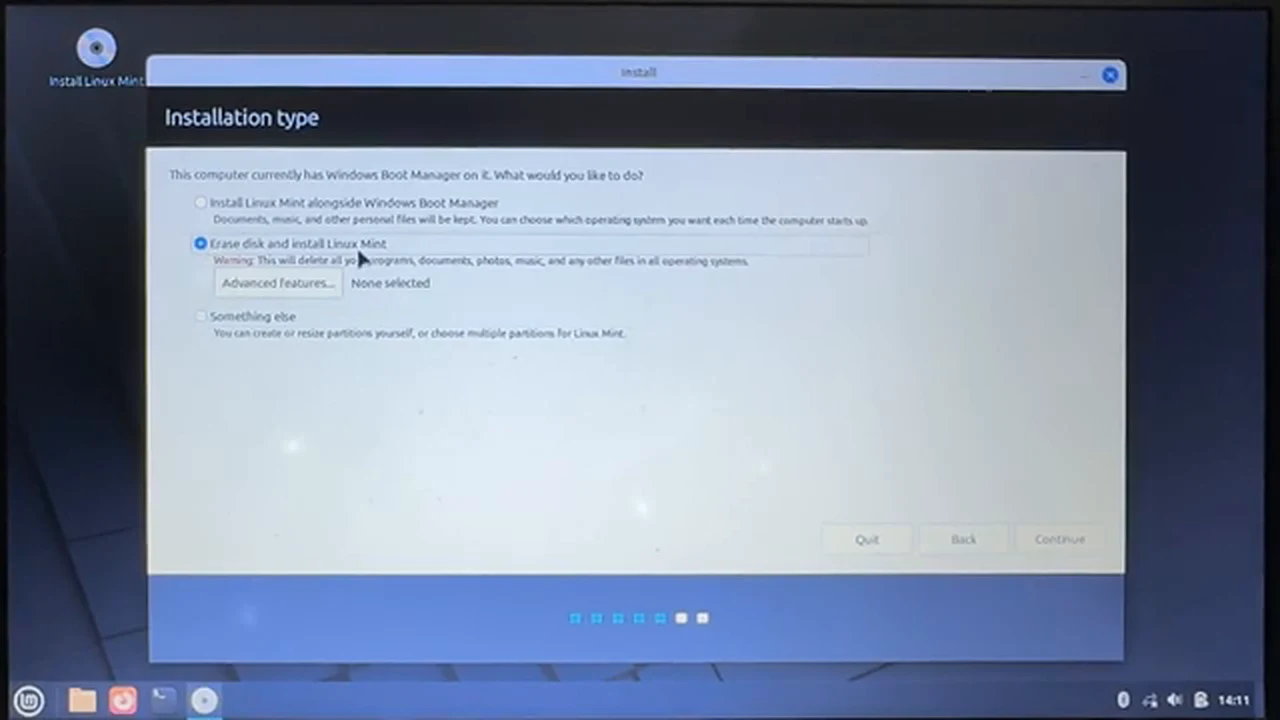
Now comes the defining screen. Under Installation type, choose Erase disk and install Linux Mint, not the alongside-Windows option. On the next screen, check the drive's size and model in the drop-down. In the video it is a 120 GB SSD, shown as one Linux Mint volume, with a note that four partitions will be deleted. If it does not match the drive you meant to wipe, stop and go back. This is the one mistake with no undo button.
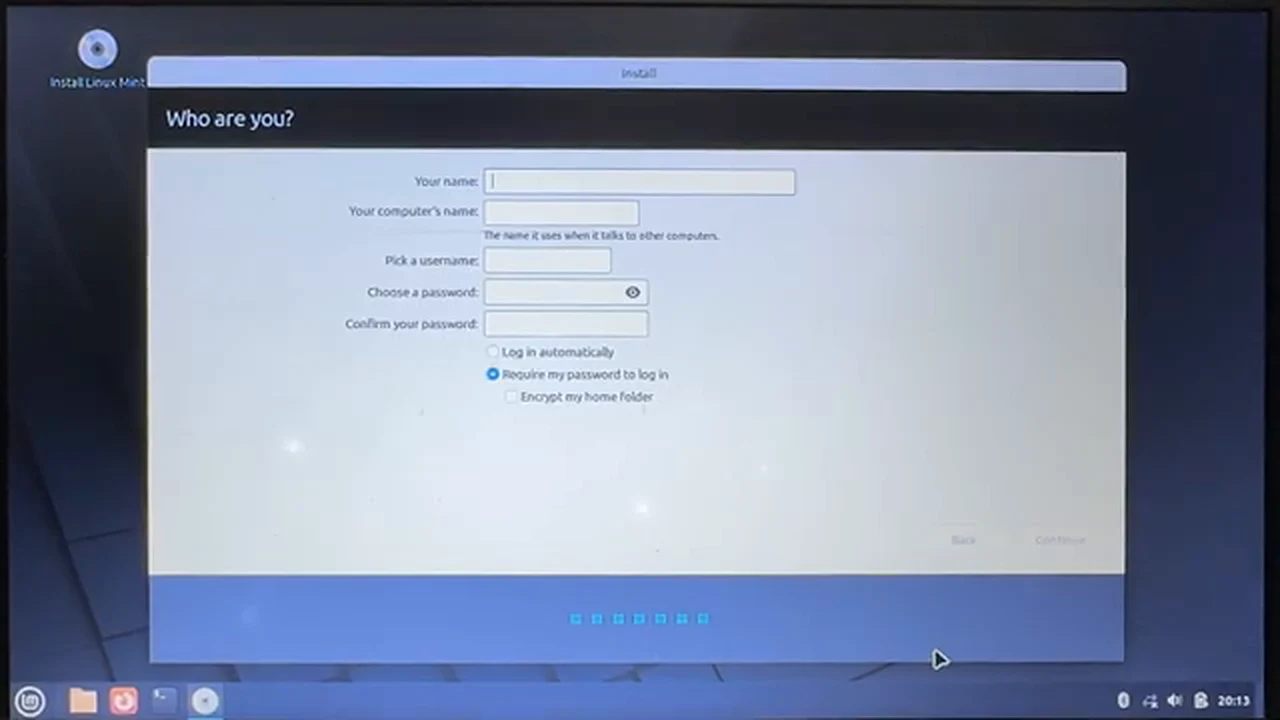
Choose your location on the map; the video picks Bangladesh. Then fill in Who are you? Your name, computer name, username, and password. Keep the username short, lowercase, and free of spaces, and require a password at login on a laptop that leaves the house. Click Continue and let the installer format the drive and copy files.
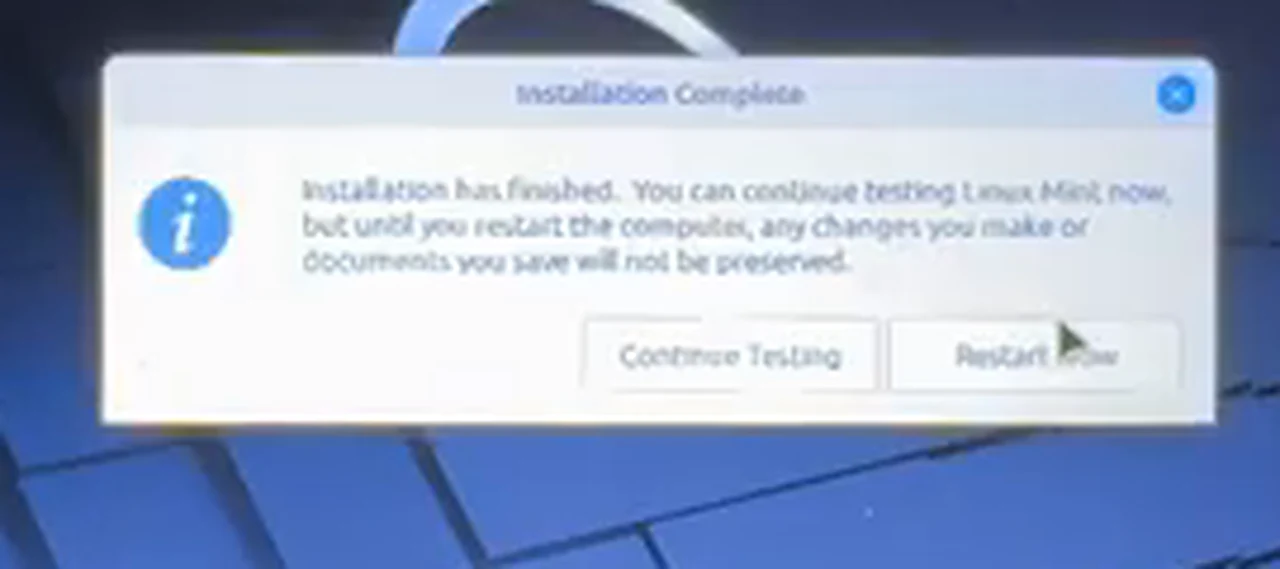
Choose Restart Now when the Installation Complete box appears, and remove the USB drive as the machine reboots. If Secure Boot is on, type the security key once when the firmware asks, and confirm the enrolment. A Welcome to Linux Mint window will greet you. Connect to Wi-Fi, run the Update Manager, and install its updates. That first update pass is part of the install.
After the First Boot: Tweaks That Actually Help
Open Timeshift and create a snapshot of the fresh system on a separate drive. It is Mint's restore tool, and a snapshot taken while everything works is the fastest way back if a later tweak goes wrong. Then open Driver Manager; if it offers a proprietary graphics or Wi-Fi driver, install the recommended one and restart.
On an old or low-memory machine, turn off desktop effects, remove unneeded startup applications, and keep applets small. On an SSD, leave the defaults alone. Set up a real backup habit too: an external drive or cloud folder for documents and photos, with Timeshift handling the system. Wanting Windows back later means reinstalling Windows from its own installer and restoring files from backup. That is the honest price of a single-system machine.
What to Do When Something Goes Wrong
A missing USB entry in the boot menu is usually a creation problem: recreate the drive with GPT and UEFI, try another port, and test it on another computer if you can. A black screen after GRUB usually means graphics, so retry in compatibility mode. Missing Wi-Fi after install is often a driver issue, so connect by cable or phone tethering and run Driver Manager. A Secure Boot prompt at first restart is the key enrolment, not an error. And if a drive size looks unfamiliar in the installer, stop and check it in the live session's Disks tool. Slow is safe here.
Why This Install Feels Different Afterwards
A dual boot machine always asks which system today. A full install removes the question: the machine powers on, GRUB hands over to Mint, and the whole drive belongs to one system. That simplicity suits a second machine, an older laptop given a new life, or a main computer whose owner has moved to Linux-friendly tools. If that fits you, and your backup is ready, the steps above will get you there. If not yet, try the live session for a week of real tasks first. The USB drive will wait.
Watch the Full Walkthrough
The video below shows the whole process on a real machine, from the download page through Rufus, the boot menu, the live desktop, and the erase install, to the first boot into Mint.