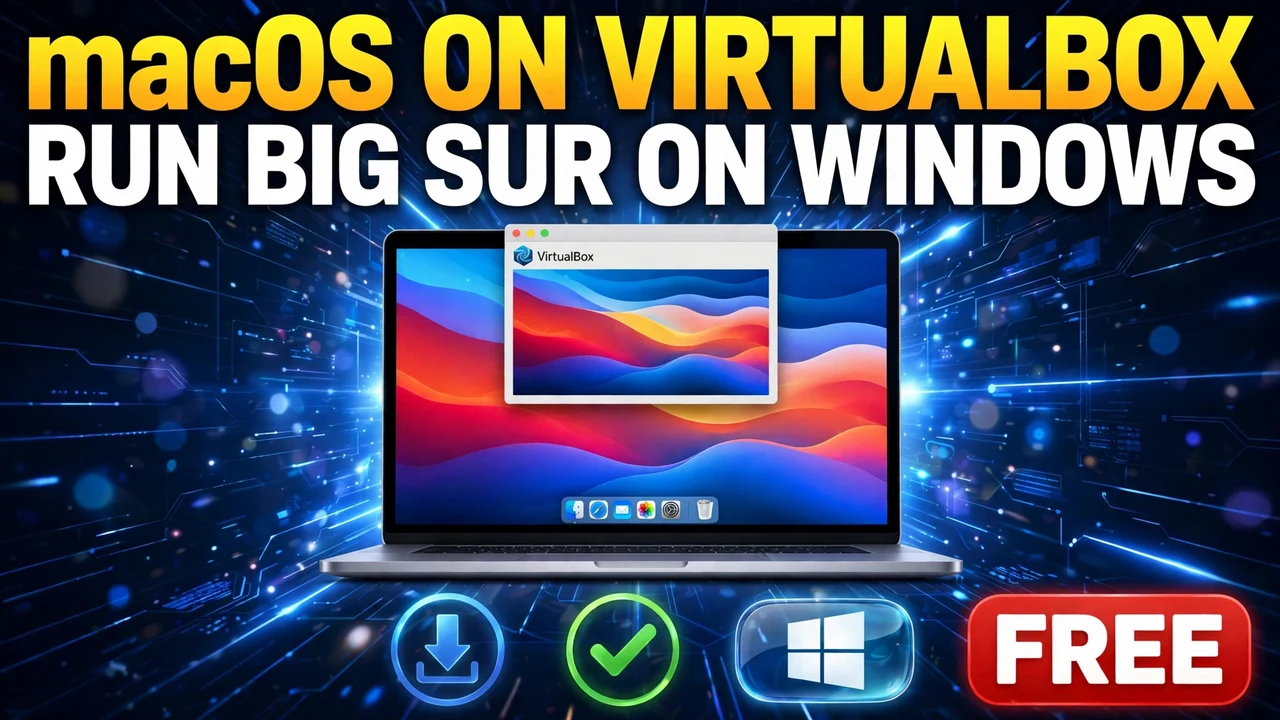
Plenty of people want to try macOS before spending Mac money on it. Screenshots cannot tell you whether you would enjoy living in it. The usual way to find out — installing macOS properly, next to Windows — is a weekend project that can break a working computer. There is a safer first step: install macOS on VirtualBox, inside a window on your Windows desktop, and try it there.
When you install macOS on VirtualBox, Windows stays untouched: nothing is partitioned, no boot menu is rebuilt, and you simply close the window when you have seen enough. It is slower than the real thing, and this guide will not pretend otherwise. But as a trial run, it is the sensible place to start. The video below shows the whole process with macOS Big Sur.
VirtualBox or OpenCore? Decide Before You Download Anything
Two different methods share the same headline — do not mix them up:
| VirtualBox (this guide) | OpenCore (separate guide) | |
|---|---|---|
| What happens | macOS inside a window | macOS boots on your hardware |
| Windows | Untouched; still your main system | Shares the drive or takes it over |
| Setup difficulty | Moderate: settings and a few commands | Hard: custom EFI folder per machine |
| Speed | Laggy, even on strong hardware | Close to a real Mac when it works |
| Best for | Trying macOS, learning it, deciding | Daily use, once decided |
If you want macOS as your everyday system, and you are ready for bootloader work and driver hunting, that is a different job, covered in our guide to installing macOS on a Windows PC with OpenCore. One note applies to both routes: Apple licenses macOS for Apple hardware, so running it on other hardware sits outside that license, and Apple will not support it when something breaks.
What You Need, and What the Machine Needs
Think of VirtualBox as a computer inside your computer. It borrows RAM, processor cores and disk space, pretending to be a separate machine. macOS installs onto a virtual hard disk — really one large file on your Windows drive. Delete that file and the whole experiment is gone, without a trace. That safety net is the entire point.
You need two things. First, VirtualBox itself, installed on Windows — the video assumes you have it or will follow its separate VirtualBox installation video. Second, a macOS ISO file. The link in the video description lists several versions, including Monterey and Ventura, but the presenter started with Big Sur, because it runs on the widest range of machines. Follow that lead. The file is about 13 GB, so start the download early.
On hardware, be realistic. With 8 GB of RAM you can do this, but only by giving the virtual machine 4 GB and keeping 4 GB for Windows, which leaves both sides cramped. The presenter’s machine had 32 GB, and he gave the virtual machine about 14 GB. Give it roughly half of what you have, never below 8 GB, and do the same with processor cores. For disk space, 40 GB is the floor; 70 to 80 GB is comfortable.
Switch Off the Two Windows Features That Block VirtualBox
Two Windows security features fight with VirtualBox over the same low-level hardware access, and both need to be off while you set this up. Skip it and the machine may refuse to start.
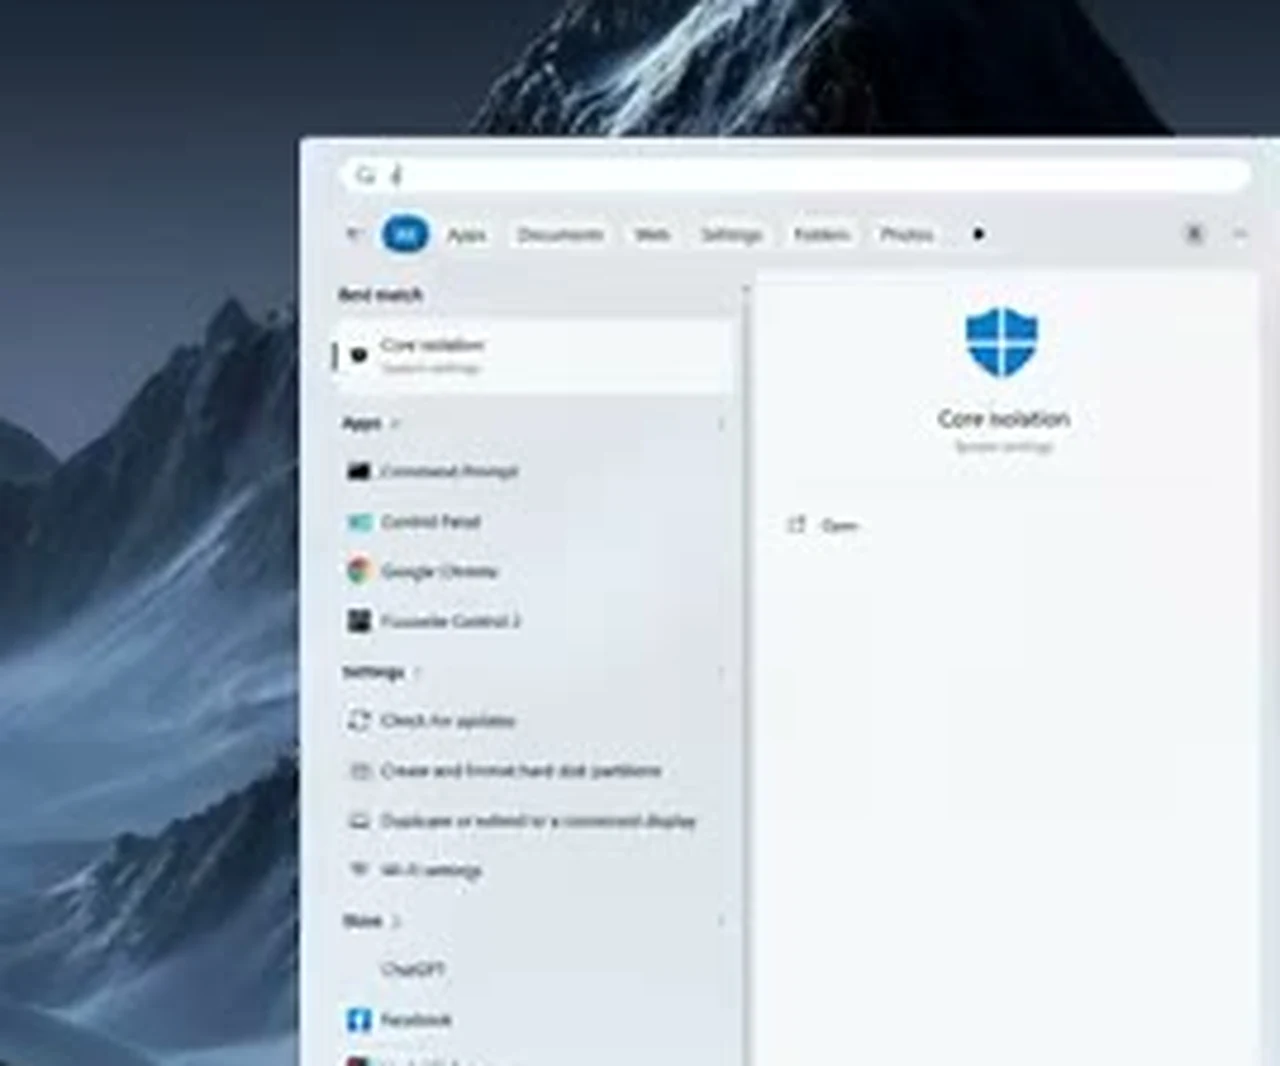
Start with Core Isolation. Search for it in Windows Search, open it, and switch Memory Integrity off. The video is clear this is temporary: the plan is to switch it back on once setup is finished, ; if the machine later refuses to start, check here first. Then switch off Hyper-V: open Command Prompt as administrator, paste in the command from the video description, press Enter, and restart the computer — the change only takes effect after a fresh boot.
Create the Machine, and Mind the Name
Open VirtualBox and click New. For the name, type exactly MacOS — capital M, capital OS, no space. That spelling matters, because the patch commands later refer to the machine by this exact name. Type it differently and every command must be edited to match. Compare it character for character with the name in the command file.
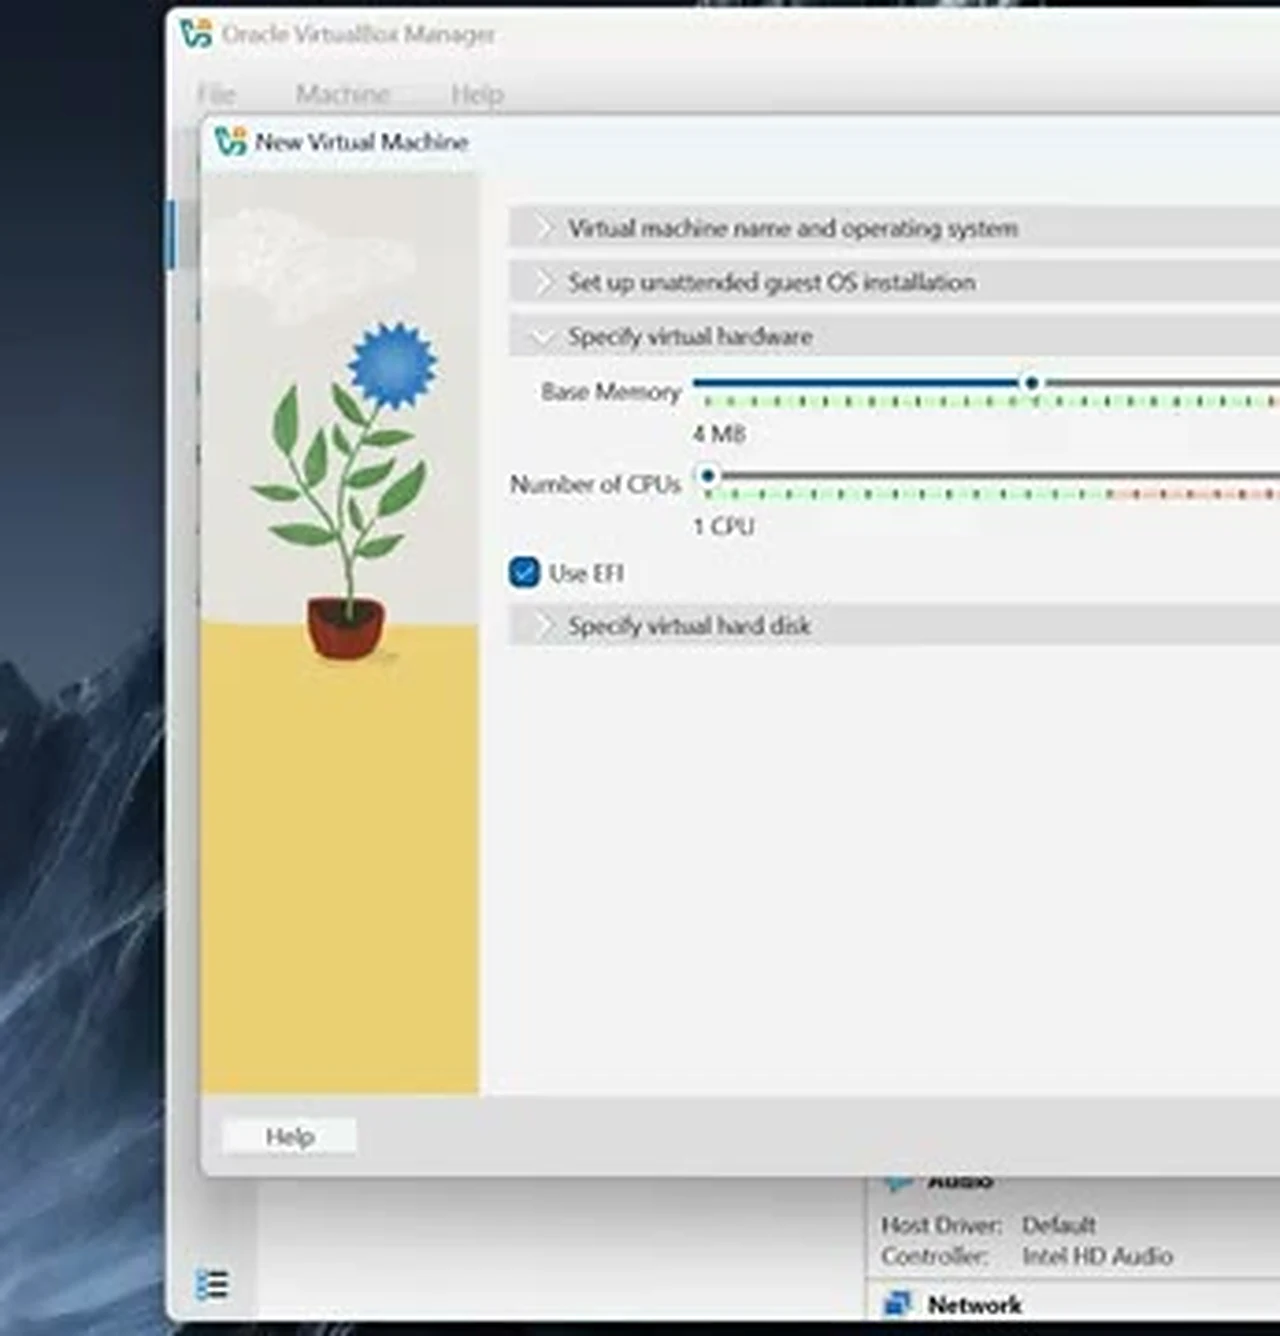
Leave the machine folder at its default. For the ISO, click the dropdown, choose Other, and open the Big Sur ISO. VirtualBox should detect Mac OS X (64-bit). Leave Unattended Installation unchecked.
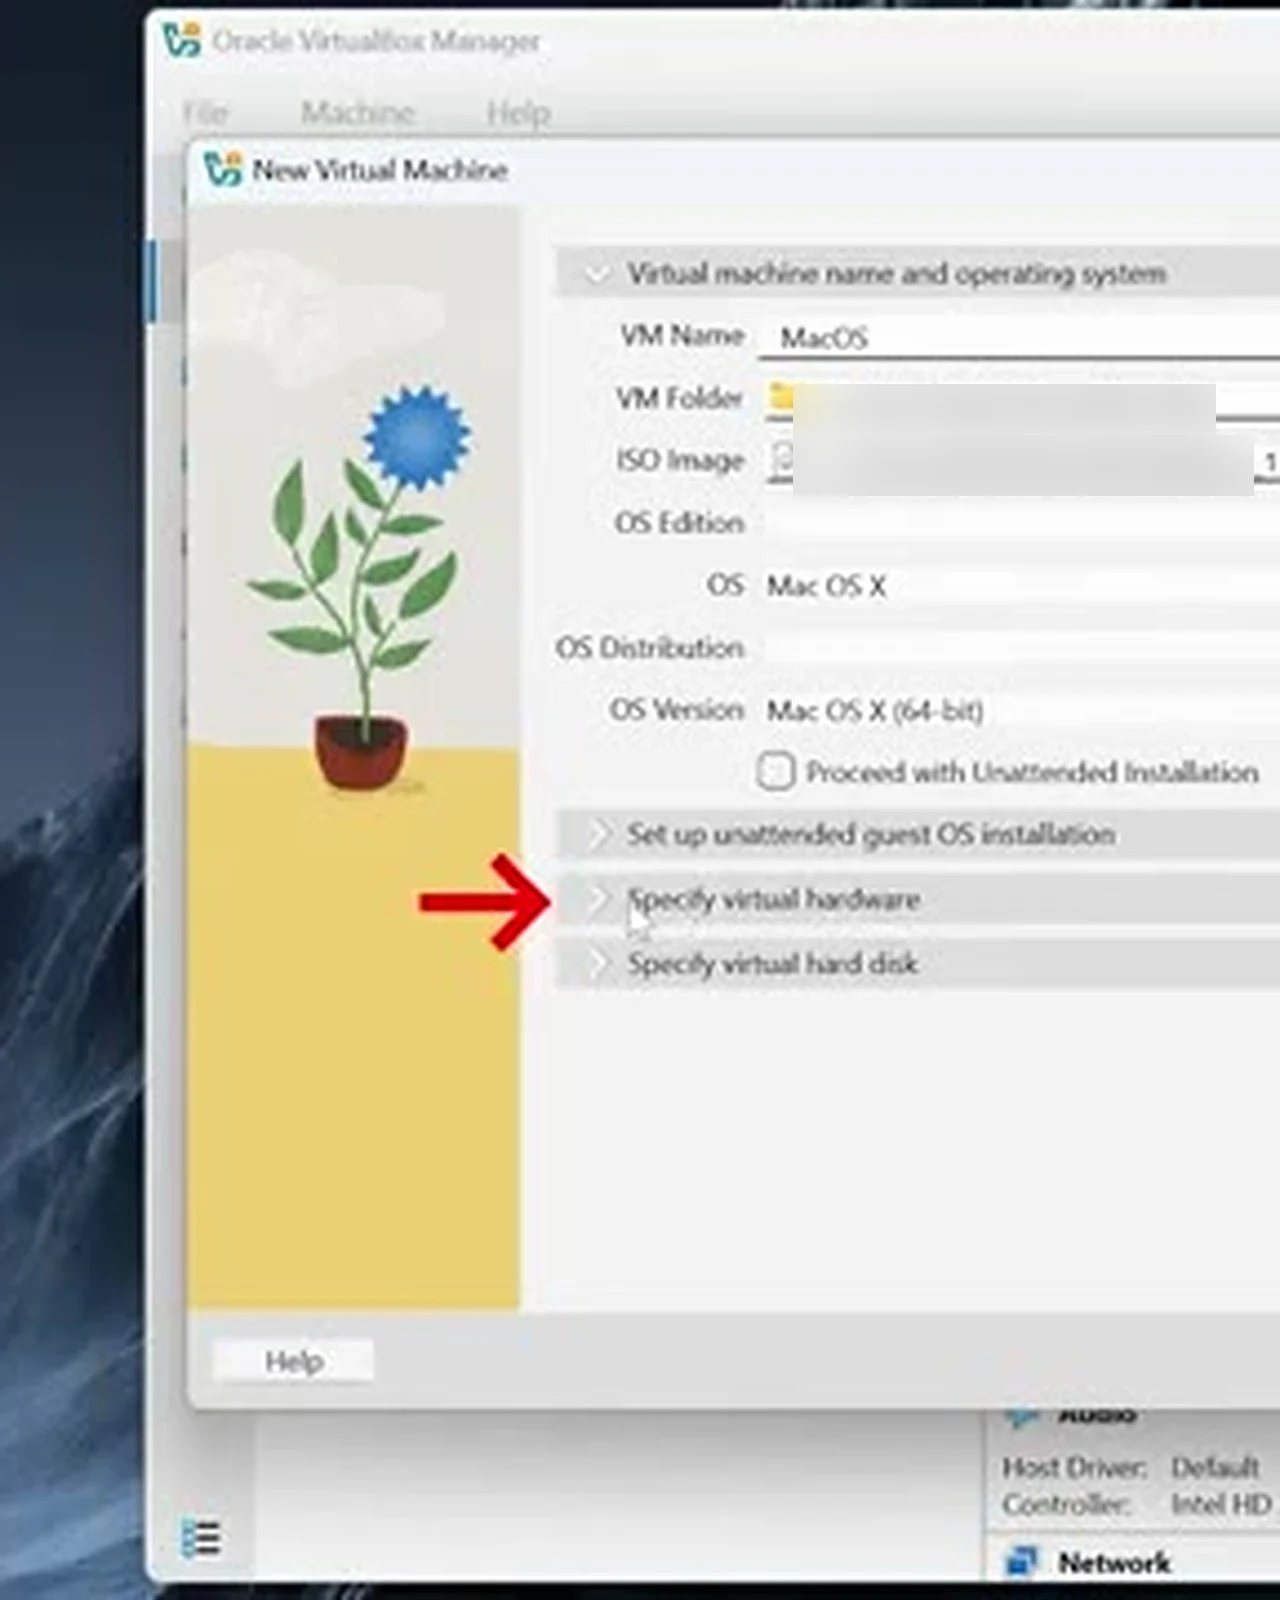
On the hardware page, set Base Memory using the half rule: at least 8 GB if you have it to spare. Set processors to roughly half your cores, and tick Use EFI. Then create a new virtual hard disk, set the size, and click Finish. The machine cannot run macOS yet — that is normal.
The Settings Pass Most People Rush
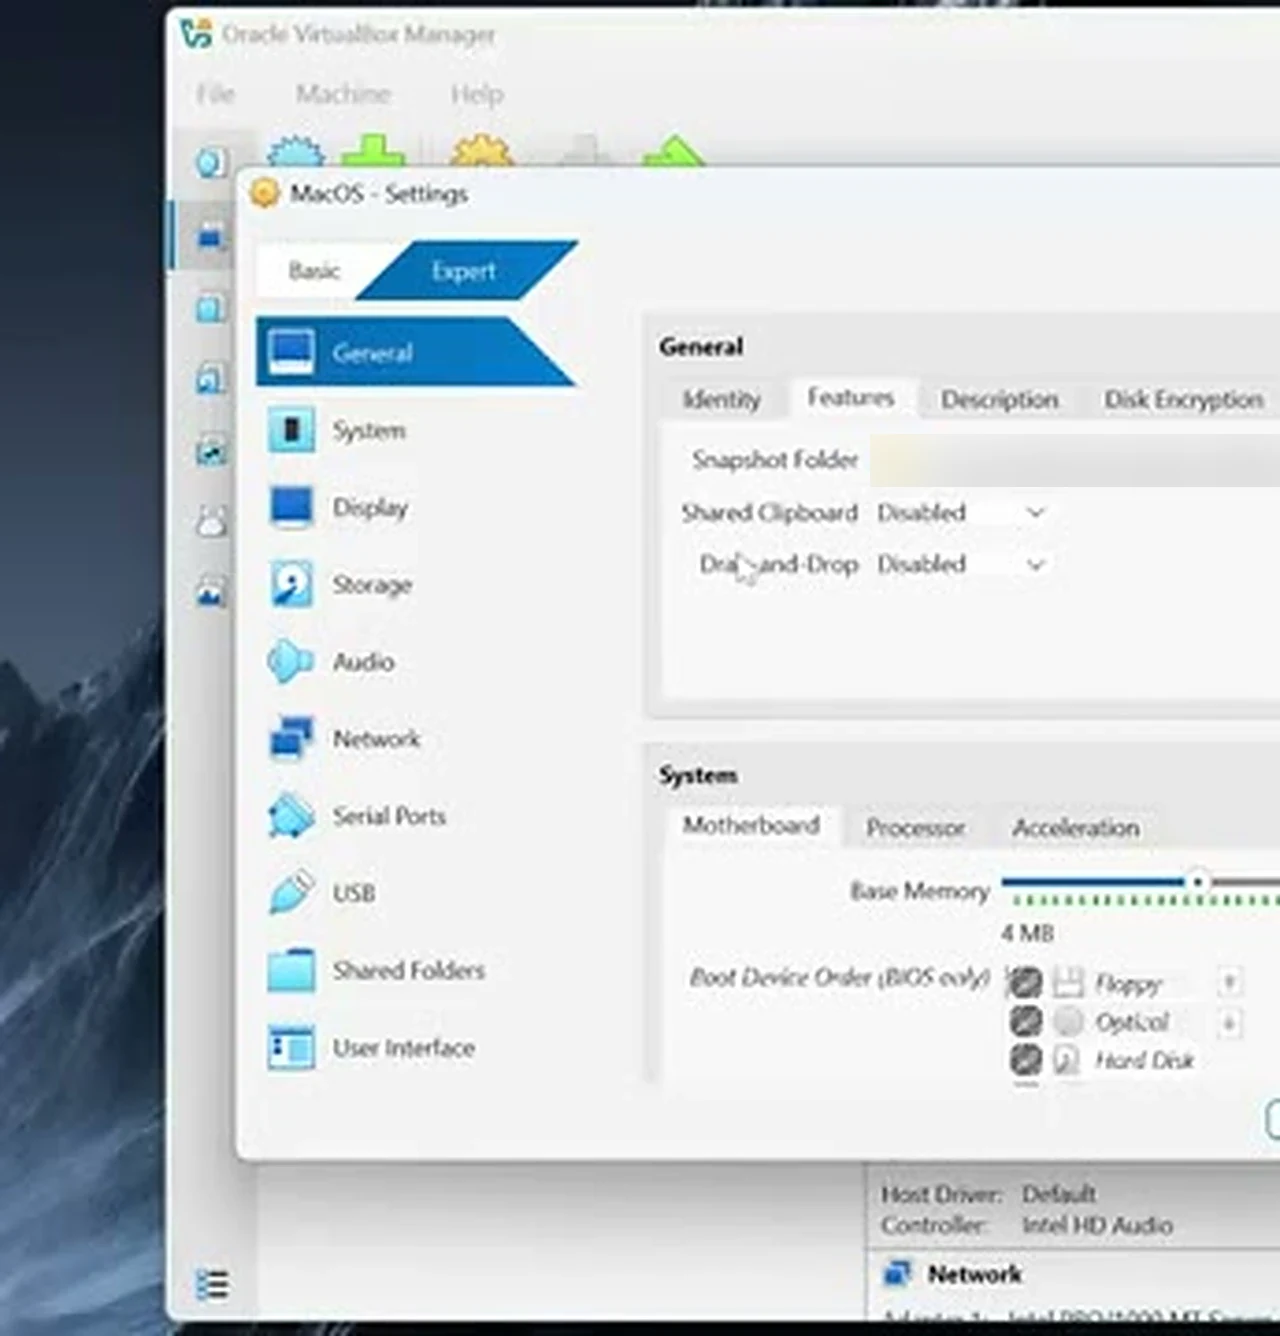
With the new machine selected, open Settings. Four stops, in order, each one preventing a specific frustration later.
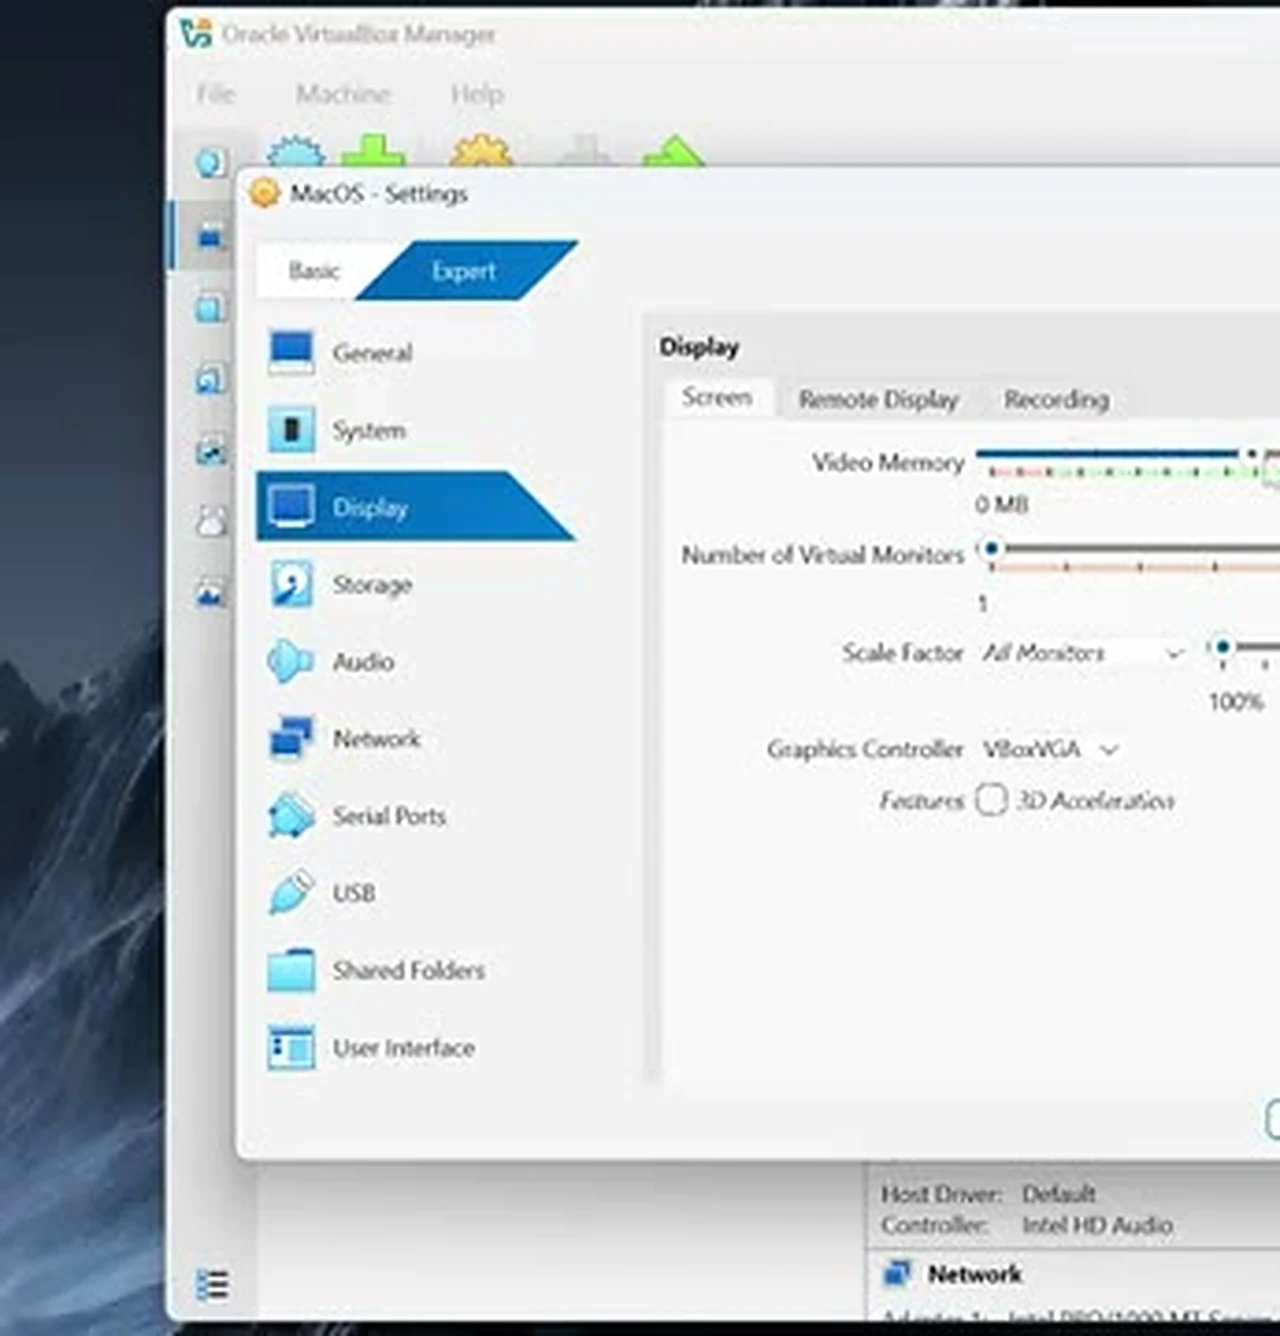
First, General, then the Features tab. Shared Clipboard and Drag and Drop both start at Disabled; change both to Bidirectional, for copying text and dragging files between the two systems. Second, System: the RAM you set should already be right. Third, the Display page: drag Video Memory to its maximum, 128 MB — a virtual machine has no real graphics card. Fourth, Network. Adapter 1 stays as it is. Enable Adapter 2, set it to Bridged Adapter, choosing Ethernet or Wi-Fi as you use them.
Last stop: USB. If your computer supports USB 3.0, select it; if not, USB 2.0 is fine. Click OK. The Display slider, up close:
The Patch Commands, and the One Rule That Decides Everything
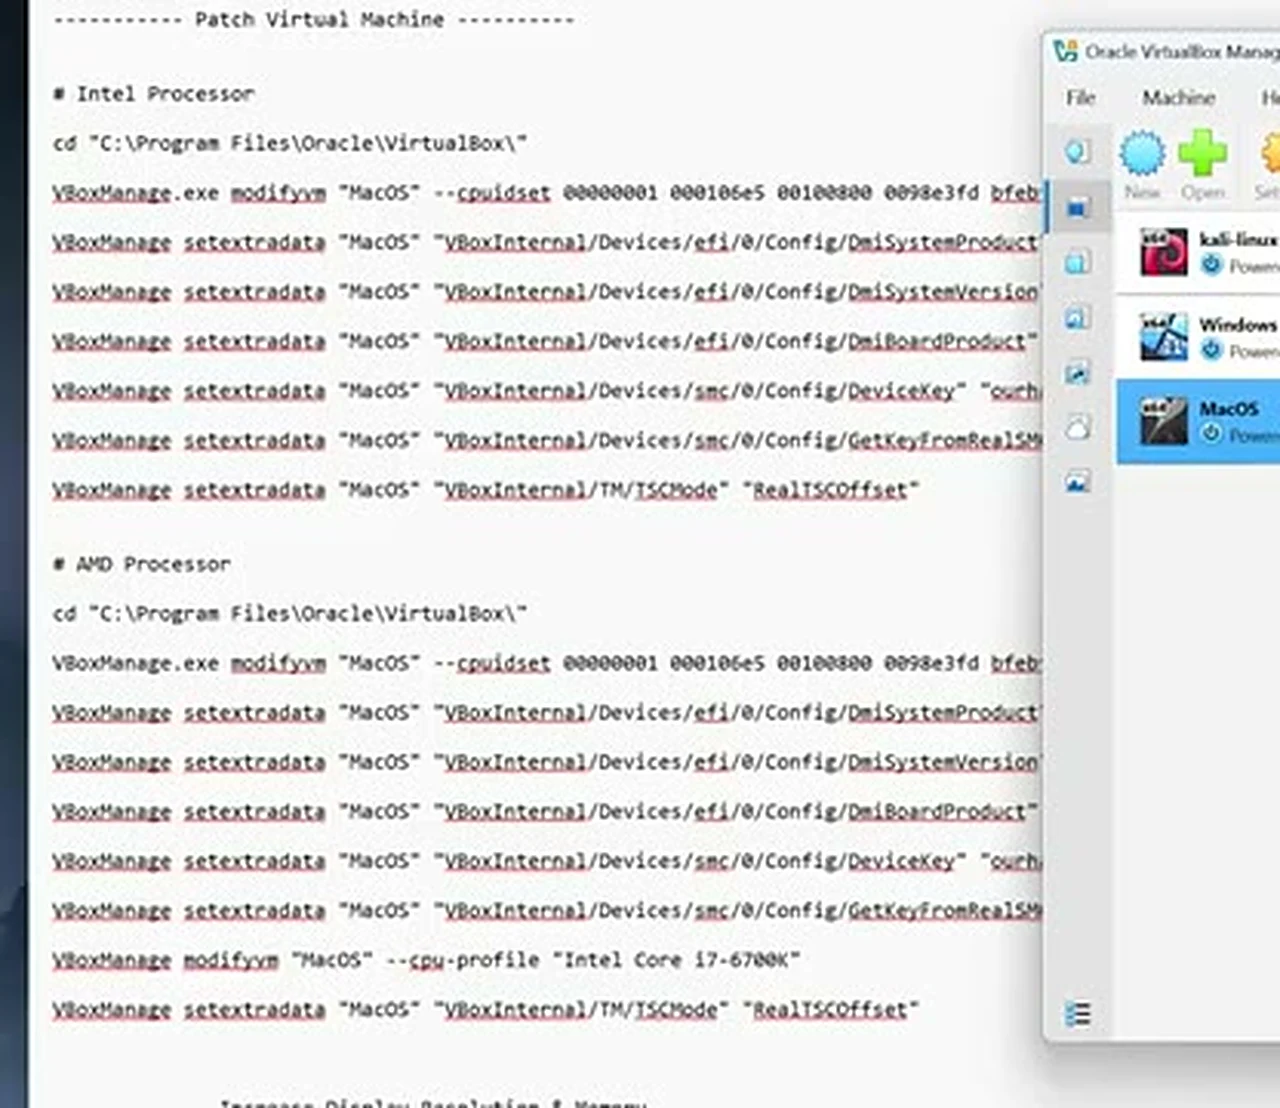
Here is the part that makes the method work. macOS checks the machine it runs on, and a plain VirtualBox machine fails that check immediately. The patch is a set of VBoxManage commands that tell VirtualBox to present itself with the right identifiers — system product and board details, plus timing and device settings. Run the right block for your processor, with the machine fully closed.
Close VirtualBox completely first — check the system tray too. The video description links to a text file with the commands, in two blocks: Intel and AMD. The presenter uses Intel, so he copies the Intel block from first line to last. If you use AMD, copy the AMD block instead; the blocks differ, and the wrong one is a wasted afternoon. Open Command Prompt as administrator, paste the block, press Enter, then reopen VirtualBox. Your MacOS machine should be listed, powered off.
The one rule: the name inside those commands must match your machine name exactly. The file shows MacOS. If yours matches, nothing needs changing. If not, edit the commands first, and copy them from the text file, not from a screenshot.
First Boot: Erase the Disk, Then Install
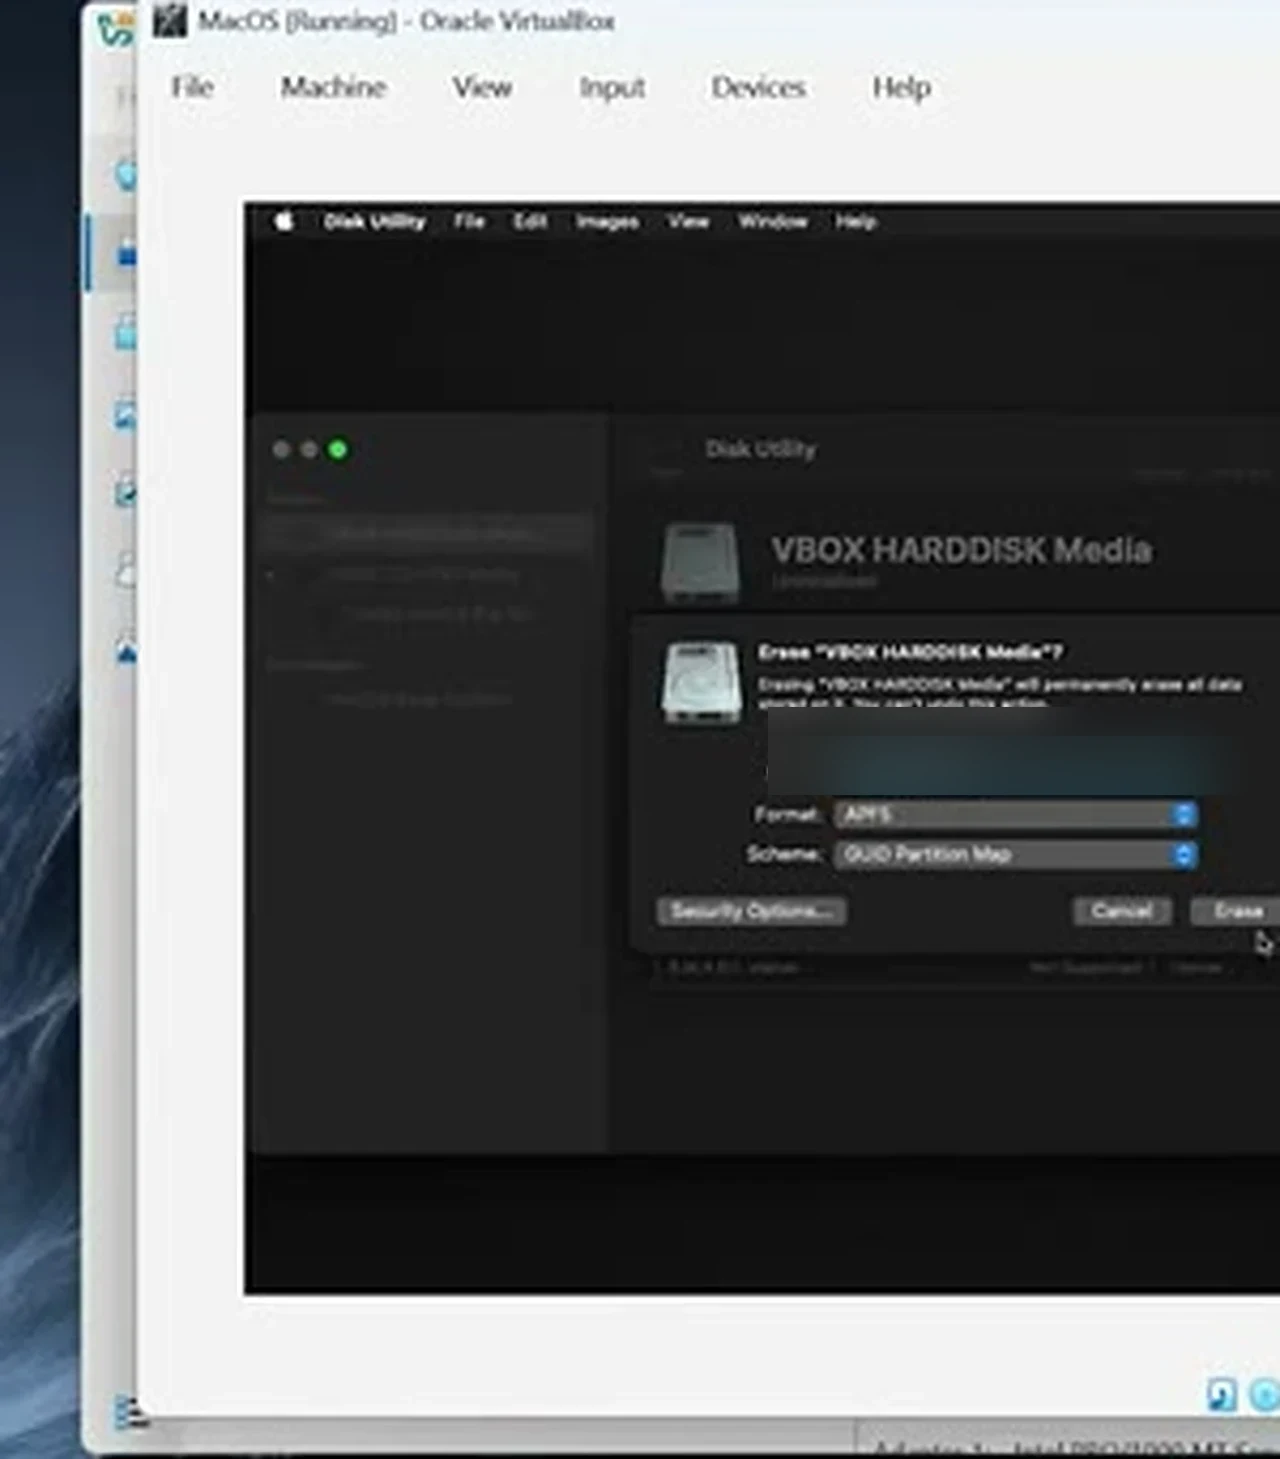
Select the machine and click Start. The first boot is slow; wait it out. When the installer appears, choose English and continue to the macOS Utilities screen: Restore from Time Machine, Install macOS Big Sur, Safari, and Disk Utility. Go to Disk Utility first. The installer cannot use the virtual disk until it has been formatted the macOS way. Newcomers click Install, find no disk, and assume failure. The disk just needs erasing first.
In Disk Utility, select VBOX HARDDISK Media, then click Erase. Any disk name will do. Set Format to APFS and Scheme to GUID Partition Map, click Erase, and wait. Close Disk Utility, choose Install macOS Big Sur, click Continue twice, agree to the license, select the disk you just erased, and click Continue. The installer estimates about 17 minutes — treat that as optimistic. Do not restart mid-install: progress pauses, then jumps.
First-Run Setup, in the Order It Asks
When the installation finishes, macOS restarts into first-run setup. Choose your country — the presenter chose Bangladesh — and continue through the welcome screens. At Migration Assistant, choose Not Now — nothing needs migrating. When it asks for an Apple ID, choose Set Up Later rather than creating one just to get past the screen. Sign in later if you need the App Store.
Next, the account screen: full name, account name, and a password. Use a simple password — you will type it at every login. For Screen Time, choose Set Up Later. Pick your appearance — Light, Dark or Auto — and continue. If macOS offers keyboard setup, cancel it; the default layout is fine. Setup done: a working Big Sur desktop in a window.
Fix the Tiny Window Before You Judge Anything
At this point the macOS desktop will probably sit in a small window in the middle of your screen. Do not judge the experience yet. The fix is a second round of commands: shut the machine down, close VirtualBox, and find the resolution section in the same text file. Copy its commands, paste them into an administrator Command Prompt, press Enter, and close everything again.
Do not copy the presenter’s numbers. His monitor is a 4K display, so his resolution values are 4K values. Yours must match your own monitor. Paste your own numbers, reopen VirtualBox, start the machine, and the desktop should fill the screen. Switch to full-screen mode from the View menu and log in.
The Honest Verdict: It Works, and It Lags
Is it worth it? Yes — for what it is for — and no, if you were hoping for a free Mac. What works is genuinely useful: the real macOS desktop, the Dock, Safari and System Settings, without risking Windows. Learn where things live, then decide from experience whether OpenCore is worth the effort. For a first week of hands-on time, it is exactly the right tool.
What does not work is speed. The presenter is blunt: even on his high-specification machine, the virtual machine lags. Windows feels snappy on the same hardware; macOS in VirtualBox does not. Menus hesitate and windows drag a beat behind the mouse. That is the method, not a mistake: graphics are shared through software.
So use it for what it is: a trial, a classroom, a decision-making tool. If daily use makes you curse the lag, move on to the OpenCore guide, where macOS runs on your hardware directly — harder to set up, far less lag. If macOS is not for you, you have lost only an afternoon and a 13 GB download. That is why this is the right place to start.
Quick Answers
Will this harm my Windows installation?
No. macOS lives inside a virtual disk file, and Windows is never repartitioned. The only Windows changes are the two temporary settings at the start, and both can be switched back.
Can I install a newer macOS than Big Sur?
The video’s download link lists Monterey and Ventura as well, but the presenter chose Big Sur because it runs properly on the widest range of machines in VirtualBox. Start with Big Sur; try newer versions later as separate machines.
Does it work on AMD processors?
Yes, but use the AMD block of patch commands from the text file, not the Intel block. The blocks differ, and the wrong one will not boot. Everything else is the same.
Why does the virtual machine refuse to start?
Check: Hyper-V off (with a restart after); Memory Integrity off; VirtualBox fully closed before pasting the commands; machine name in the commands matching exactly.
How much RAM does my computer need?
Eight gigabytes total is the minimum: 4 GB for the machine, 4 GB for Windows. Sixteen or more is far more comfortable.