You type the password. Wrong. You type it again, slower, watching every key. Wrong again. The lock screen does not care how sure you are. Your files are right there on the other side of that screen — photos, documents, a half-finished project — and the only thing between you and them is a password your brain has decided to delete.
This guide is a field manual for exactly that moment: a pre-flight checklist, then the operation in phases, then a verification pass. Follow it in order, and you can reset a forgotten Windows password without losing a single file.
The method comes from a hands-on walkthrough on a real HP laptop running Windows 10. It uses Hiren's BootCD PE, a free rescue environment that boots from a USB stick, and its built-in Windows Login Unlocker. It works on Windows 7, 8.1, 10, and 11, and takes about fifteen minutes once your rescue stick is ready.
Read This First: The Rules of This Operation
This tool can open any unprotected computer it boots on, so three rules come first.
First, use it only on your own computer, or on one whose owner has given you clear permission. Opening someone else's machine without permission is illegal in most countries. Helping a family member? Get them to sit next to you while you work.
Second, this method resets local account passwords only. If you sign in with a Microsoft account — the one with an email address on the lock screen — your password lives on Microsoft's servers, and this tool cannot change it. Reset it from another device at Microsoft's account recovery page instead.
Third, if your system drive is encrypted with BitLocker, the rescue environment cannot read the Windows account database without the BitLocker recovery key. Find that key first. No key, no reset.
Pre-Flight Checklist
Most rescue attempts fail because one item here was missing. Tick every box first.
- A second working computer. You cannot build a rescue stick on the locked machine, so borrow one for twenty minutes.
- A USB stick, 8 GB or larger, that you are happy to erase. Rufus will format it, so copy anything on it somewhere safe first.
- A stable internet connection on the working computer for two downloads.
- Your locked computer's brand and model, or its motherboard brand for a desktop. You need this to look up the boot menu key — F9 on the HP laptop in the video.
- Power. Plug the locked laptop into its charger. A dead battery halfway through is the one failure this guide cannot fix.
- Thirty minutes of uninterrupted time.
Your Kit List
You need exactly two downloads, both free, both from their official websites. Never use a mirror site or random file host for this job — a tampered rescue tool is worse than none at all.
Hiren's BootCD PE, version 1.0.8 in the video, is the rescue environment itself: a complete, lightweight Windows system that runs entirely from the USB stick, with repair utilities built in. The download is an ISO file called HBCD_PE_x64.iso, roughly 3 GB.
Rufus, version 4.11 in the video, is the small free tool that writes the ISO onto the USB stick and makes it bootable — a single portable file, no installation needed.
Phase 1: Download Hiren's BootCD PE
On the working computer, search for "Hiren's BootCD PE", open the official website — hirensbootcd.org — and go to the Download page, which lists the ISO contents by category.
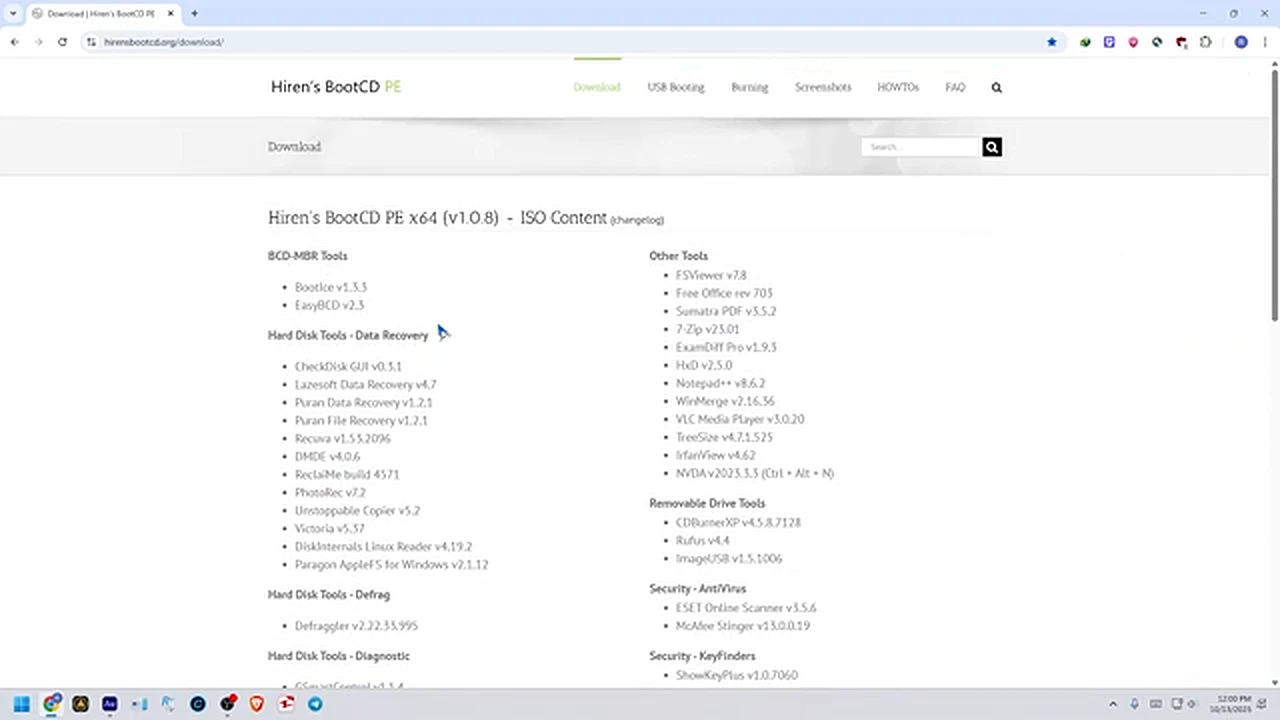
Scroll down to the file name at the bottom of the page and click it. On a decent connection it takes about four to five minutes. Do not close the browser or let the computer sleep — a half-downloaded ISO is useless, and Rufus will reject it. When it finishes, check the size is around 3 GB — if it is much smaller, download it again.
Phase 2: Build the Rescue Stick With Rufus
Now download Rufus from the official rufus.ie website — click the latest version at the top of the page. It downloads in seconds. Double-click it to run and click Yes on the permission prompt.
Plug in your USB stick and check the Device box first: it must show your stick, not your hard drive. If the wrong drive is selected, stop and pick the right one — careless clicks here erase the wrong disk.
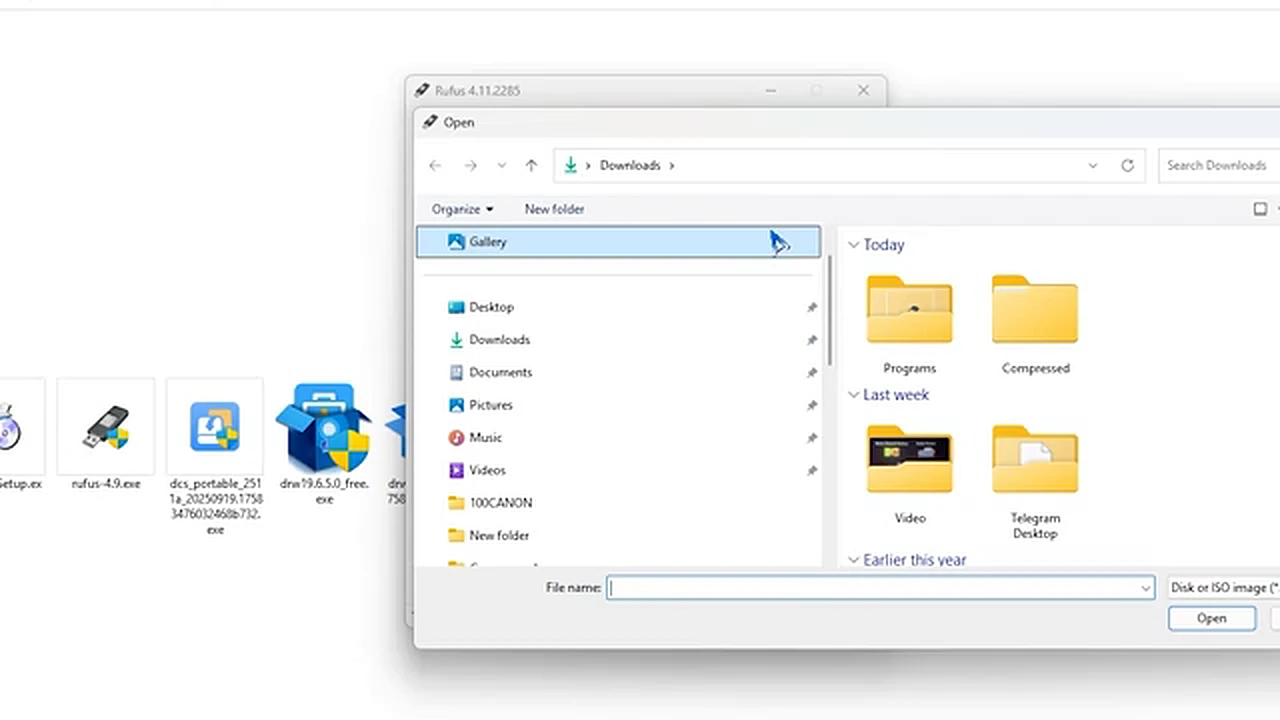
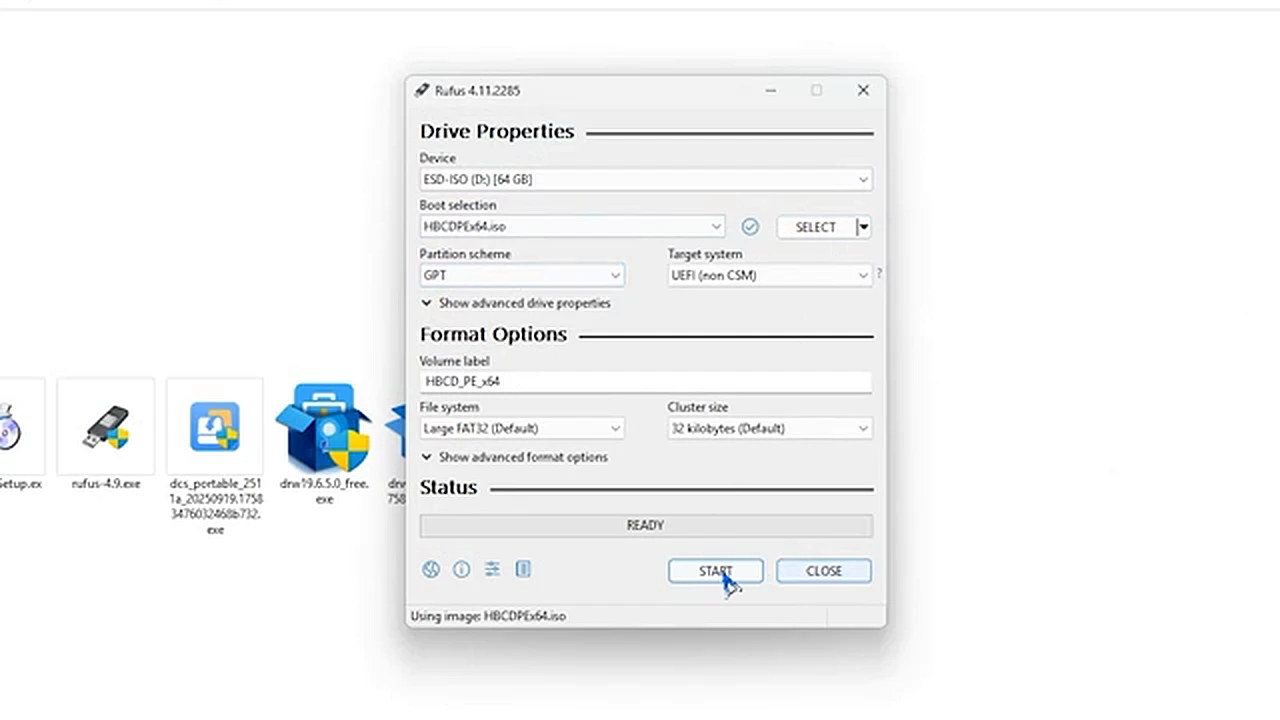
Click SELECT, browse to Downloads, and choose the HBCD_PE_x64.iso file from Phase 1. Rufus fills in the rest: partition scheme GPT and target system UEFI, which matches almost every computer sold in the last ten years.
Click START. Rufus warns you the stick will be formatted and everything on it destroyed — that is expected. Click OK twice and wait; writing a 3 GB image takes a few minutes. When the status line says READY, click CLOSE. Your rescue stick is built.
Phase 3: Find Your Boot Menu Key
Here is the step people forget, then stand over a restarting laptop hammering random keys. Every brand uses a different key to open the boot menu — the menu that lets you start from the USB stick instead of the hard drive. Know yours before you restart.
In the video the laptop is an HP, so the presenter searches for "hp laptop boot menu key" and the answer is F9. Do the same for your machine: search for your brand plus "boot menu key" — or your motherboard brand for a desktop.
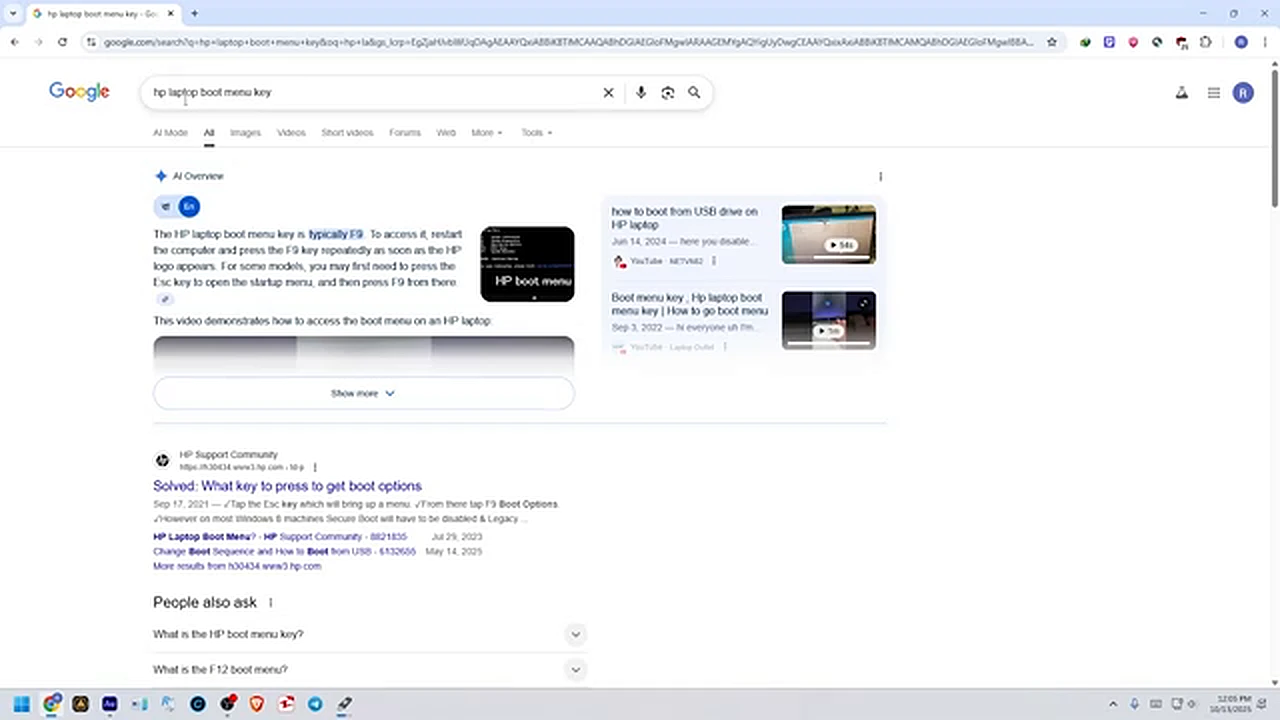
Common keys, for reference only — always confirm yours: HP F9, Dell F12, Lenovo F12 or the Novo button, ASUS F8 or Esc, MSI F11, Acer F12, Gigabyte F12.
Phase 4: Boot the Locked PC From the Stick
Carry the stick to the locked computer and plug it in. First confirm the problem: type any password and watch the lock screen reject it with "The password is incorrect. Try again." Then restart the machine.
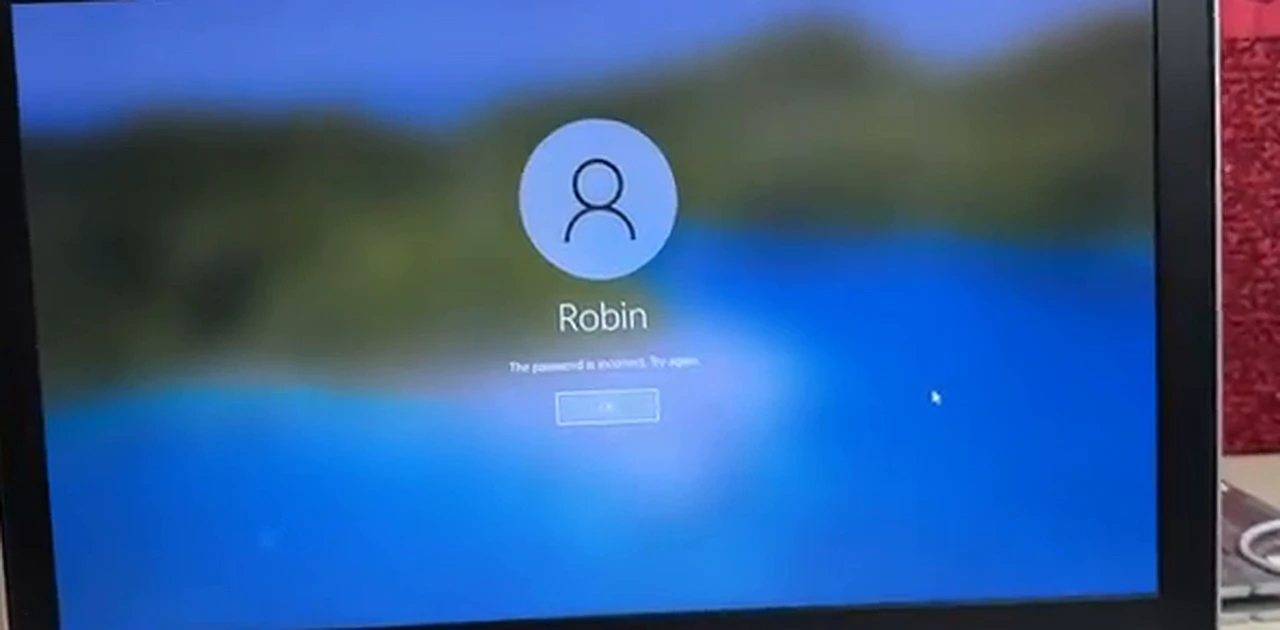
The moment you press the power button, start tapping your boot menu key, about twice a second — do not hold it down. If Windows starts loading normally, you were too slow or pressed the wrong key. Power off and try again — it usually works on the second attempt.
The boot menu lists every bootable device: the Windows Boot Manager, the internal hard drive, the network, and your USB stick. In the video the stick shows as a TOSHIBA drive entry — yours will show its own brand name. Highlight it with the arrow keys and press Enter.
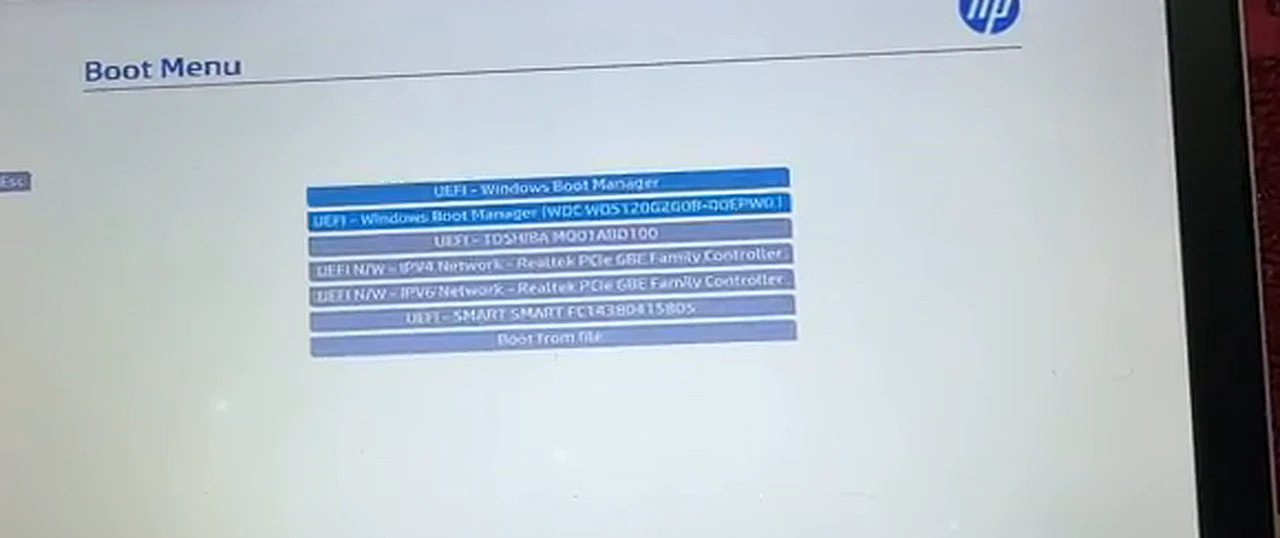
The screen goes dark, then shows a "Loading files" bar. Hiren's BootCD PE is loading a full Windows environment from the stick, so this takes a couple of minutes. Do not remove the stick. If the boot menu does not show your stick, move it to a different USB port — one directly on the machine, not a hub — and try again.
Phase 5: Unlock the Account in Hiren's PE
When the desktop appears, you are looking at a complete Windows system running from the USB stick, with your real Windows untouched underneath.
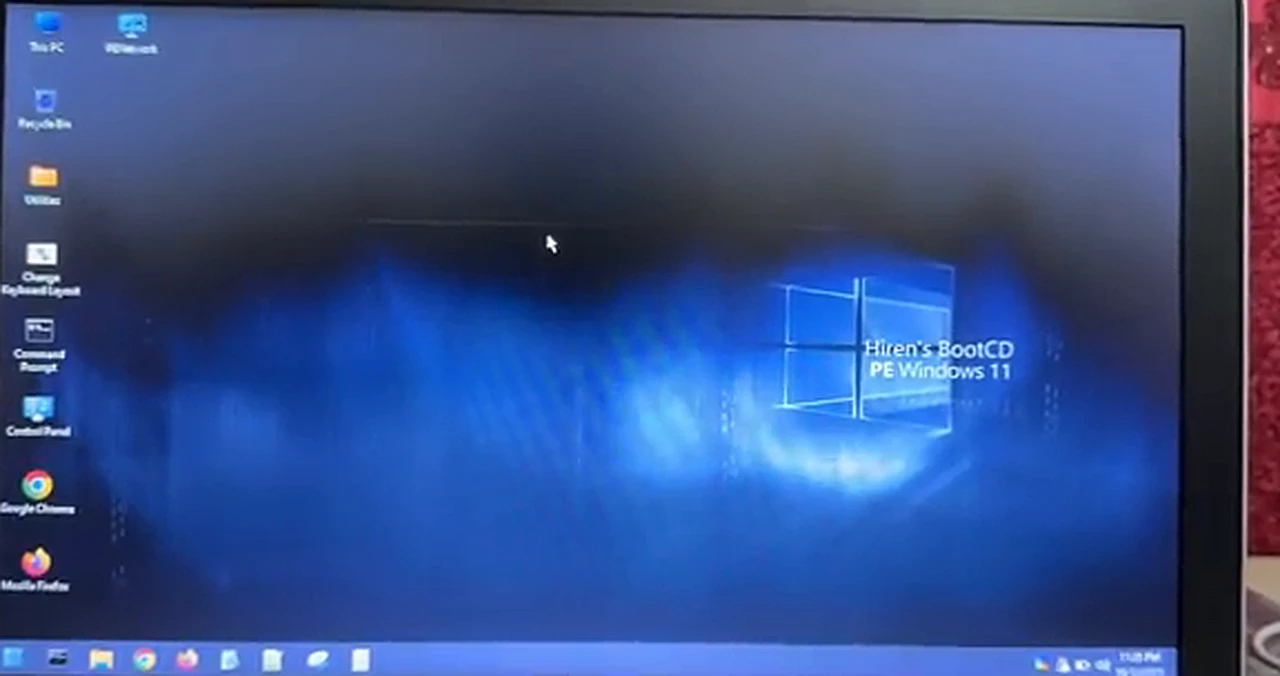
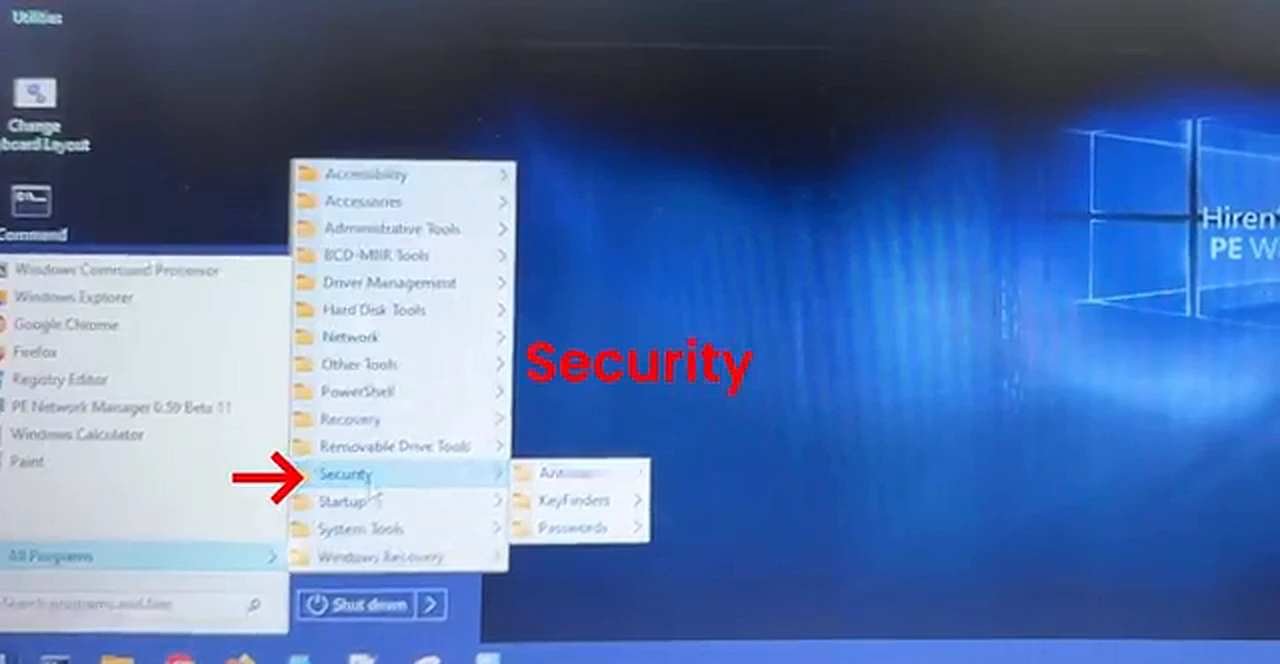
Open the Start menu, go to All Programs, then Security, then Passwords, and click Windows Login Unlocker. The tool scans your hard drive for Windows installations — give it a few seconds to finish.
The top half lists the Windows installation it found — the system drive, the edition (Windows 10 Pro in the video), and the partition size. The bottom half lists every user account, with columns for group, password status, and whether the account is locked or disabled. Click the account you are locked out of.
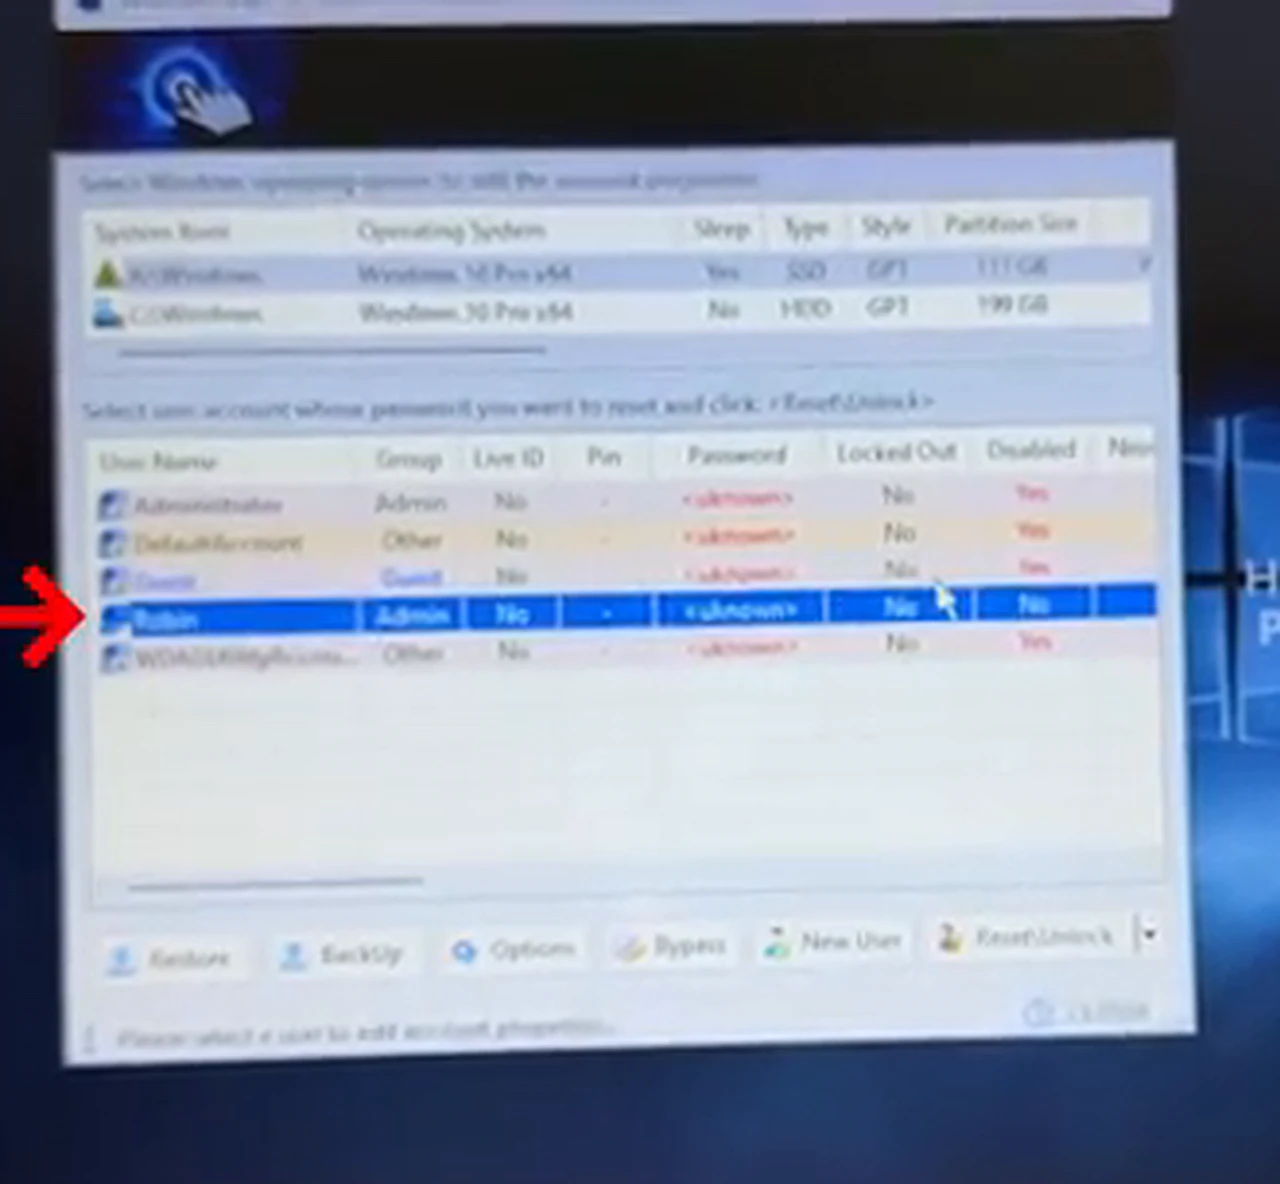
Click Reset/Unlock at the bottom right and confirm with OK. A message appears: "Password Reset Successfully". Click OK again. That is the whole operation — the password is gone and nothing else changed.
Phase 6: Verification — Sign In and Set a New Password
Close the unlocker and shut the rescue system down from the Start menu. Wait until the machine is fully off, then pull out the USB stick — leave it in and the machine may boot back into the rescue environment.
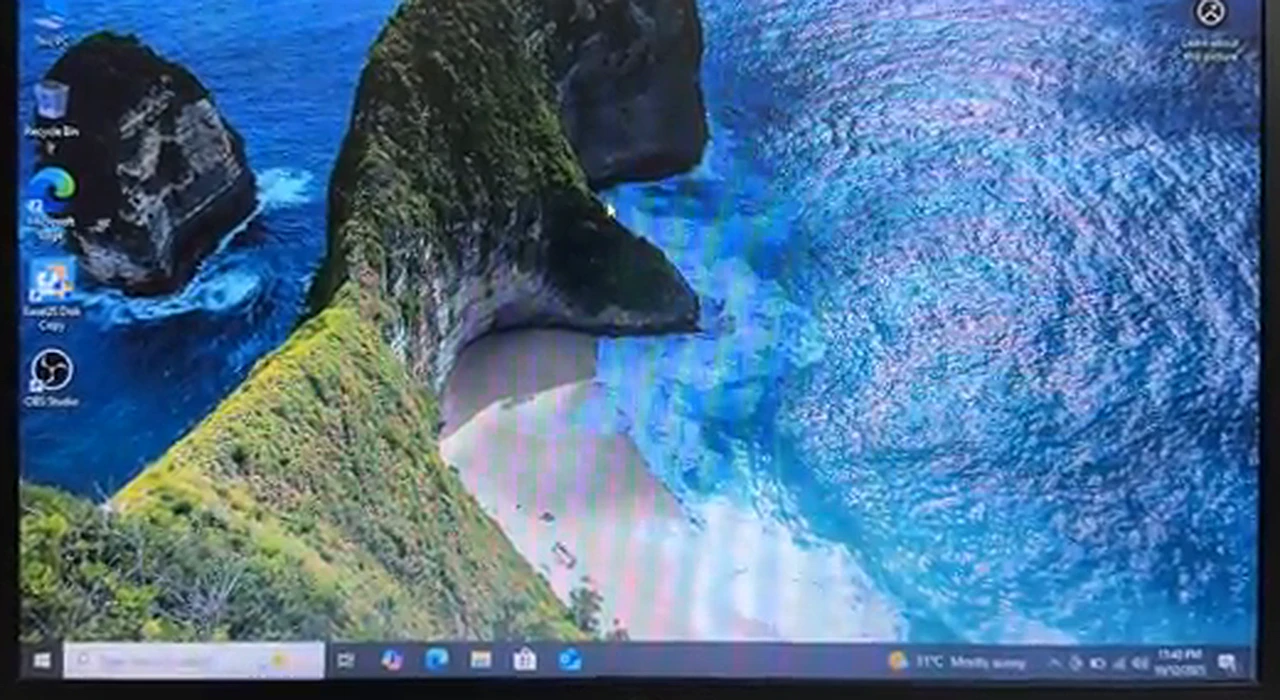
Power on normally. The lock screen appears, but there is no password box anymore — just your account name and a Sign in button. Click it, and your desktop opens. Your files are there. Nothing is missing.
The job is not quite finished. A computer with no password is one anyone can open, so set a new one now: open Settings, go to Accounts, then Sign-in options, and add a password you will actually remember — something you can type without thinking but nobody else would guess. Write it down somewhere safe. Add a PIN too — it is quicker to type every day. Copy your important folders to an external drive once a month as well: a forgotten password is fixable, a dead drive is not.
Troubleshooting Checklist
If something did not go as planned, work through this list before starting over.
- The USB stick does not appear in the boot menu. Try a different USB port, preferably USB 2.0. Recreate the stick with Rufus, and check the ISO download completed.
- The machine boots into Windows instead of the stick. You pressed the key too late or pressed the wrong one. Restart and start tapping the instant you press power — some laptops need Fn plus the function key.
- The account list is empty or your account is missing. Check the installation at the top of the window — the tool may be looking at the wrong drive. With BitLocker encryption, you need the recovery key first.
- You sign in with a Microsoft account. This method cannot reset an online password — reset it from another device at Microsoft's account recovery page instead.
- The reset says it worked, but Windows still asks for a password. Check you removed the USB stick before restarting and selected the right account.
Frequently Asked Questions
Will I lose my files?
No. Resetting a password only clears the password itself — documents, photos, and programs stay where they are. That is the whole point of this method, compared with reinstalling Windows, which wipes everything.
Does this work on Windows 11?
Yes. The video demonstrates it on Windows 10, and the same tool works on Windows 7, 8.1, 10, and 11
Can I use this on a computer that is not mine?
Only with the owner's permission. Without it this is unauthorized access, which is illegal — technicians should get it in writing first.
What if I have a Microsoft account instead of a local account?
Reset it online from another device at Microsoft's account recovery page. The rescue stick method is for local accounts only.
Is Hiren's BootCD PE safe to download?
Yes, from the official website — a well-known free toolkit used by technicians for years. Download it only from hirensbootcd.org, never from a mirror or download portal.
The Verdict
A forgotten password feels like a disaster, and the standard advice makes it worse: reinstall Windows, lose everything, start over. The truth is quieter — a rescue stick you build once, a boot key you look up in thirty seconds, and one button in a free tool, and the lock opens with everything behind it untouched. Build the stick before you need it.
Watch the full video below to see every step happen on a real machine.