My old laptop had reached the stage where opening a browser felt like asking it to run a marathon. The fan would spin up, the disk light would stay on, and everything took just a little too long. The machine was not short of speed. It was short of room, because stock Windows 11 loads a pile of extras most people never open: widgets, chat apps, a digital assistant, telemetry services, and background updaters. On a computer with 20 GB of memory you barely notice them. On a 4 GB machine, they eat the very memory your browser needs.
That is the exact problem Tiny11 solves. But this guide is not about downloading somebody else’s ready-made Tiny11 file. It is about building your own, from an official Windows 11 ISO, with the free Tiny11 Builder tool. You stay in control of what goes in, you start from Microsoft’s own files, and you end up with a lightweight Windows 11 that runs well on old or unsupported hardware. The whole job takes about an hour, and most of that is waiting for the build and the installation to finish.
Why build it yourself instead of downloading it ready-made
A ready-made Tiny11 ISO is convenient, but you are trusting a stranger’s build. When you build it yourself, the base file comes from Microsoft, and the builder only removes things. You see the list of removals before anything happens — 38 features in the version used here — and you can switch individual options, like keeping .NET Framework 3.5, which some older programs still need. Your build is also fresh: it uses the latest Windows 11 release, not a copy somebody made months ago.
The base file here is the same stock Windows 11 from Microsoft — if you ever want to install it on its own, our Windows 11 26H2 clean install guide walks through the whole setup.
There is one honest warning to get out of the way first. Tiny11 is not made by Microsoft. It is a modified Windows image, and you should treat it that way. Do not put banking logins, official work, or files you cannot afford to lose on a Tiny11 machine. For browsing, videos, study, and light everyday use on an old computer, it is a fair choice. For anything sensitive, stay with stock Windows.
What you need before you start
You need four things. First, a stock Windows 11 ISO, downloaded from Microsoft. Second, Tiny11 Builder version 0.2.0 (the WinUI edition) from its GitHub page. Third, Rufus, the free tool that makes a bootable USB stick. Fourth, a USB stick with at least 8 GB of space — everything on it will be erased. And before anything else, back up the files you cannot replace. Installing any Windows wipes the drive you install it on, so copy photos, documents, and browser passwords somewhere safe first.
Step 1: download the stock windows 11 iso
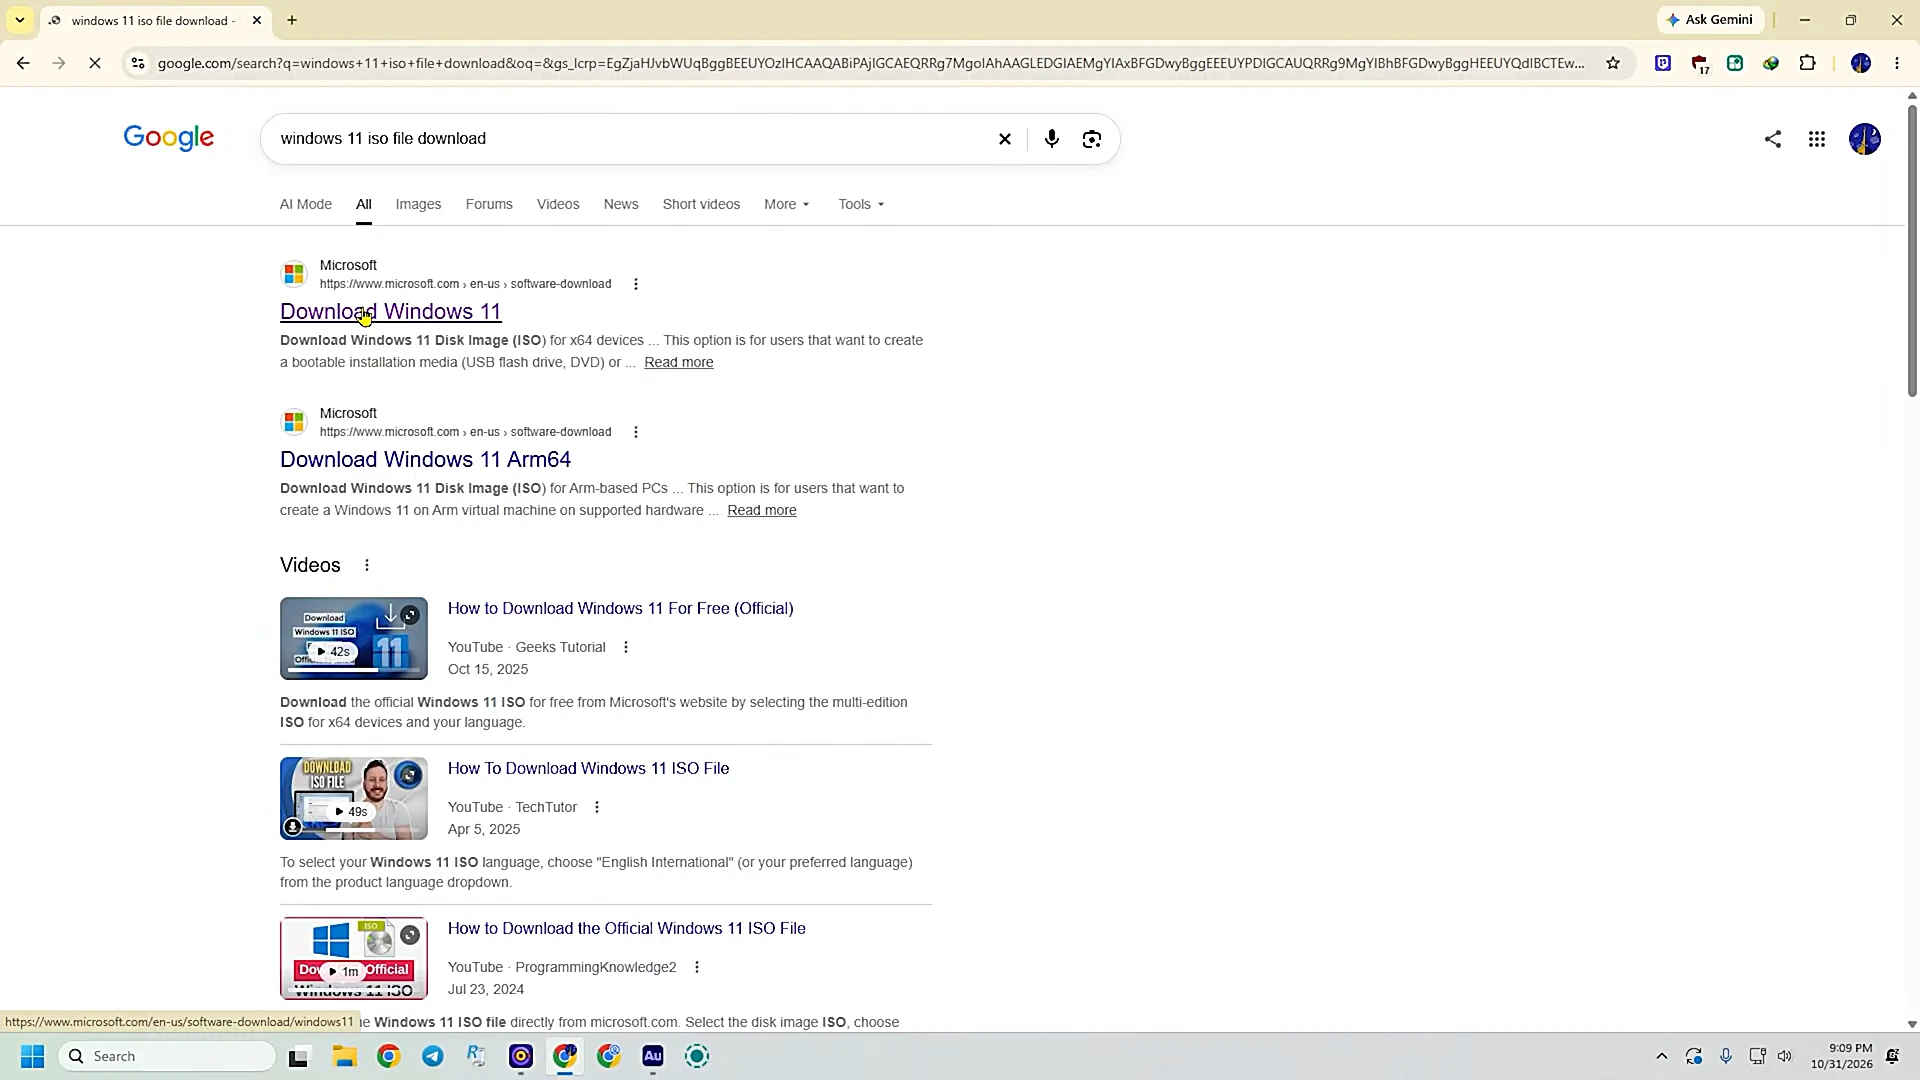
Open any browser and search for the Windows 11 ISO download. Open the first result, which is Microsoft’s own download page. Choose Windows 11, confirm the choice, pick 64-bit, and start the download. The file is several gigabytes, so this is a good moment to make tea. If you already have a Windows 11 ISO saved on the computer, you can skip this step entirely — the builder only needs the file, not a fresh download.
Step 2: download tiny11 builder and rufus
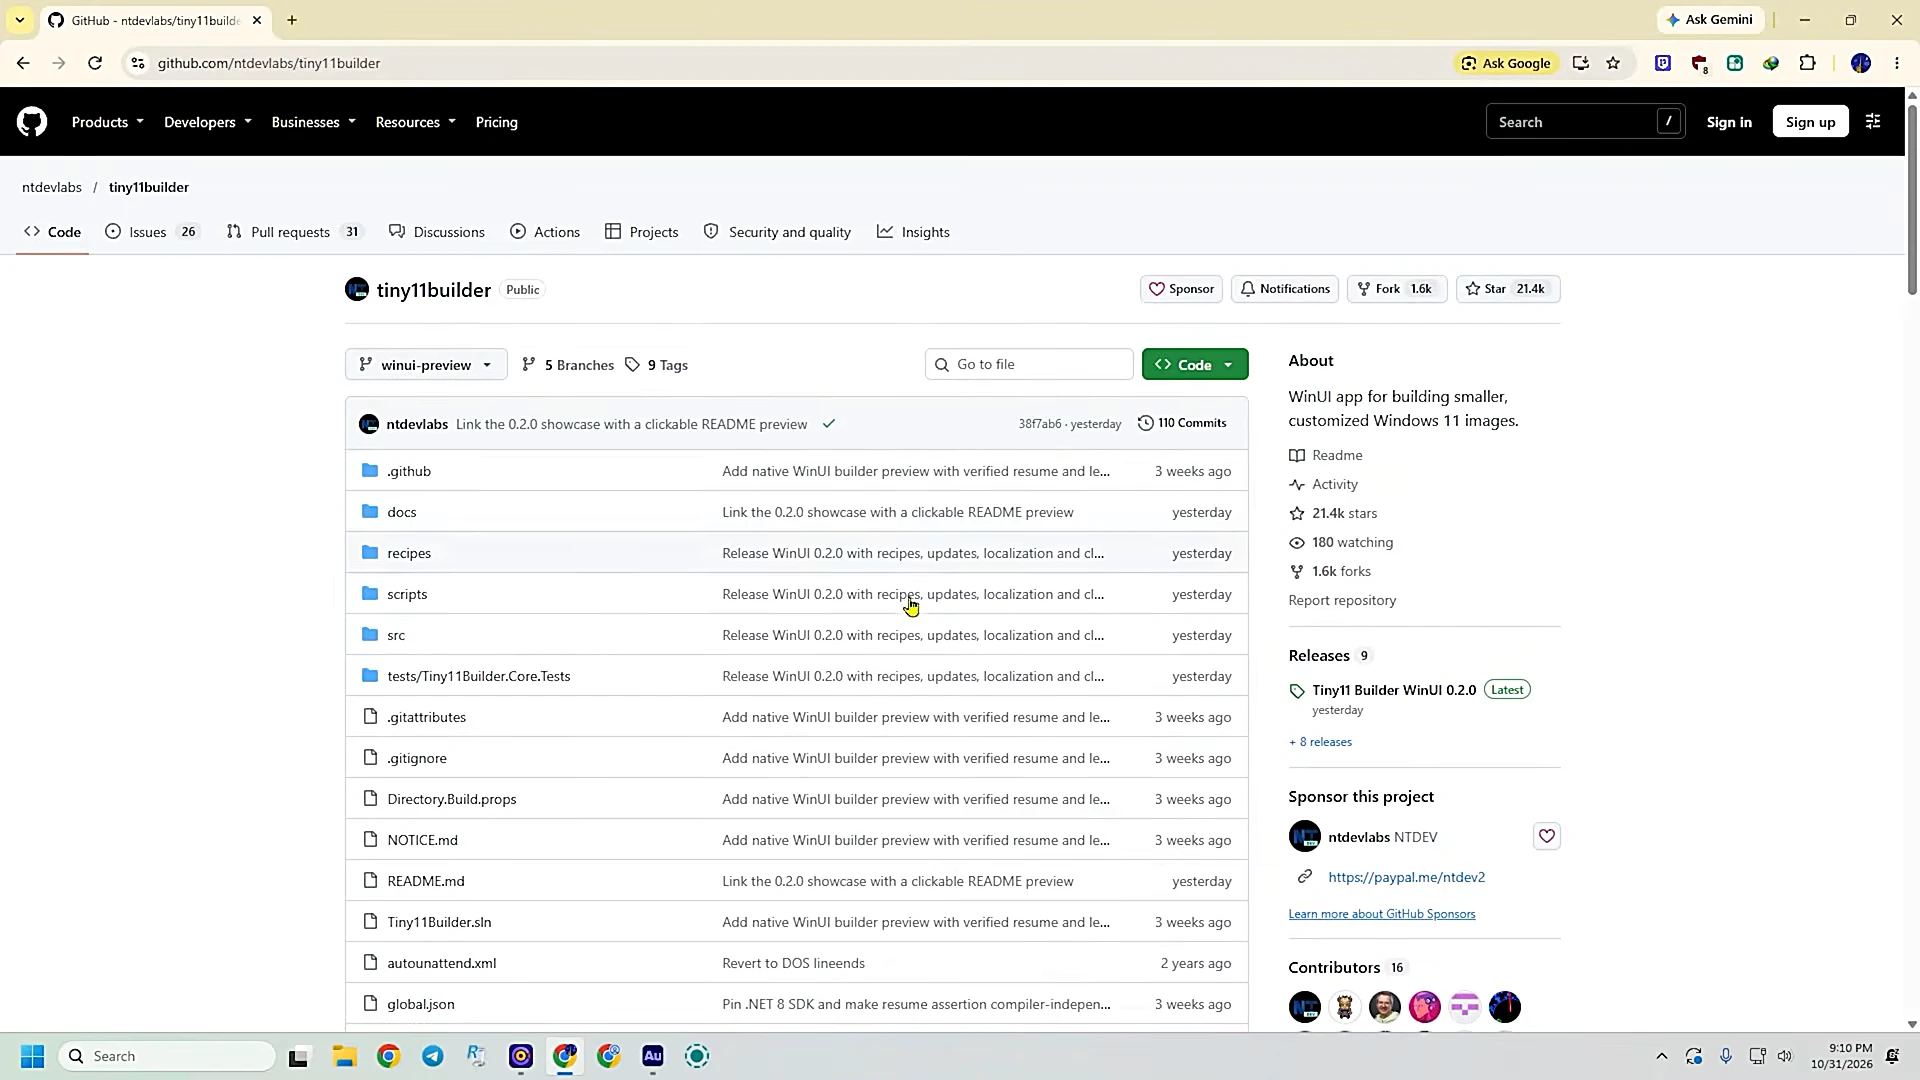
Search for Tiny11 Builder and open its GitHub page. Look for the release marked Tiny11 Builder 0.2.0 Win 64-bit and download it — the file is about 90 MB. While you are at it, download Rufus from its official site as well, so all three files are ready before you start. Move the builder file somewhere easy to find, like the desktop, and extract it. Inside you will find the builder program itself.
Step 3: run the builder and choose your iso
Right-click the builder program and choose Run as administrator, then click Yes on the permission prompt. The builder opens with three editions on offer: Tiny11, Tiny11 Core, and Custom. Stay with the first one, Tiny11 — the other two are for people who want to strip things even further or pick every option by hand. The first thing the builder asks for is a Windows ISO file. Click Choose ISO, go to your Downloads folder, and select the Windows 11 ISO you downloaded. Click Next twice to move through the edition screens.
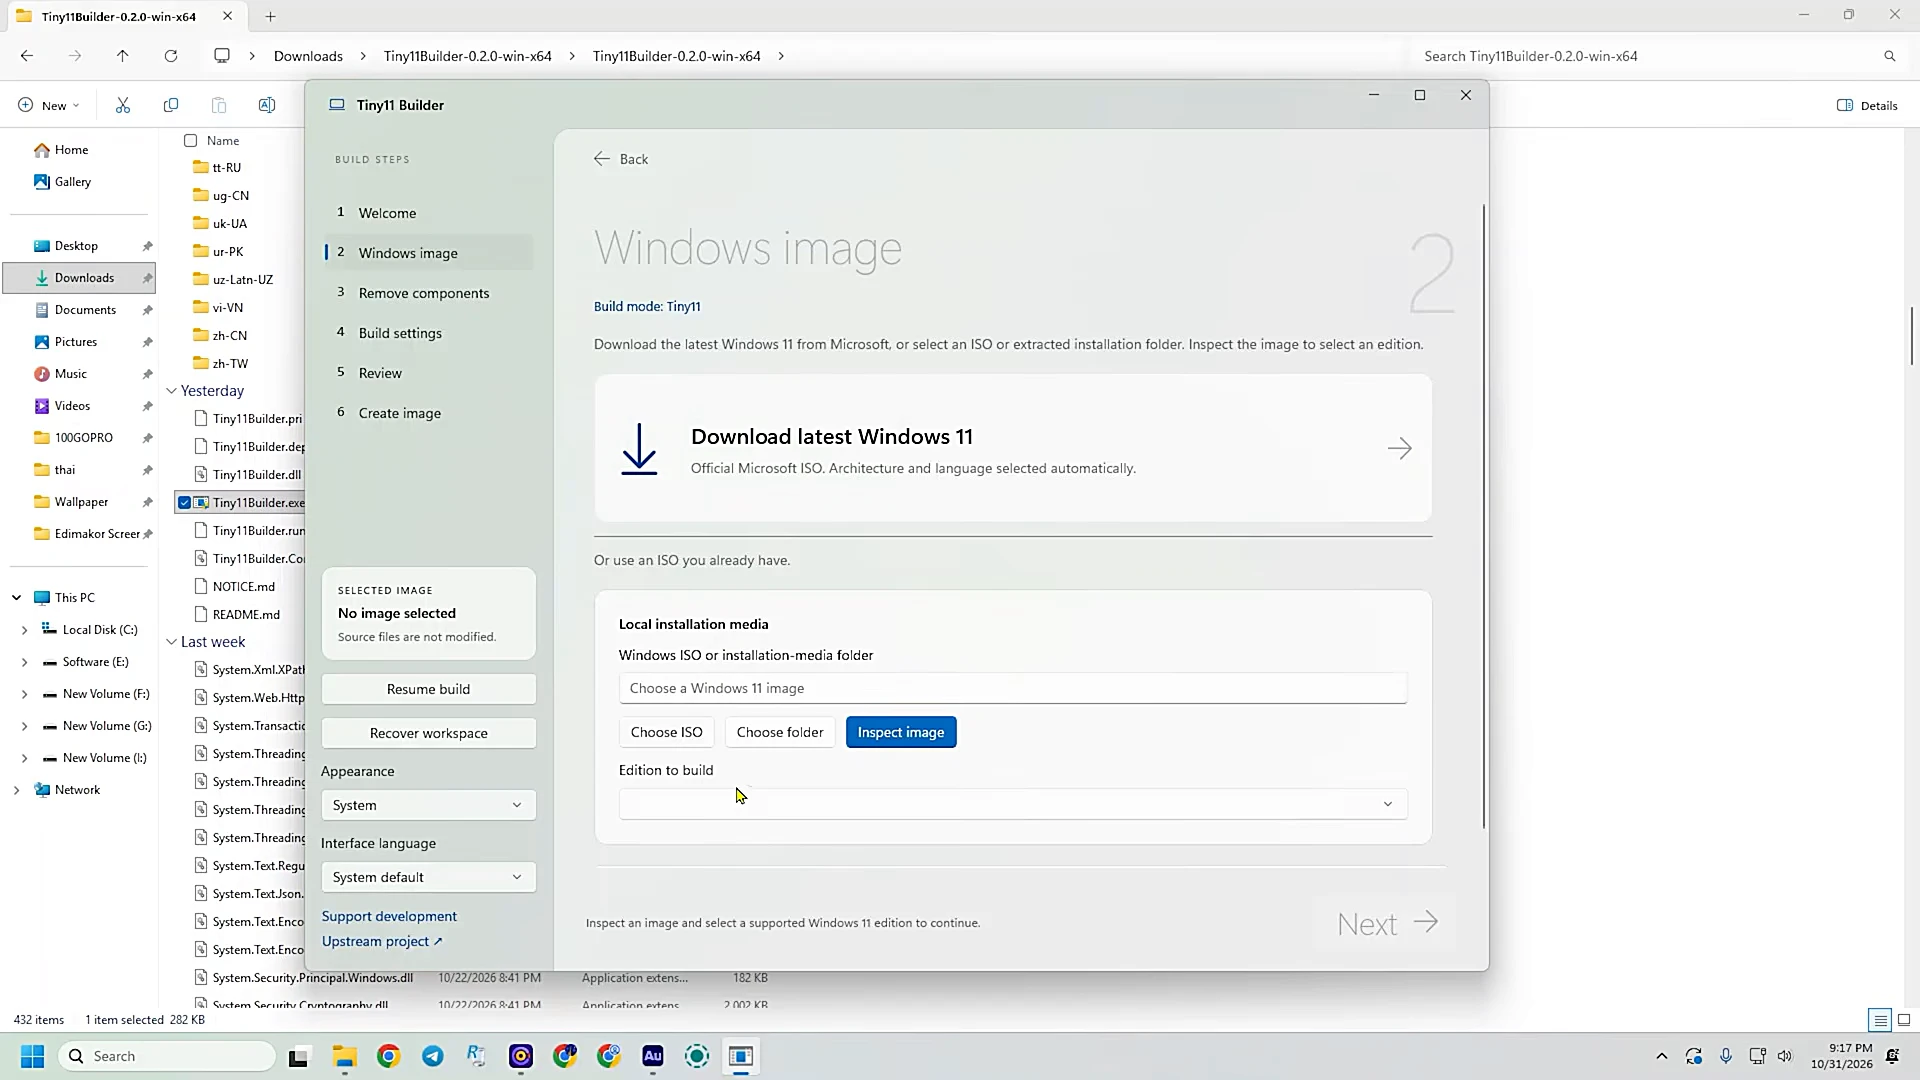
Step 4: pick the output folder and the extras
Next the builder asks where the finished file should go. Click Choose Output and pick a folder — the desktop is fine, since the file will be easy to find there. This is also where you decide which features stay. Most of the toggles can stay as they are, but one is worth changing: .NET Framework 3.5 is switched off by default, and older programs still need it, so switch it on. Click Review to see exactly what will be removed — about 38 features in this build, from bundled apps to background services — and if you want the full list, the Remove list shows every single one. When you are happy, click Continue, then click Build.
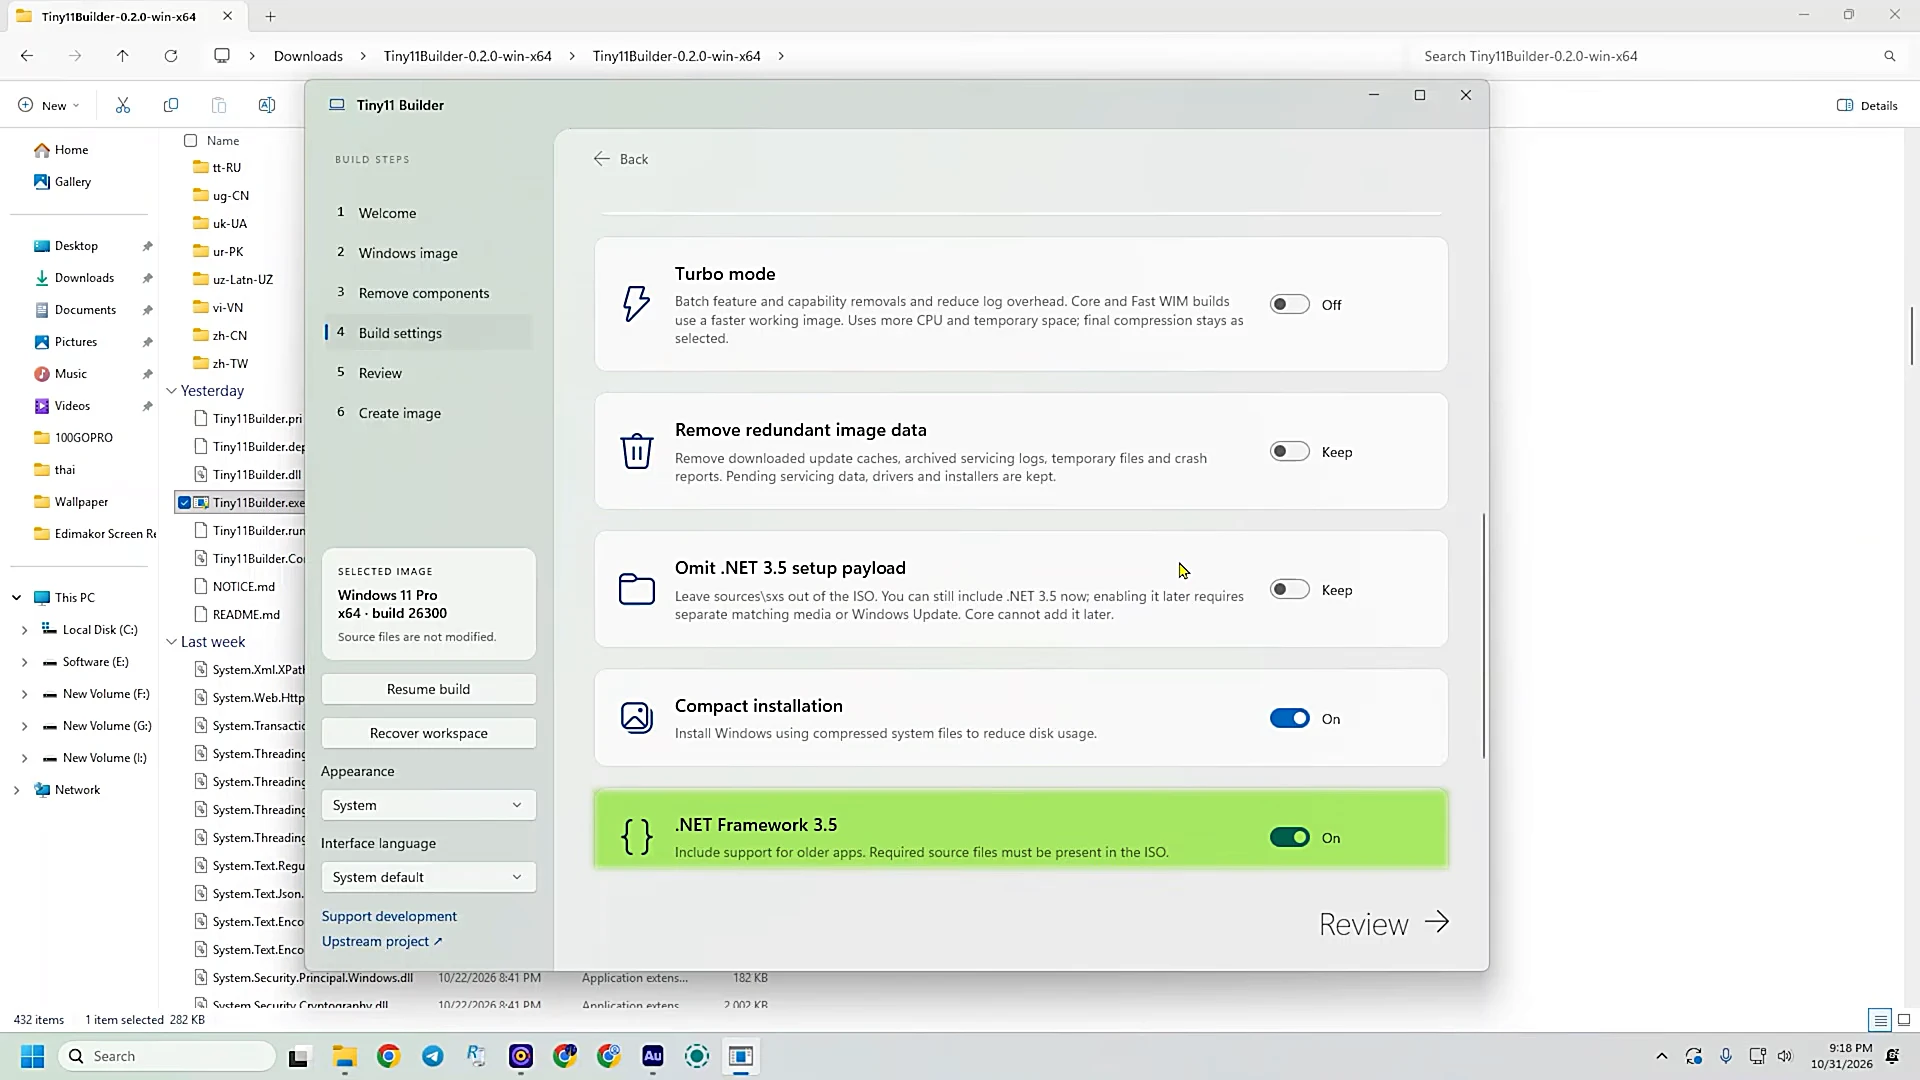
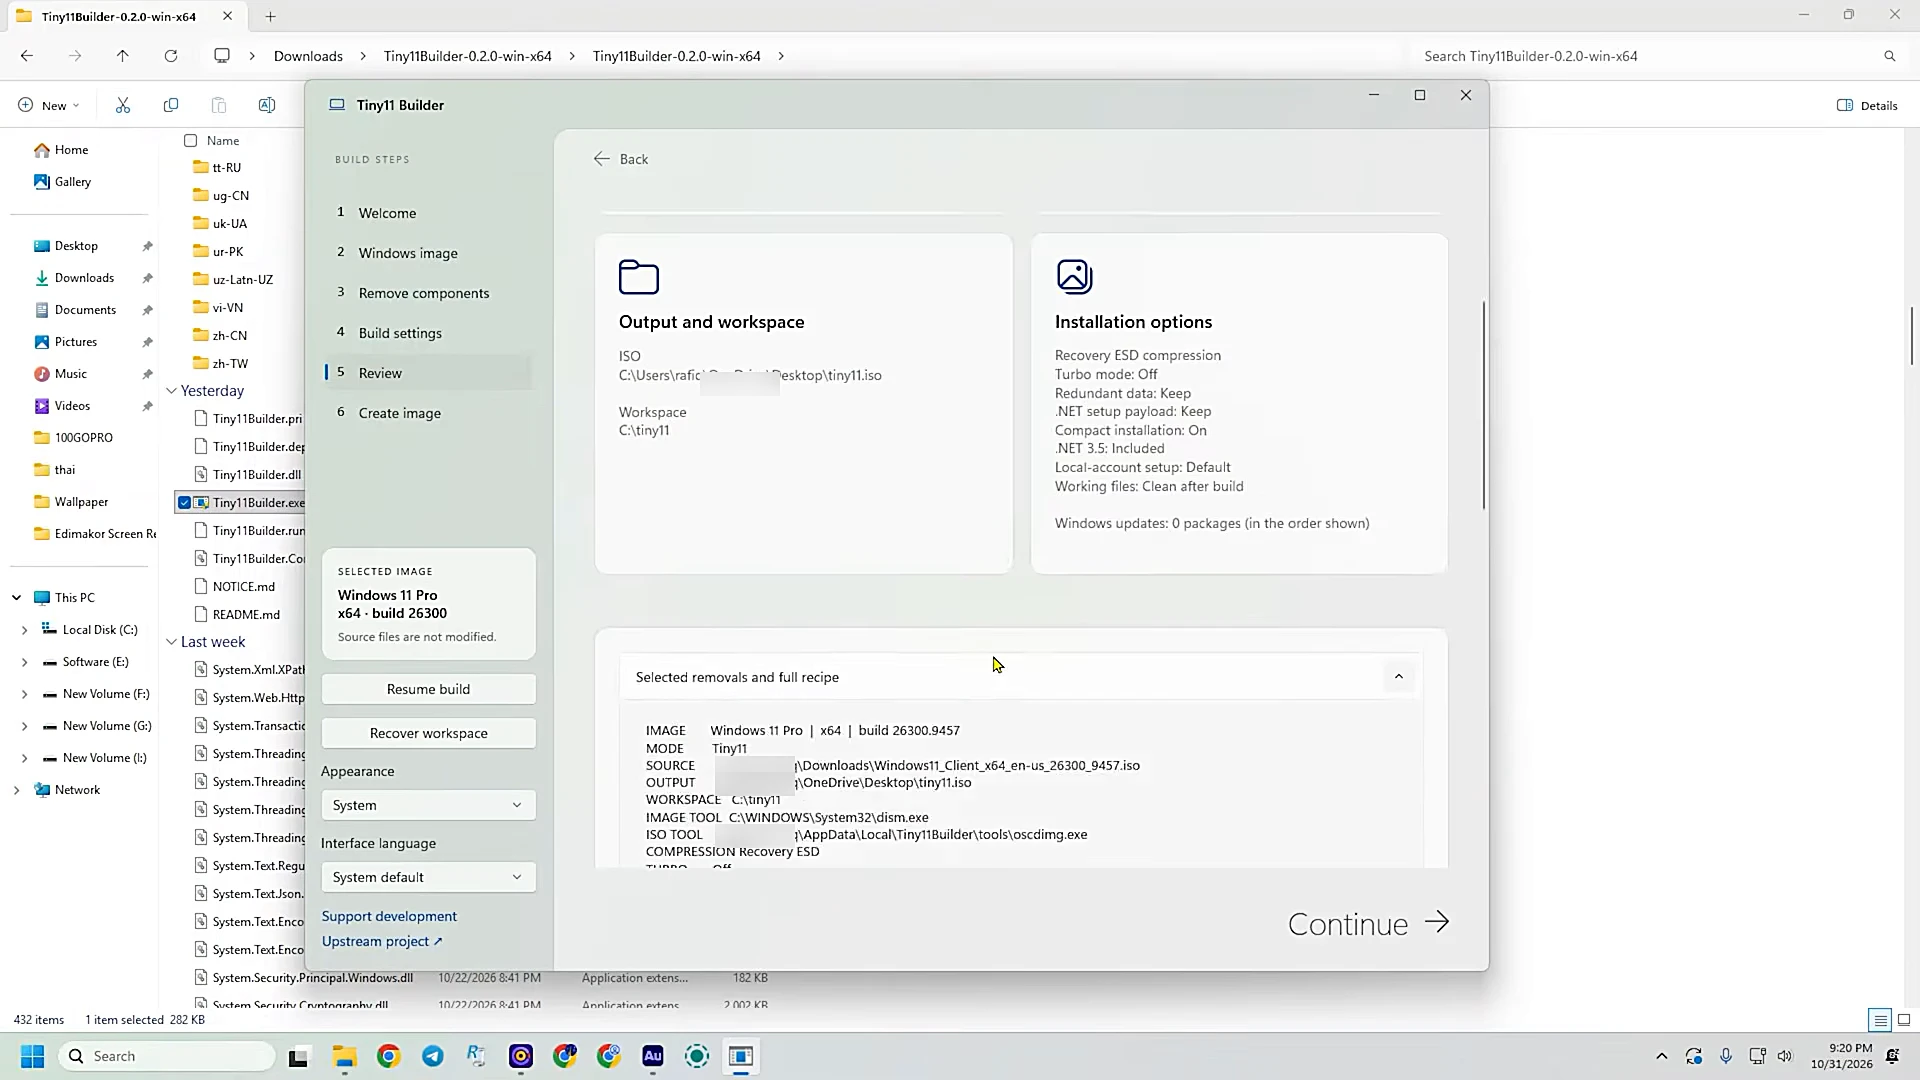
Step 5: wait for the build, then check the size
The build takes a while, and the progress window is not the most exciting thing to watch. You will see it work through seven stages — preparing the media, exporting the edition, updating components, committing the image, compressing, creating the ISO, and verifying the output. When it finishes, the new ISO appears in the output folder you chose. The difference is easy to see: the built Tiny11 ISO comes out at about 5.34 GB — almost three gigabytes smaller than the stock file it started from, before you have even installed anything. That missing weight is the apps and services your old computer will never have to load.
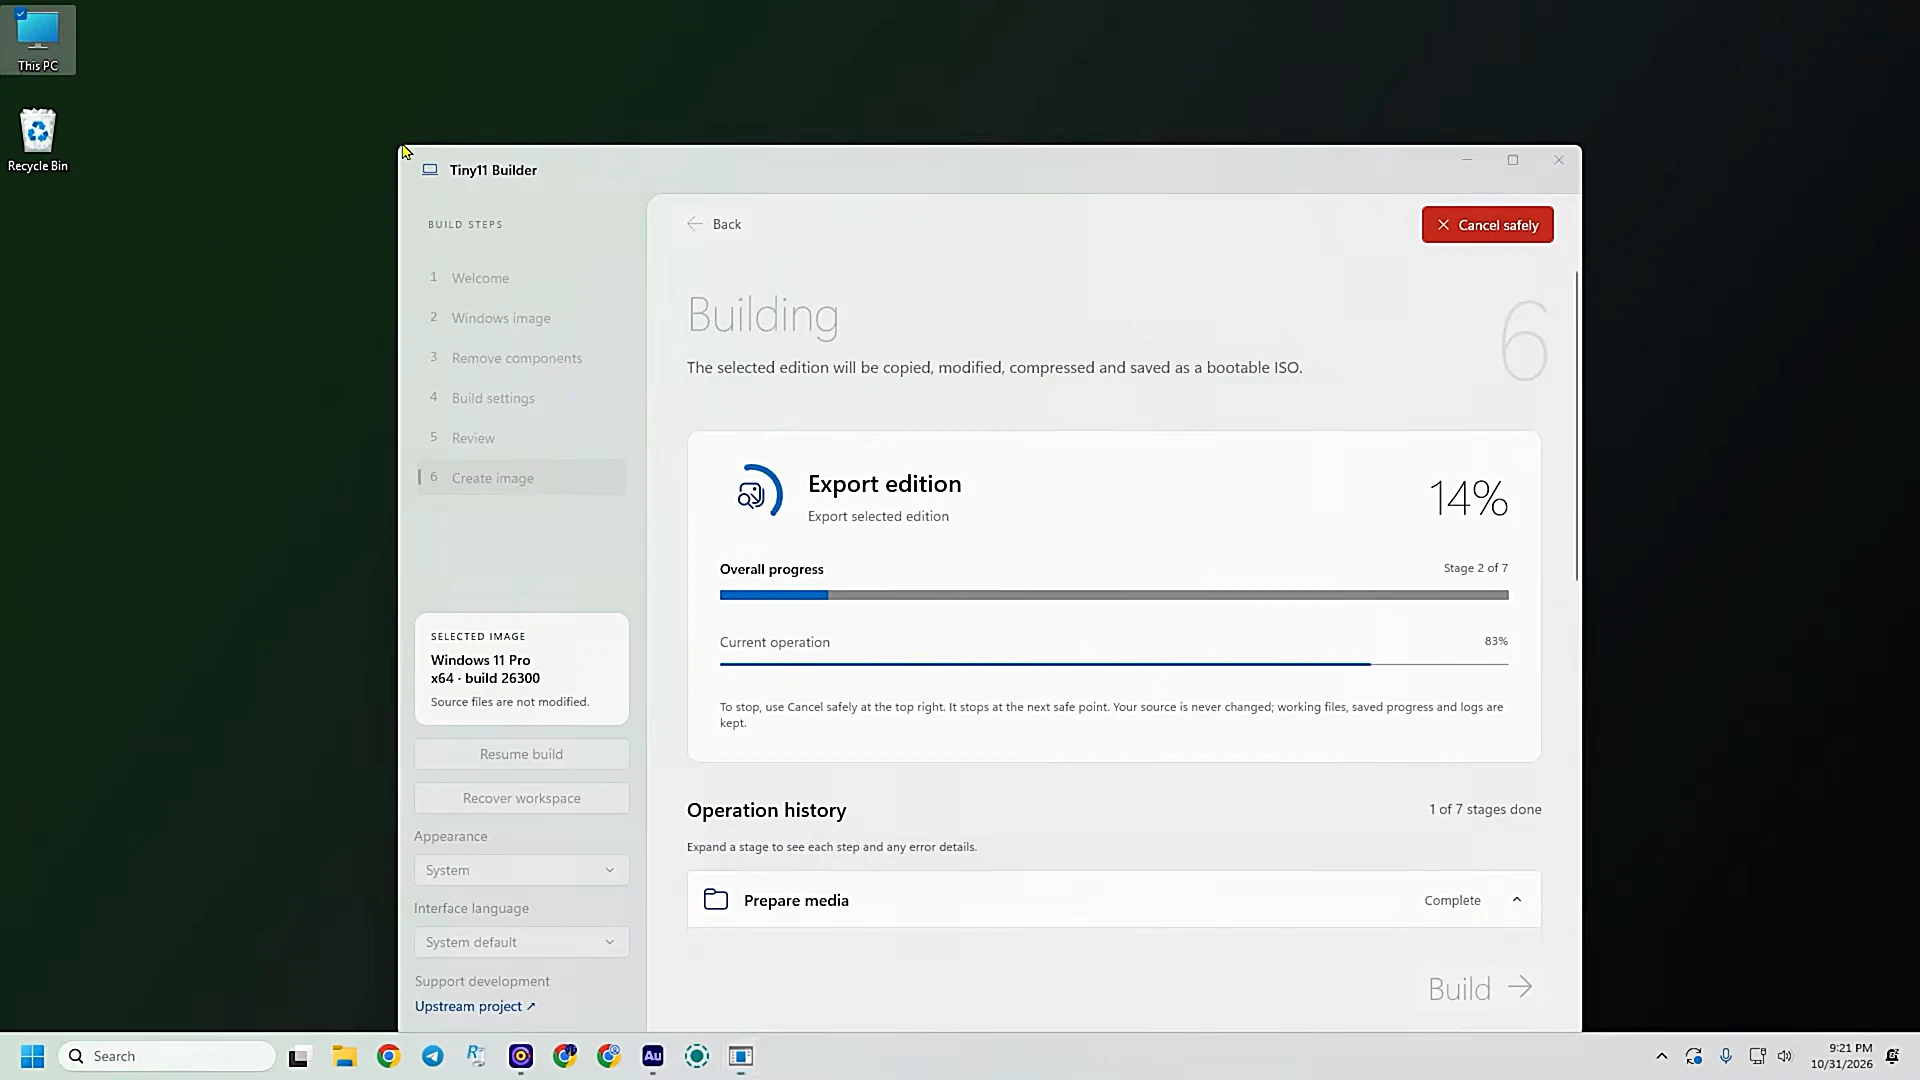
Step 6: make the bootable usb stick with rufus
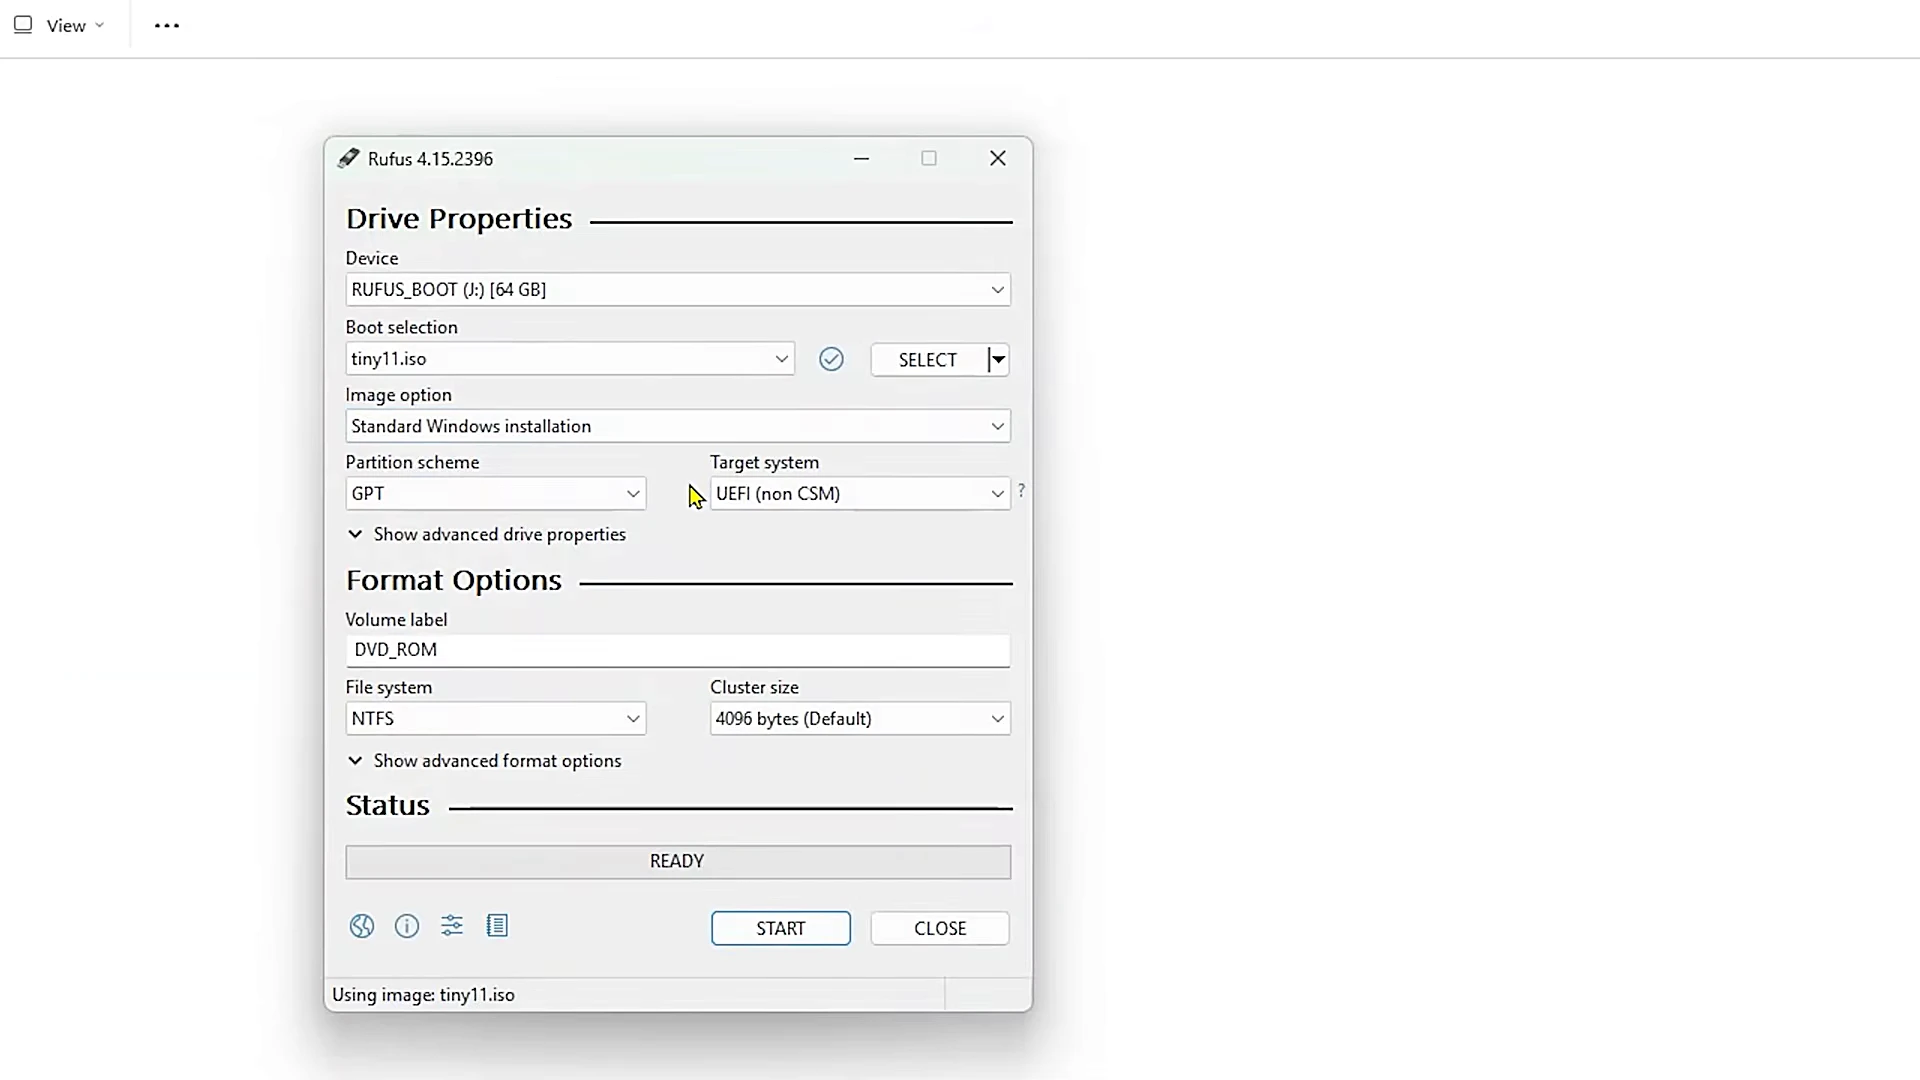
Plug in the USB stick and open Rufus. Click Select, go to the desktop, and choose the Tiny11 ISO you just built. Then click Start and confirm the prompts. Here is a small detail that saves confusion: Rufus normally asks whether to remove the Windows 11 system requirements, and you can leave those boxes unticked. The builder already removed the requirements from the image, so the installer will not check them anyway — the computer can be supported or unsupported, it does not matter. Wait until Rufus reports the stick is ready, then close it.
Step 7: boot from the usb stick and install
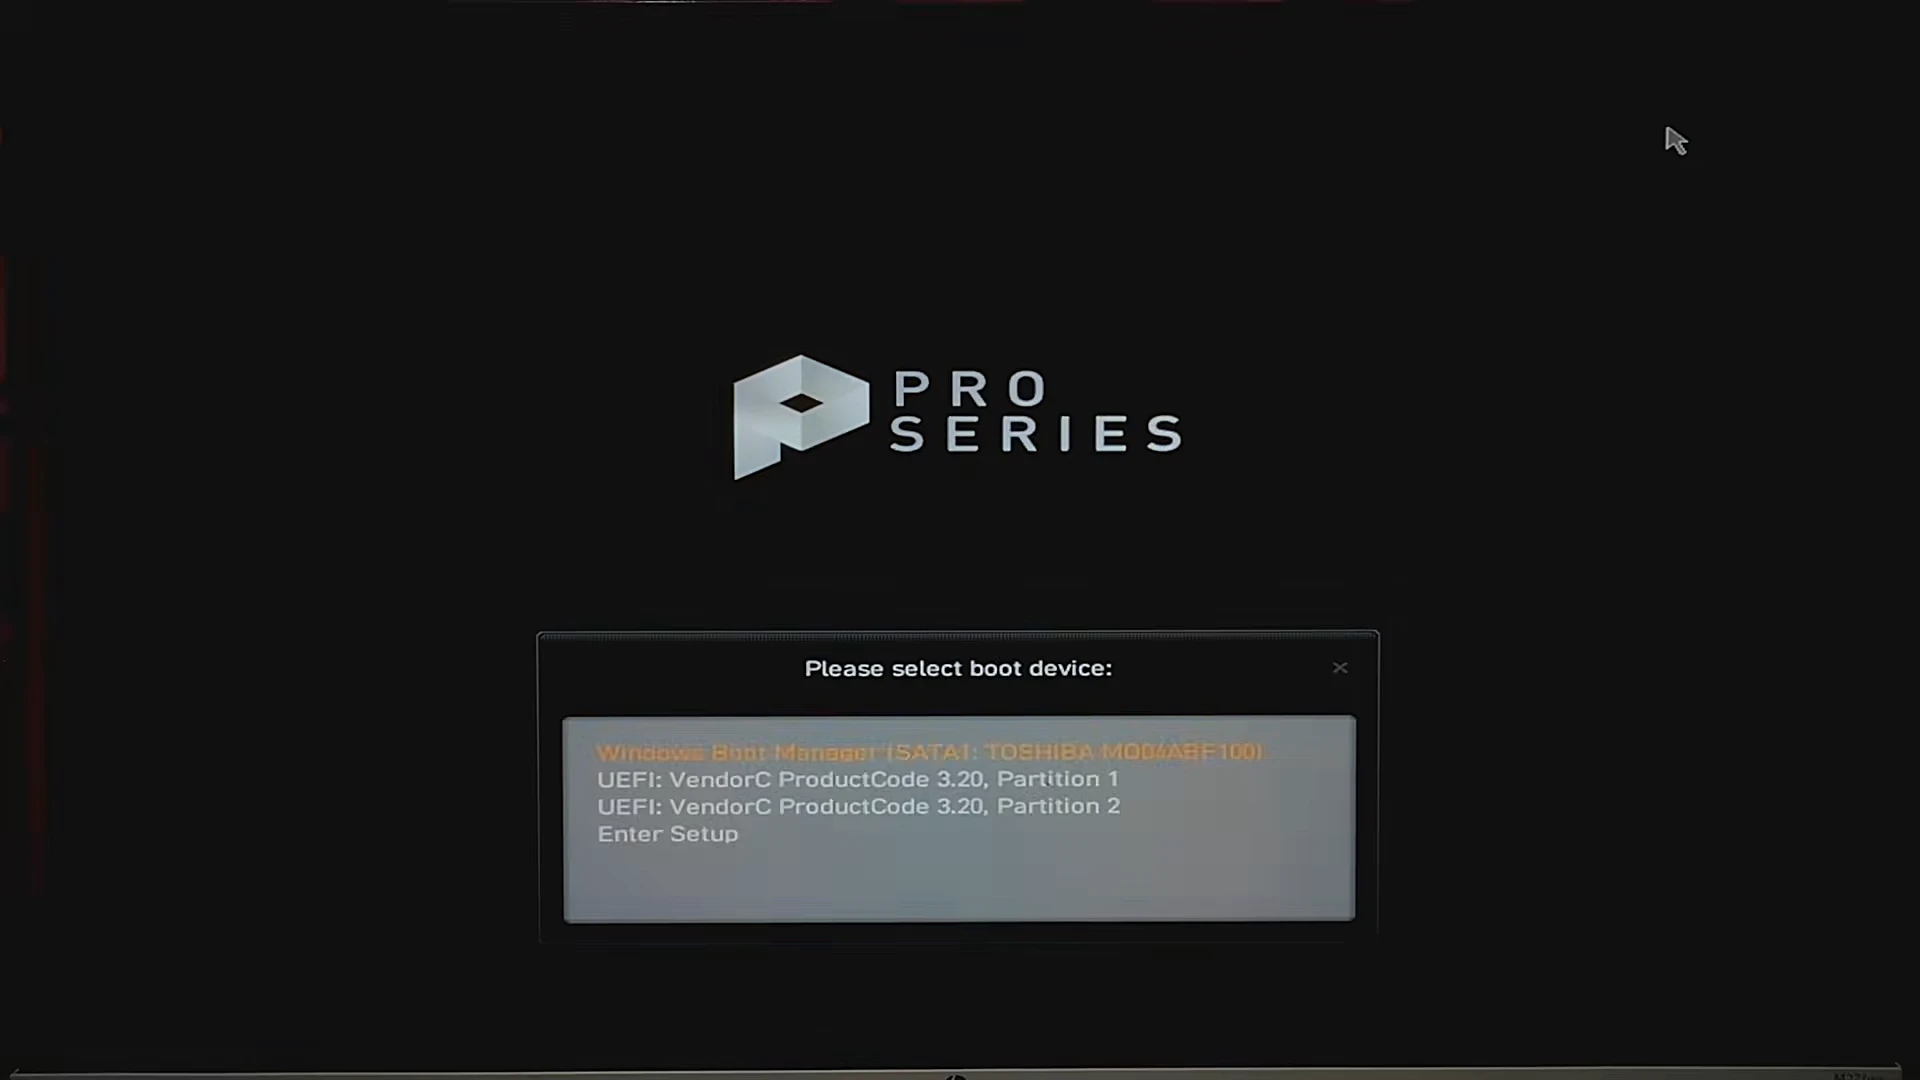
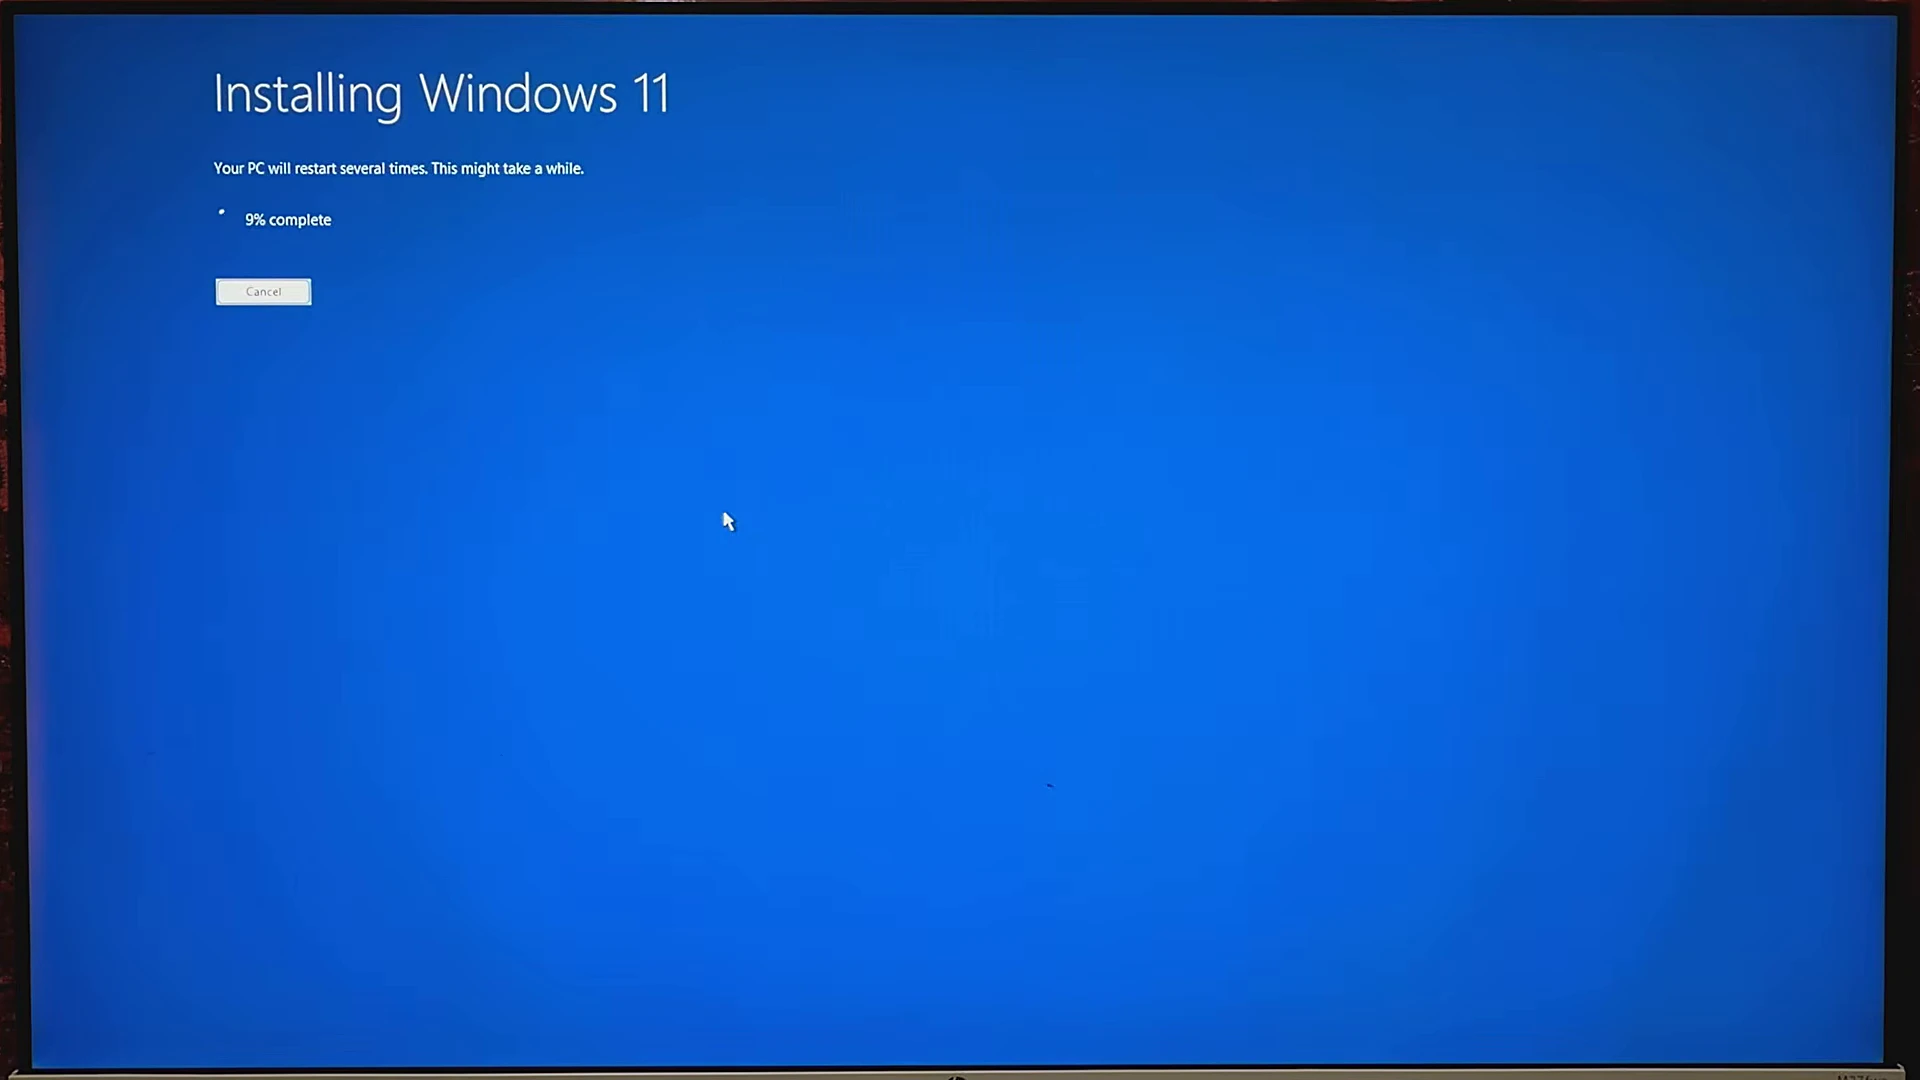
You need your computer’s boot menu key before this step. If you do not know it, search the web for your computer’s brand plus “boot menu key” — on the MSI machine in the video it is F11. Restart the computer and press the key repeatedly as it powers on. When the boot menu appears, select the USB stick (there may be two entries for it; the first one is usually right) and press Enter. The installer looks like normal Windows 11: click Next, then “I don’t have a product key”, accept the license, and choose the drive to install on. In the video that is the SSD, which gets formatted first. One difference from stock Windows: after formatting, the installation starts straight away, with no extra component screen. The computer will restart three or four times during the installation — that is normal, so just let it work.
Step 8: first setup, in the same order it asks
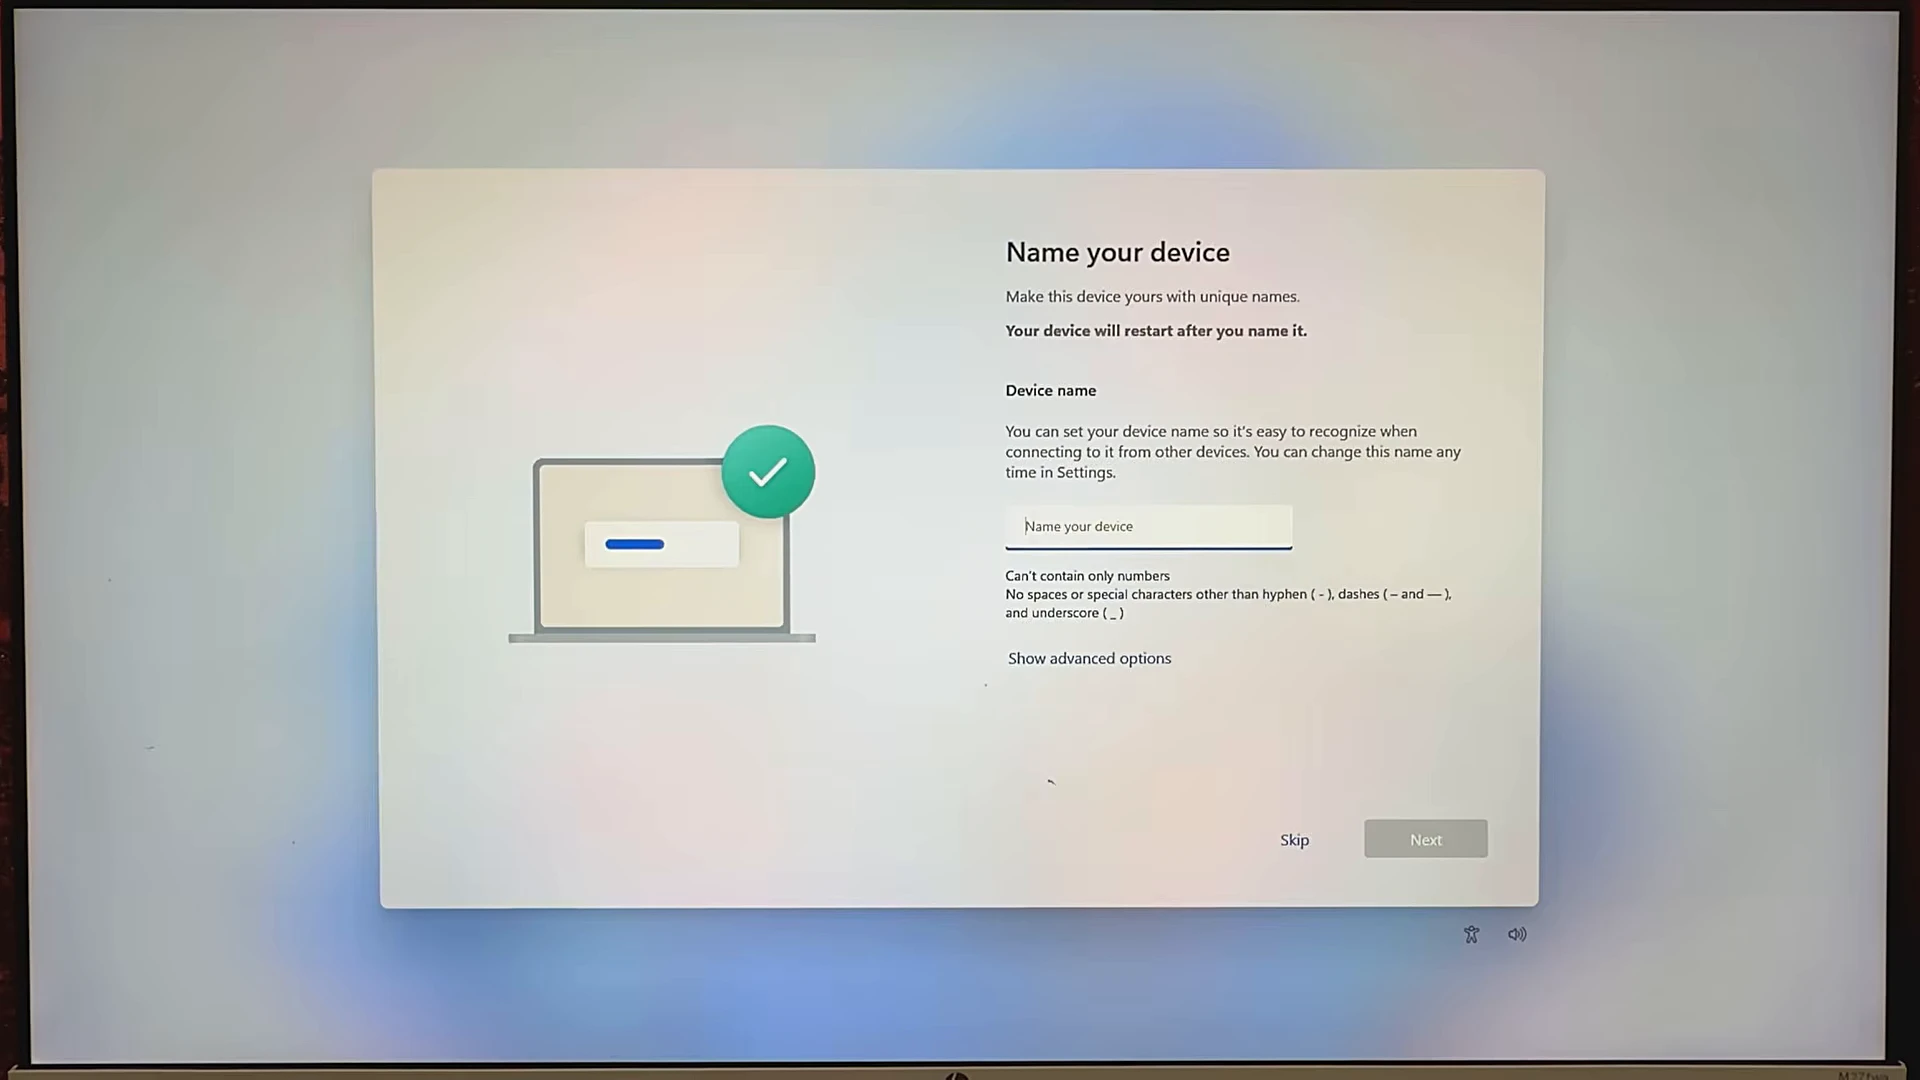
When the setup screens appear, pick your country — Bangladesh in the video — then confirm the keyboard layout (US) and skip the second layout. Choose “Set up for personal use”, then skip the update check by choosing Update later; the security updates it found can wait until you are settled. Sign in with a Microsoft account — the video uses an email address, and a verification code arrives by email to confirm it. If you do not have a Microsoft account, create one first. Then set a PIN, accept the privacy screens, and skip the phone link and the extra setup offers. After a short “Getting things ready” wait, the desktop appears: clean, quiet, and almost empty. That emptiness is the point.
The proof: before and after, on the same machine
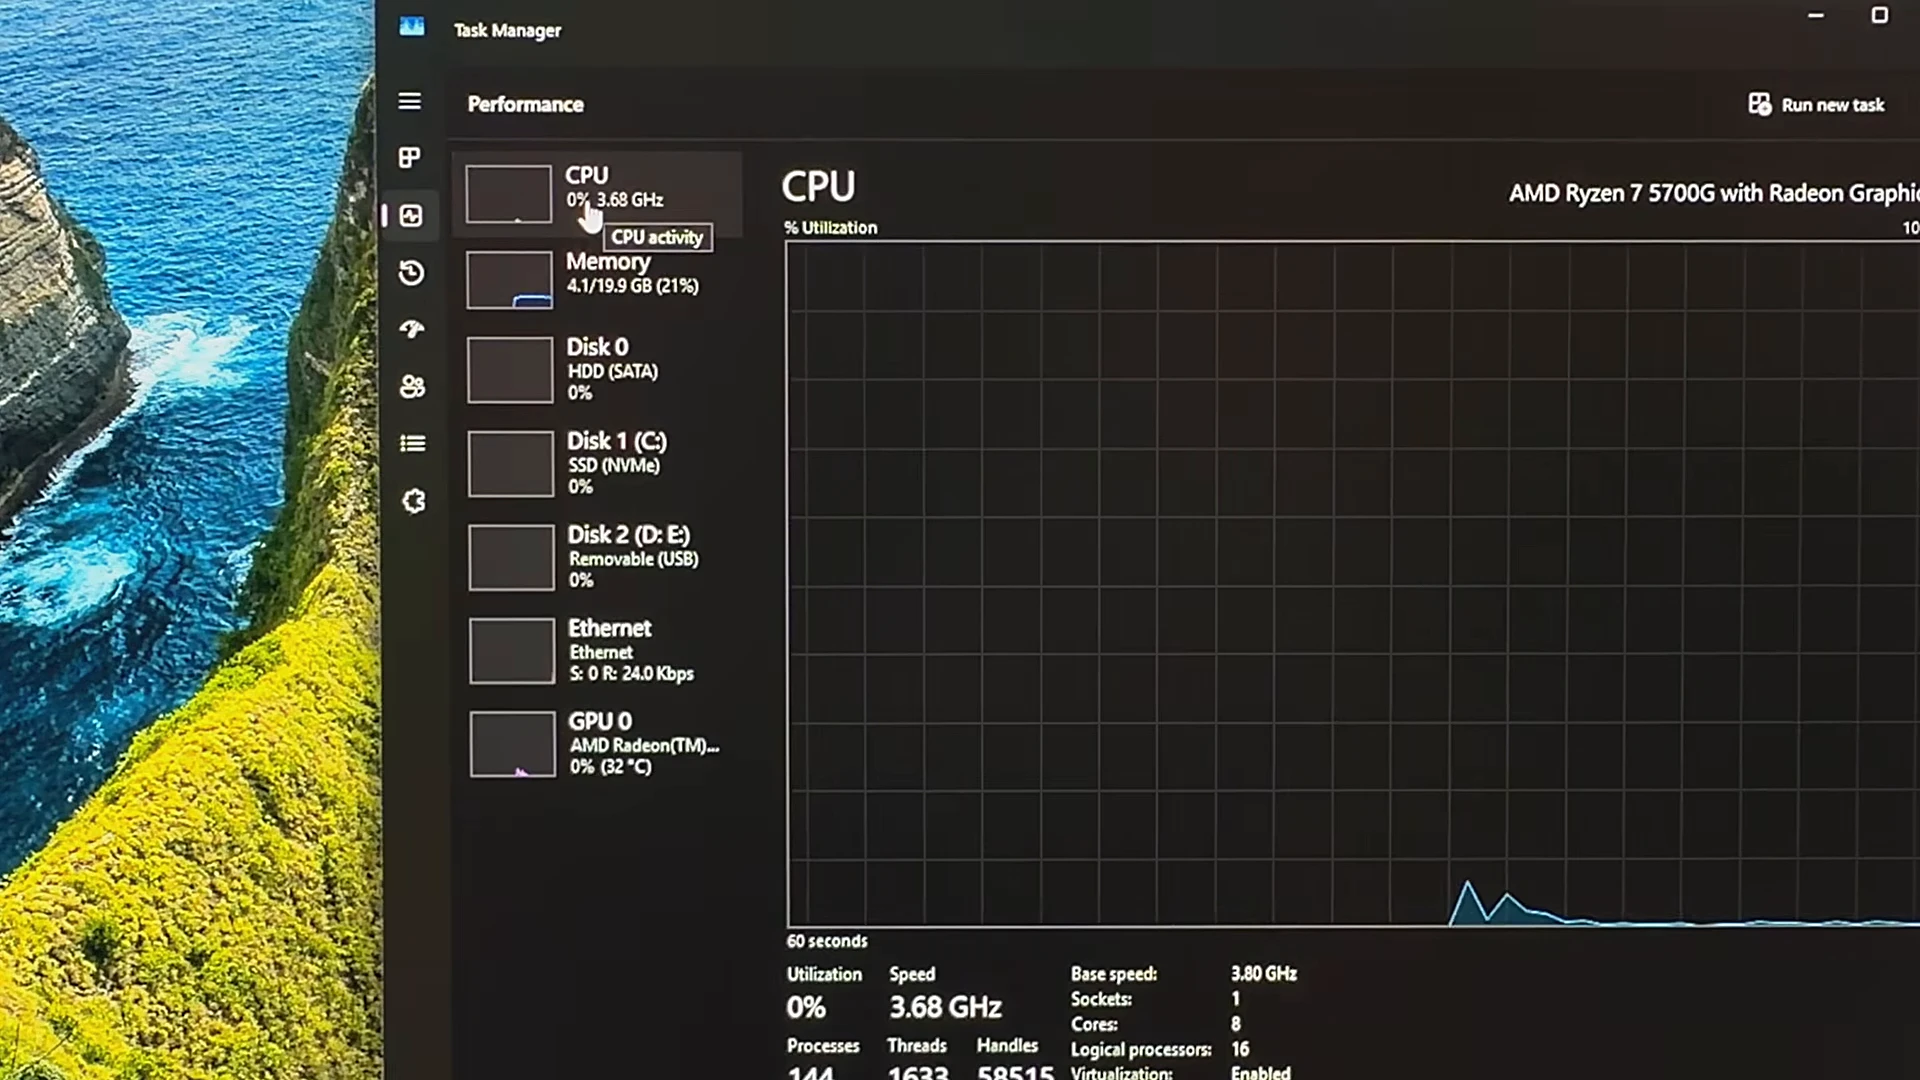
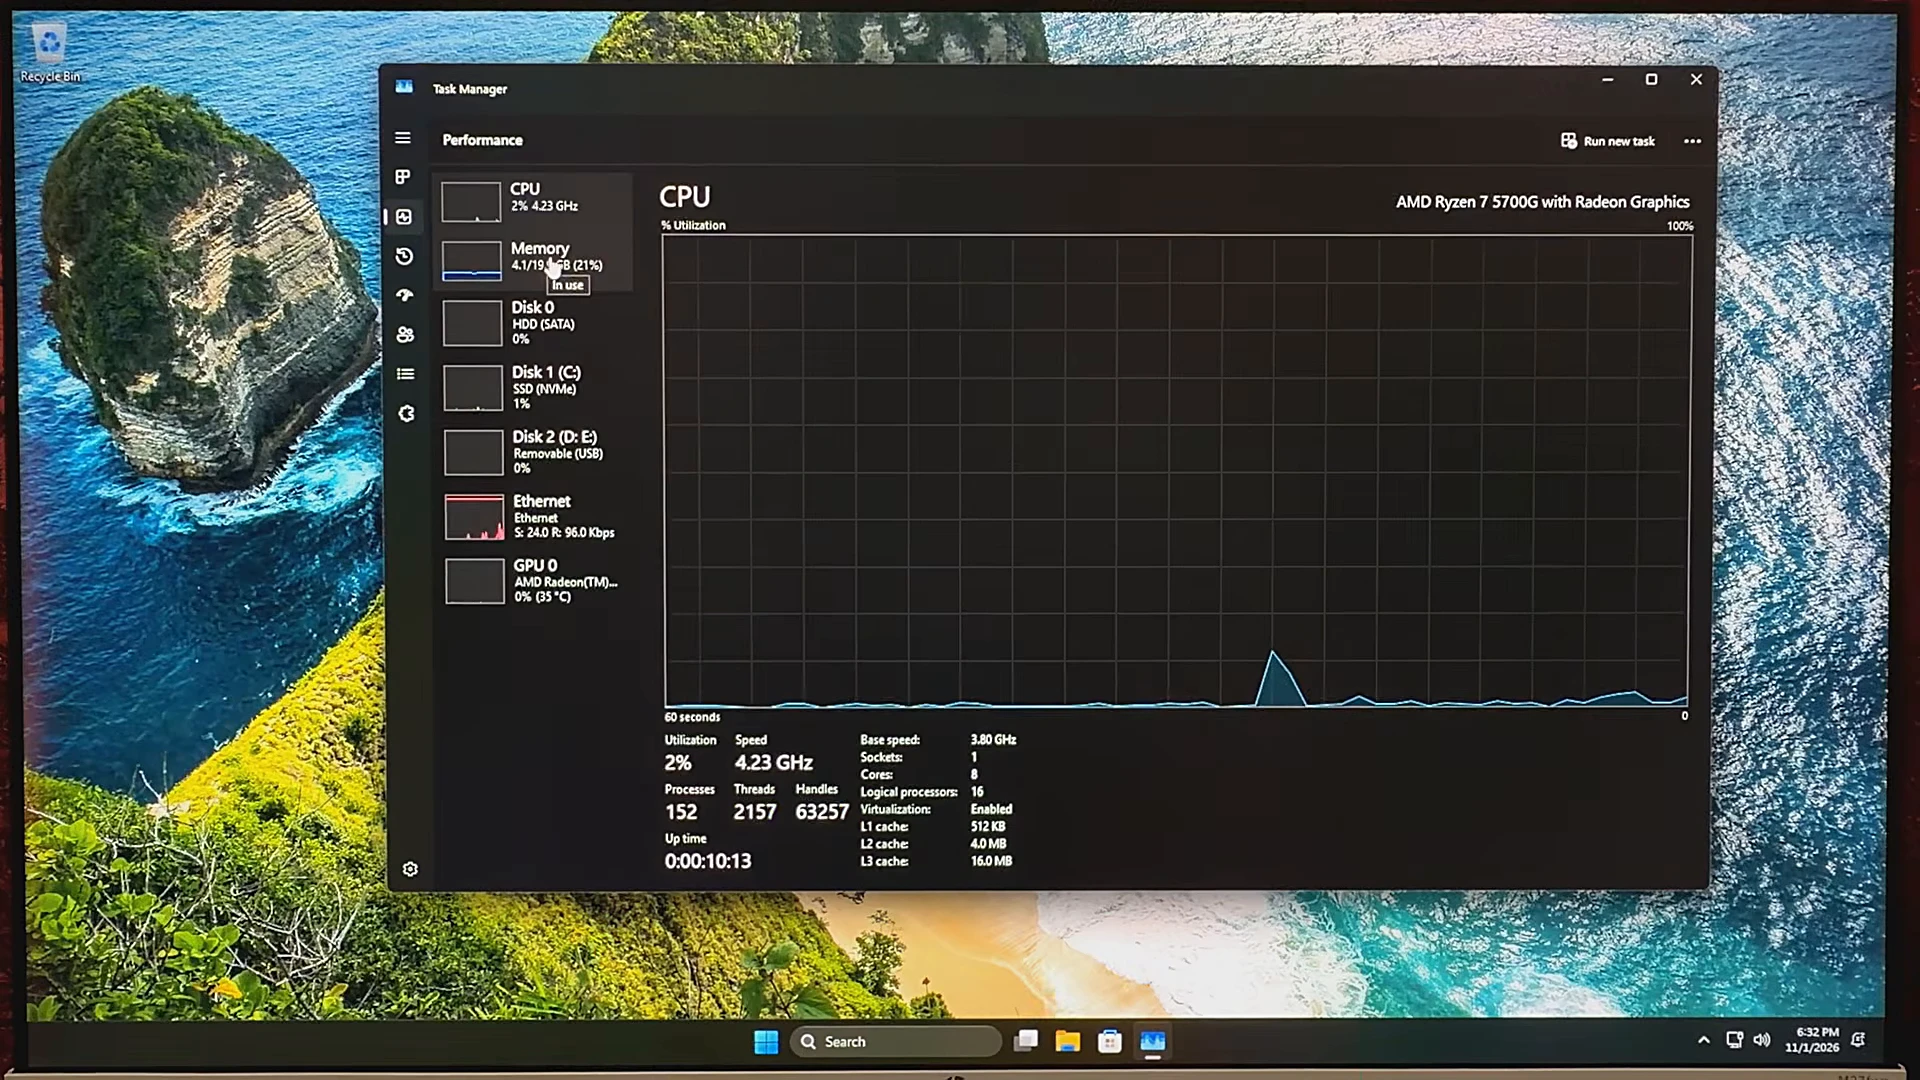
The video recorded Task Manager on the same computer before and after, so the comparison is honest. Before, on stock Windows 11, the machine idled at 0 percent processor use with 144 processes and 4.1 GB of its 19.9 GB memory in use. After, on the freshly built Tiny11, the processor sits at 0 to 2 percent with about 150 processes and the same 4.1 GB in use. On a computer with 20 GB of memory the two look close — and the video says so plainly, calling Tiny11 only somewhat better here. The difference shows up where it matters: on a 4 GB machine, stock Windows spends most of its memory on itself, while Tiny11 leaves room for the programs you actually open. And the ISO itself tells the same story in a number you can measure — almost three gigabytes lighter before installation even begins. Your numbers will differ, because every computer is different, but the direction is the same: less running in the background, more room left for your work.
The honest limits
A lighter Windows is not a better Windows for every job. Tiny11 gets no official support from Microsoft, and some updates may behave differently than on stock Windows. The video also ran into one quirk worth knowing: activation. Windows is supposed to activate itself when you sign in with a Microsoft account, but it did not happen here at first, most likely because of how the account was set up. Signing in with a Microsoft account rather than a local account gives activation the best chance; a product key will sort it out if that fails. And remember the warning from the start: keep sensitive work off a Tiny11 machine. It is a second life for old hardware, not a home for your most important files.
Frequently Asked Questions
Do I need a powerful computer to build Tiny11?
No. The builder runs on an ordinary Windows computer. The finished ISO is meant for the old machine, but the building itself needs nothing special — just the ISO, the builder, and some patience while it works.
Can I install the Tiny11 I built on any computer?
Yes. Because the builder removes the system requirements from the image, the installer does not check for TPM or Secure Boot. The computer can be officially supported or unsupported — the installation works the same either way.
Will my files survive the installation?
No. Installing Tiny11 formats the drive you install it on. Back up everything you cannot replace before you start the installer, and double-check the backup before you click Format.
Is Tiny11 the same as Windows 11 Lite or Optimum 11?
No. Those are other people’s ready-made lightweight builds. This guide builds your own Tiny11 from Microsoft’s own Windows 11 ISO, so you know exactly what went into it.
Does Tiny11 get Windows updates?
It can check for updates like normal Windows, and the video found security updates waiting during setup. You can install them, skip them for later, or turn them off — the choice is yours, but security updates are worth installing.
Conclusion
Building your own Tiny11 takes a little more time than downloading a ready-made copy, and that time buys you something real: a lightweight Windows built from Microsoft’s own files, with the removals listed in front of you and the options under your control. The result is a computer that boots faster, idles quieter, and leaves its memory for your work instead of its own extras. If you have an old machine gathering dust in the corner, this is the most useful hour you can spend on it.
Watch the Full Video